Writing a Render Brief Your Visualiser Can Actually Follow.
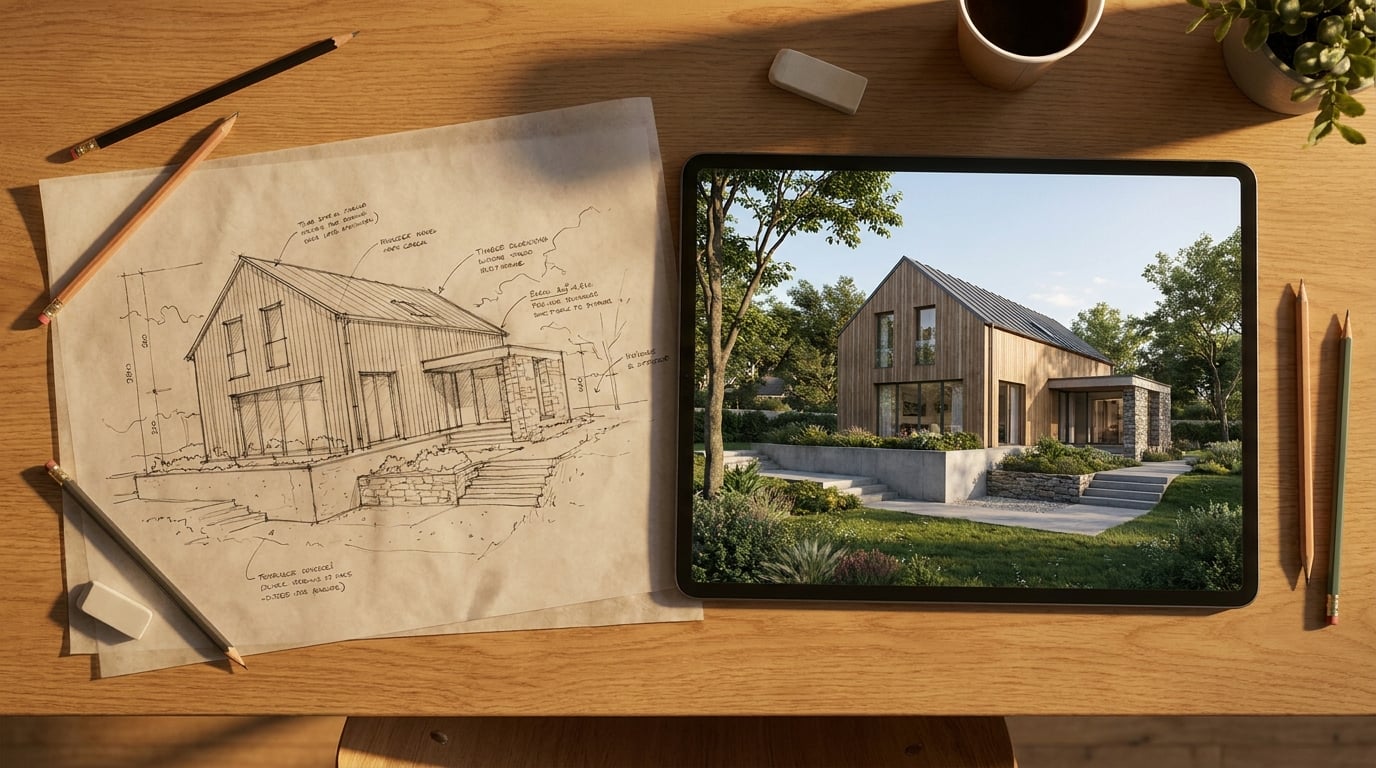
Vague briefs get vague renders back. Here's how to write one that pins down view, light, material and mood before anyone opens a tool.
Why most render briefs fail before the first draft
Most render briefs die at the words "make it look nice." That, or a single reference image dropped into an email with no annotation and no explanation of what about it matters: the light, the material, the composition, or all three. The visualiser guesses. Sometimes they guess right. Usually they don't, and the project loses a day to a round-trip that a properly written brief would have prevented entirely.
A render brief is a specification, not a mood statement. It needs to answer five questions in one document: what is the view, what is the light, what are the materials, what surrounds the building, and who is this image for. Miss any one of those and you've handed over an assignment with a blank in it, and someone else, or some model, will fill that blank with their own assumption rather than yours.
Compare two briefs for the same job. The first: "Can we get an exterior shot of the courtyard house, evening, looking nice, similar to the attached." The second specifies a camera position on the site plan, a compass bearing, golden hour in late September, the brick specification with a reference photo, which neighbouring building must be visible on the left edge of frame, and that the image is for a planning committee rather than a marketing deck. The second brief takes five extra minutes to write. It also removes almost every reason for a revision round, because there's nothing left for the visualiser to interpret.
The use case changes what the brief must specify, too. A planning submission needs restraint and site accuracy: correct massing, correct context, no dramatic sky doing the persuading for you. A client deck can carry more storytelling, more atmosphere, more emphasis on how a space will feel to live in. A competition board usually tolerates the most narrative licence of all, because the audience is judging vision, not compliance. Write the same brief for all three and at least one of them will come back wrong.
A brief that doesn't name the audience hasn't specified anything yet, because "good" means something different for a planning officer than it does for a client at signing stage.
The five things every brief must pin down

These five categories are the spine of every usable brief. Skip one and you've left a decision to chance.
Viewpoint
"Exterior shot from the street" is not a viewpoint, it's a category. A usable brief marks the camera position on the plan, states the direction of view, gives an approximate eye height (1.5m for a pedestrian view, 1.2m if you want the mass of the building emphasised from a lower stance), and describes the lens feel: a tight, compressed telephoto view reads very differently from a wide-angle shot that pulls the whole facade into frame with visible distortion at the edges. If you know the focal length you want, state it. If you don't, describe the effect: "compressed, so the two blocks read as one continuous frontage" tells a visualiser exactly what to reach for.
Light and weather
Time of day and sky condition are not decoration, they are structural to how the design reads. Golden hour flatters massing and softens material joints. Midday sun is unforgiving and shows every shadow line exactly as it will fall on site, which is often what a planning committee actually needs to see. Overcast light kills drama but tells the truth about colour and texture with no atmosphere doing favours it hasn't earned. State the season too: winter light and summer light hit a north-facing courtyard very differently.
Materials and palette
"Warm" and "natural" are not specifications, they're vibes. Name the actual material: the brick reference, the timber species and finish, the RAL or NCS colour code for the render, the glazing type. Attach a reference photo for anything with texture or pattern that words won't carry, such as a specific brick bond or a stone with strong veining. A visualiser working from "warm timber cladding" will make a choice. A visualiser working from "European oak, Kebony-style silvered finish, vertical boards, reference attached" will match it.
Context
Decide what has to appear around the building and how much of the surrounding site is in frame. Neighbouring buildings, existing trees, new landscaping, people, cars, street furniture: each of these changes the read of a scheme, and each is a decision, not an afterthought the visualiser should be left to invent. A planning image usually needs the neighbours rendered accurately, because a committee will check. A client deck might drop them entirely to keep the focus on the building.
Audience and use
State plainly whether the image is for a planning submission, a client approval meeting, a competition board or an internal design review. Each implies a different balance of realism to drama. A planning officer wants to trust what they're looking at. A client at signing stage wants to feel something about the home they're about to build. A jury wants both, in the space of one striking image. Naming the audience up front stops the visualiser guessing which register you're after.
Write the audience into the brief before you write the view. Everything else, light, materials, level of drama, follows from who is looking at the image and why.
Building the brief in practice: an annotated example

An annotated drawing beats a paragraph of prose most of the time. Take a plan, draw the camera position as a dot, sketch the cone of view as two lines fanning out from it, add an arrow for sun direction with the time of day written next to it, and drop material call-outs on an elevation with leader lines pointing to the relevant surfaces. That single marked-up sheet, plus three lines of supporting text, will get you a more accurate first pass than three unstructured paragraphs describing the same information in words.
Reference images do real work here, but only if they're annotated. A folder of ten unlabelled inspiration shots asks the visualiser to guess which one matters and why. Five to ten references with a one-line note each, "this one for the sky mood," "this one for how the brick joints should read," "this one for the crop and composition," do the job in a fraction of the time. If you're pulling reference material together across a project, Research is a fast way to gather and organise that set before it goes into the brief, so nobody's hunting through old email threads for the image that was almost right. Once the references and marked-up drawings exist, dropping them into a Projects workspace alongside the written brief keeps everything the visualiser or the model needs in one place, rather than scattered across three tools and a chat thread.
Naming discipline matters more than it sounds like it should. "The render" should never mean three different files by the time a project reaches its second week. Use a consistent filename pattern with a version number: something like project-name_view01_v3.jpg rather than final_final_v2_use-this-one.jpg. It's a small thing until a deadline arrives and someone asks which file actually went to the client.
An annotated plan with a camera cone and a sun arrow will usually beat three paragraphs of description, because it removes the translation step between what you meant and what the visualiser reads.
Briefing a person versus briefing a model: what changes
A human visualiser fills a gap in a brief with professional judgement. They've read hundreds of briefs before yours, they know what a planning submission usually looks like, and if you write "evening, moody" they'll draw on experience to land somewhere sensible. An AI model doesn't have that judgement to fall back on. It fills the same gap with a statistical guess based on patterns in its training data, which may have nothing to do with your scheme, your context, or your intent. Ambiguity that costs a human visualiser nothing can cost an AI-generated pass an entire wasted iteration.
This means the brief for an AI generation needs to read closer to the prompt itself. Swap adjectives for nouns wherever you can. Instead of "warm evening light," write "low sun, golden hour, long shadows cast towards camera." Instead of "natural materials," name the actual finishes. Instead of "street view," describe the camera position and height in the same concrete terms you'd use on an annotated plan. The tighter the language, the less room there is for the model to invent something you didn't ask for.
This is where Corb is useful as a second pair of eyes on the brief itself. Describe the shot you're after and it can suggest which generation model in Image is likely to suit it, or help draft the actual prompt language from your brief notes, translating "material call-outs on the west elevation" into wording an image model will read cleanly. It doesn't replace the thinking in the brief, it helps make sure the thinking survives translation into a prompt.
Run a cheap first pass before committing to a high-fidelity output. If a fast, low-cost generation comes back and clearly misreads the brief, camera angle wrong, materials wrong, light wrong, that tells you the brief was underspecified before you've spent serious credits chasing a polished result from the wrong starting point. Fix the brief, not just the prompt, and the second pass tends to land much closer.
An AI model can't infer intent from experience the way a person can. Every adjective you leave in the brief is a decision you're handing to chance.
Turning the brief into a checklist you reuse

Build a one-page template with the five categories as fixed headers: Viewpoint, Light and Weather, Materials and Palette, Context, Audience and Use. Add three more: Deliverables (what format, what resolution, how many views), Revisions (how many rounds are included before this becomes a new job), and Approver (who signs this brief off before anyone generates anything). Nobody should be starting a brief from a blank page, ever, because a blank page is where "make it look nice" comes from.
Store that template as a standing document in Documents so every project pulls from the same standard rather than reinventing the format each time a render gets commissioned. Consistency here isn't bureaucracy for its own sake, it's what makes a brief fast to write and fast to read. A visualiser or a project lead who has seen the same five headers a dozen times can scan a completed brief in under a minute and know immediately if something's missing.
The sign-off line matters more than it looks. Name one person who approves the brief before generation starts. Without that line, the most expensive failure mode in any studio shows up: work gets generated, reviewed, and then someone with more authority than the person who approved it says "actually I wanted something different," and the whole thing restarts from a brief that was never really final in the first place.
Keep a short changelog on revisions. When a brief moves from v1 to v2, note what changed and why, even if it's one line: "client asked for dusk instead of midday, sky mood only, materials unchanged." Without that note, a visualiser working from v2 has no way of knowing whether the whole brief shifted or just the sky, and will often re-check everything just to be safe, burning time the changelog would have saved.
| Brief section | Weak version | Usable version |
|---|---|---|
| Viewpoint | "Street view of the front" | Camera marked on plan, 1.5m eye height, wide-angle, facing north-east |
| Light | "Nice evening light" | Golden hour, late September, low sun from the west, long cast shadows |
| Materials | "Warm, natural palette" | Buff brick (reference attached), European oak cladding, zinc standing-seam roof |
| Context | "Show it in context" | Neighbouring terrace visible left of frame, new landscaping in foreground, no cars |
| Audience | Not stated | Planning committee submission, restraint over drama |
What a good brief saves you
Fewer revision rounds means fewer credits spent and fewer hours burned generating images nobody actually asked for. That's the direct saving. There's a second, less obvious one: a written brief becomes a record. When a planning officer or a client asks why a particular view was chosen, or why the render shows the scheme at dusk rather than midday, you have an answer on file rather than a memory of a conversation that happened three weeks ago.
The most useful side effect of writing a proper brief is what it exposes before generation even starts. Trying to pin down the exact camera height, or the precise material for the base course, or which neighbouring building has to be visible, regularly surfaces design decisions that were never actually resolved. The brief forces the conversation that the render was quietly waiting to have. That's not wasted time, that's the brief doing its job before a single frame gets generated.
A five-minute brief is cheaper than a five-hour re-render, and it's cheaper again than the version of that re-render that happens after the client has already seen the wrong one.
Write the brief as a specification, not a wish. Name the view, the light, the materials, the context and the audience, every time, whether the person generating the image is a visualiser you've worked with for years or a model you're prompting for the first time. The document takes five minutes. The round-trip it prevents takes an afternoon.
Keep reading.
Try ArchAdemia Tools for yourself
Draw it, model it, render it, publish it. One place, built for architects and small practices. Plans from £29 a month, all in.