Linea for Architects: Draft a Sheet That Reads Professionally.
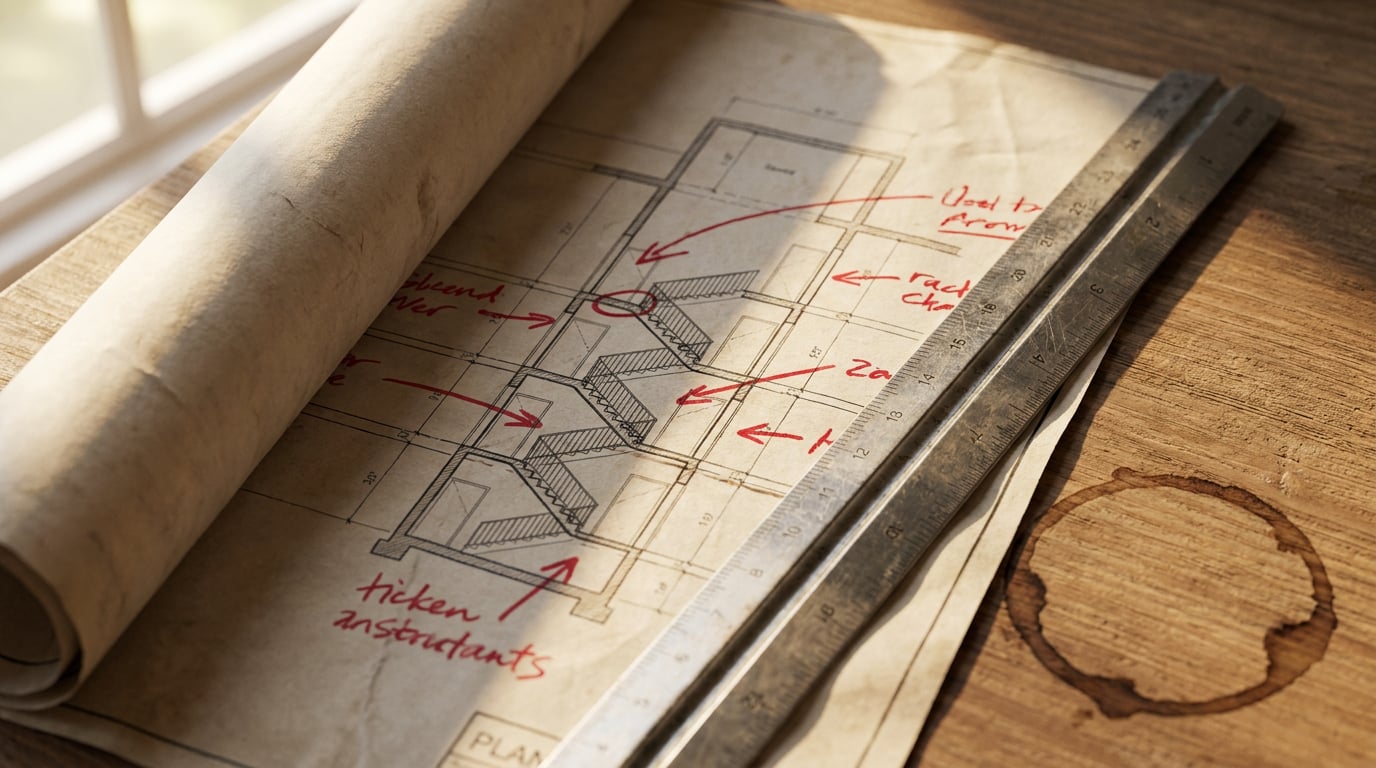
Linea is ArchAdemia Tools' browser drawing and modelling lane. Here is how to set up, draw and issue a sheet that reads as professional practice output.
What Linea Is and What It Is Not
 Linea is a browser-based drawing and modelling environment where the 2D plan and the 3D model are the same building, edited together. You do not draw a plan and then generate a model from it, or the reverse. Move a wall in plan and the model moves. For concept work, planning drawings and small-practice issue, it is a credible everyday alternative to SketchUp or AutoCAD.
Set expectations before you open a file: **Linea is not a BIM tool.** It reads IFC from Revit or ArchiCAD as native, editable geometry, and it models walls, doors, windows, stairs, roofs and levels. But it does not claim coordination models, schedules, clash detection or standards compliance, so do not plan a job around any of those. The right jobs are a planning-stage extension, a competition massing study, a measured-survey cleanup, an interior fit-out layout, or a set of crit sheets. If a consultant needs a coordinated central model, that stays in your BIM package.
Linea is also the Drawing lane of a wider suite, not a stand-alone drawing tool. The work does not end at a PDF. A perspective view can go straight into the rendering studio, a DXF can pass to Vector for diagram work, and the scheme can carry on into Layout for the board or the Design and Access Statement, or into Shoot for a full set of stills.
One practical point about cost. Drawing, modelling, walking the model, exporting and asking Corb a question in chat are free on every plan. You can build good habits on a real project without watching a credit balance. ArchAdemia Tools is £19 a month billed annually (£228 a year) or £29 monthly, and it starts with a seven-day free trial.
Linea suits concept, planning and small-practice issue. It is a drawing and modelling tool, not a BIM coordination environment, so pick the jobs accordingly.
Start From Real Files, Not a Blank Screen
Most practice work starts from something that already exists: a topographical survey, a consultant's DWG, last year's scheme. Linea imports DXF and DWG, native IFC from Revit or ArchiCAD, and GLB, FBX, OBJ, DAE and STL models. IFC and the model formats are parsed in the browser with nothing uploaded, which matters when a client file is sensitive. ### Import is a selection problem
The format list is the easy part. The hard part with practice CAD files is that a single model space routinely holds twenty-odd drawings on the same layers: plans, sections, details, a title block, old revisions, all sharing one origin-less sprawl. Ticking layers cannot isolate the plan you want, because the plan and the section sit on the same layers.
Linea's import dialog draws the file before it lands, and it finds the separate drawings inside it, outlining each region on the preview. Click one outlined region and the import crops to that single plan, cut clean at the edge and landing on the origin. If the detection misses or gets it wrong, drag a box by hand and it does the same job.
### Cropped against whole-file import
The difference shows up on a cluttered survey or an old practice file.
| Cropped to one plan | Whole file imported | |
|---|---|---|
| What lands | The single drawing you selected, on the origin | Every drawing in the model space, wherever it was drawn |
| File weight | Only the geometry you need | Everything, including drawings you will delete |
| Layer tidiness | Layers carry only the selected plan's linework | Layers mix plan, section, details and old revisions |
| Next step | Start building | Delete, move and untangle first |
Crop the import to the one plan you need, then check its layers. Cleaning a whole-file import after the fact is slower than choosing correctly at the door.
Small Decisions That Make the Plan Read Properly
 A sheet reads as professional because of small, repeatable decisions, not because of one big feature. Linea gives you the controls to make those decisions once and have them hold.
### Type sizes instead of dragging
During a gesture, start typing a number and it lands in a box beside the cursor. Press Enter to apply. Tab steps between values when a gesture takes more than one. This works while you draw a wall, railing, slab, zone, roof or line, place a door or window, offset a line, extrude a face or rotate a selection, and it works on every resize and dimension handle.
Lengths read in the drawing's own units, so 6ft and 1200mm both parse. On the four gestures that carry an angle, a degree suffix sends the number to the angle instead of the length. Dragging to approximately the right size is fine for a sketch. For anything that goes on an issued drawing, type it.
### Real 2D drafting, on layers you control
Linea's drafting is proper drafting. You get model lines (real at the level's elevation in 3D as well, and a closed one can become a mass) and detail lines (plan-only), with Line, Polyline, Rectangle, Circle, Arc, Text, Leader, Revision cloud and Hatch available on the plan.
Put them on member-named layers, each with its own colour, weight and linetype. Any kind of object can sit on a layer, not just lines, and a layer can be hidden or marked not to plot. That last setting is how you keep setting-out geometry and construction lines on the drawing without ever printing them.
A sensible setup, done once per project:
- Name layers by what they are: walls, openings, furniture, dimensions, annotation, hatch.
- Give each a deliberate colour, lineweight and linetype.
- Mark construction and setting-out layers as non-plotting.
- Draw on the right layer from the start, rather than sorting afterwards.
Set layers, weights and linetypes once, type exact values instead of dragging, and test the DXF export early. Those three habits do more for a sheet than any single tool.
Block Out in Massing, Then Detail in Build
Concept design wants speed, and detailed documentation wants structure. Linea separates the two into two workspaces over the same drawing, so you do not have to choose one tool's compromise for both. ### Massing: direct modelling for the idea Massing holds a direct-modelling toolset. Place a footprint and it lands flat as an unextruded face. Push it into a real solid. Split faces. Drag an edge up to pitch a roof. To set out a window, draw a Rectangle on an existing face, then Extrude to punch it cleanly through. Group blocks to hide scaffolding and trial geometry without deleting it. This is the mode for the conversations that matter early: how tall against the neighbours, where the roof breaks, how the volume steps down to the boundary. You can try three roof forms in the time it would take to set up one parametric roof. ### Build: parametric detail once the massing is agreed When the massing is settled, switch to Build for parametric walls, doors, windows, stairs, roofs, levels and zones. Levels stack into storeys. This is where the model starts to carry the information that goes onto the issued drawings. Concept speed first, then detail. ### A planning-stage extension, end to end Take a rear and side extension to a Victorian terrace, going to a householder planning application.- Import the survey. Crop the existing-house DWG to the ground-floor plan so you start on the origin with clean layers.
- Massing. Place the new footprint, extrude it, and test the roof pitch and eaves height against the neighbour's boundary and the existing ridge. Group the trial options and hide the ones you reject.
- Punch openings. Draw Rectangle on the flank face and extrude to set out the rooflight and glazed doors well enough to read the elevation.
- Agree with the client. Walk the model, save views, and settle the massing before any detail work.
- Build. Switch to Build and recreate the extension with parametric walls, openings, roof and levels, the elements that go onto the issued plans, sections and elevations.
Block out fast in Massing to settle the form and the neighbour relationships. Move to Build only once the massing is agreed, so detail is never wasted on a design that is about to change.
Issue the Sheet: Scale, Paper, Title Block, Views
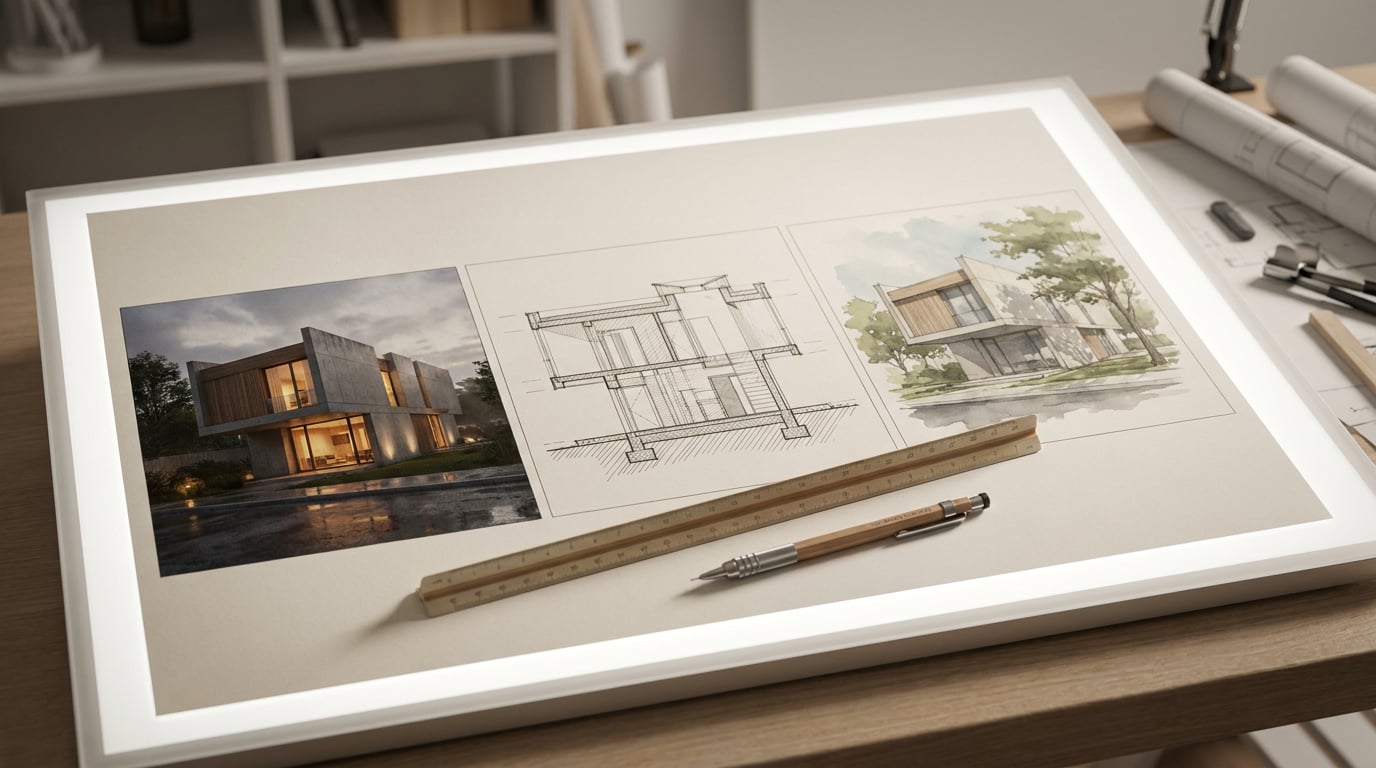
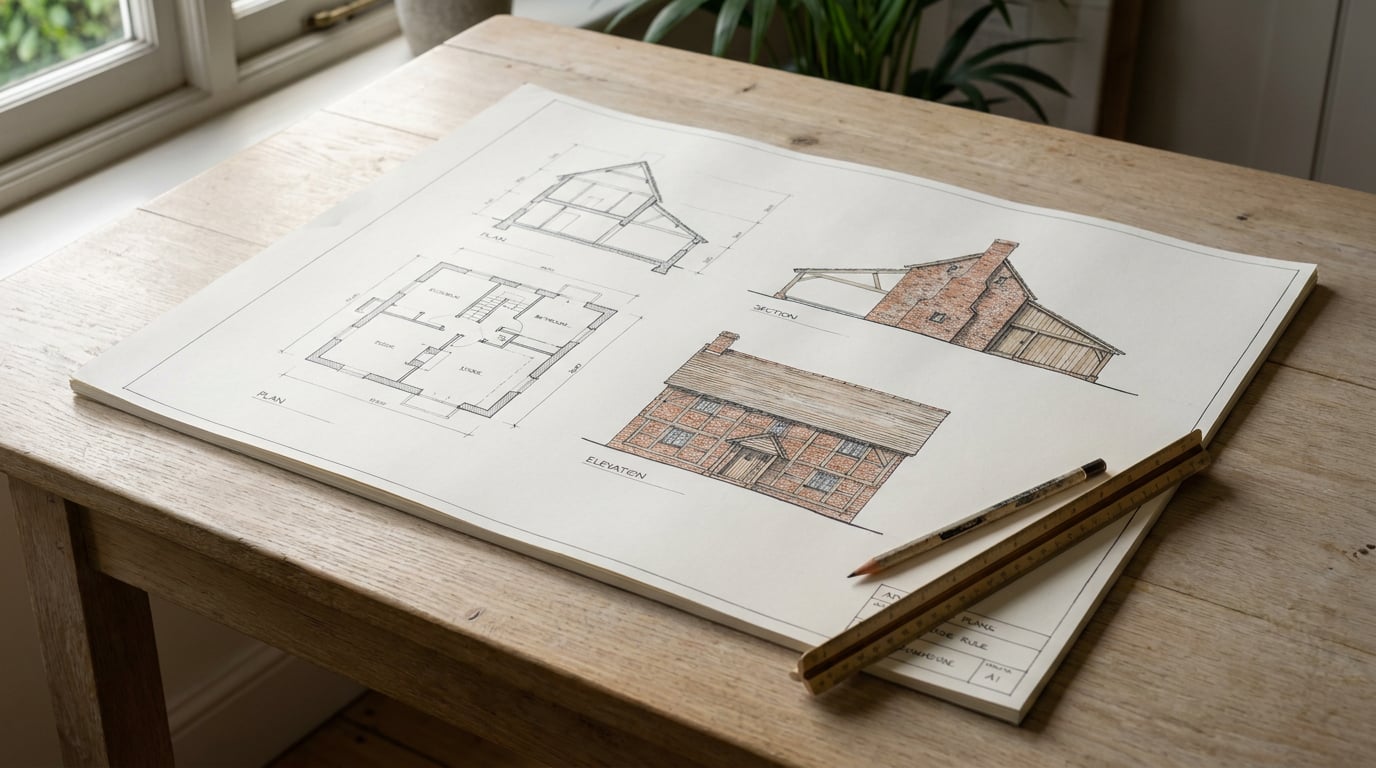
A drawing is not issued until it is on a sheet at a stated scale. Linea exports a drawing sheet as a PDF at a true plotted scale, on a chosen paper size, with a title block. Choose the paper and the scale before you lay the sheet out, not when you export, because both change how much fits and how big the text reads. Fixing them last means reflowing everything. ### Plans, sections and elevations from the same model Sections and elevations are cut from the model as real linework and issued on a sheet like a plan. Because they come from the model, they stay consistent with it. Save views so you can reissue them after the model moves: a saved view is a recorded set of drawing settings you can re-run, which is what makes a revision B quick instead of a rebuild. A saved eye-height view captured mid-walk is useful too, for a client-friendly perspective. ### Context and onward routes Place the scheme on a real location, with ground and surrounding buildings for context. That matters for a planning drawing, where the relationship to neighbours is the whole argument. From there, the work continues in the suite. Send a perspective view straight into the rendering studio. Pass the DXF to Vector for diagrams, or onward to practice CAD. Take the sheets into Layout for the Design and Access Statement. Nothing is trapped in one tool. ### Pre-issue checklist Before anything leaves the office:- Layers named and non-plotting layers marked as such.
- Units confirmed against the drawing's own units.
- Scale set and paper size chosen before layout.
- Views saved so a revision can be reissued.
- Title block filled in: project, drawing number, revision, date, status.
The software gives you the controls for a clean issue. It does not know your issue status, your revision letter or your client's naming convention. Those are yours.
Set paper and scale first, save your views, and run the checklist before you export. A sheet that reads professionally is decided at setup, not at the print button.
Using Corb Inside Linea Without Handing Over the Pen
Corb, the assistant, sits as a chip beside the 2D/3D toggle. It answers questions about the drawing for free. Ask it what is on a layer, how a particular tool behaves, or how to approach a setup, and it replies without touching your credit balance. ### Delegation with approval Corb can also build or change the model on request. Describe what you want and it proposes the job in a card that states the real price. Nothing is drawn until you confirm. That is the whole arrangement: it does the repetitive work, you approve each step, and you can see the cost first. The actions that use credits are building or editing the model through Corb, capturing a 3D diagram, placing render cameras and laying the model out onto sheets. Each is priced on its card before it runs, so you decide with the number in front of you. A from-scratch build and each later edit work the same way. ### Generating a single asset Sometimes the furniture library does not carry what a scene needs: a particular chair, an unusual light fitting. Generating a single 3D asset from a description or a photograph is a separate paid action. It sits in the Generate tab of the Library, the cost is shown before it runs, and the result is placed in the drawing. Use it for the odd missing object, not as a way to populate a whole interior. ### What stays with you Corb saves time on the repetitive parts: blocking a model from a description, setting render cameras, laying out sheets. It does not decide the scale, choose the paper size, pick what goes on a sheet, set the issue status or take responsibility for what leaves the office. It also does not rule on whether a scheme complies with anything. Those calls belong to the architect who carries the liability. A sound way to work: use Corb for the first pass of the tedious, check what it proposes on the card, confirm, then do the sheet setup and issue decisions yourself. Linea gives a small practice a drawing environment that reads professionally. Corb makes it quicker. The judgement on every sheet remains yours.Corb proposes, prices and waits for your confirmation. Let it carry the repetitive modelling and layout, and keep scale, title block and issue status firmly in your own hands.
Keep reading.
Try ArchAdemia Tools for yourself
Draw it, model it, render it, publish it. One place, built for architects and small practices. From £19 a month, all in.