Run a Client Walkthrough Straight From Your Revit Model.
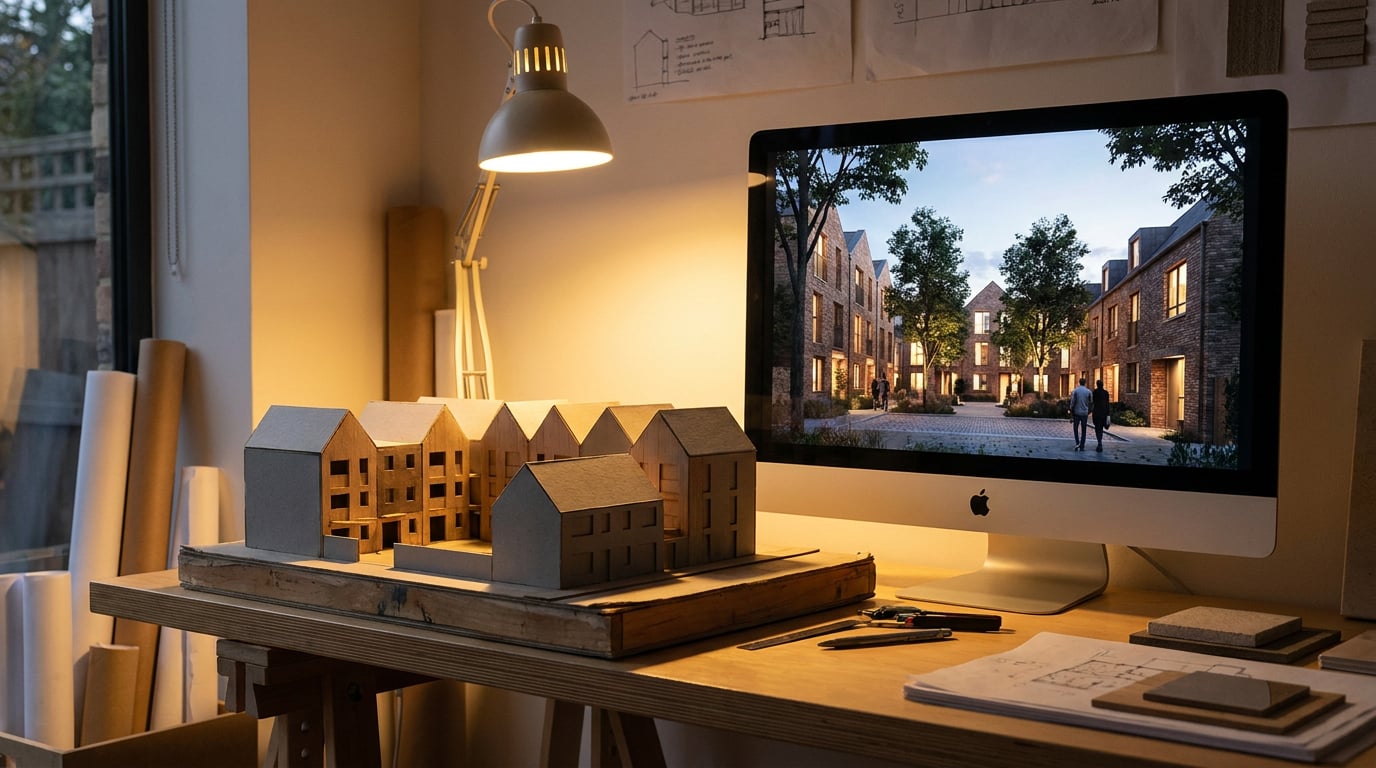
Turn a Revit export into a first-person walkthrough your client opens in a browser, no plugin, no installed viewer, no GPU rig.
Why the model in your BIM software isn't the presentation
Orbiting a Revit view in a client meeting reads as exactly what it is: a working file. Navigation cubes, section boxes, half-hidden linked models and the odd unresolved wall join are furniture your clients aren't trained to filter out. What you see as a model mid-development, they see as unfinished, and that undermines confidence at exactly the moment you need them to sign off.
The traditional fixes each solve half the problem. Rendered stills look polished but flatten the spatial argument: a client can admire a hero shot of the entrance without ever understanding how the entrance connects to the stair, or how the corridor width feels when you're actually standing in it. Desktop GPU renderers like Lumion or Twinmotion solve the movement problem but push the cost onto the client: they need software installed, a capable GPU, and patience for a viewer they've never opened before. None of that belongs in a planning committee's inbox or a client's laptop the night before a site visit.
The gap this article closes is the one between a Revit model and something a client opens unassisted, walks through, and understands without a phone call talking them through it. Revit's own walkthrough tool is genuinely useful here as a first step: Autodesk describes it as a camera path built through key frames in a plan, elevation, section or 3D view, editable once the path is set. That's a solid way to plan a route through the scheme. But the native output is still a Revit-native path meant for internal review and export as an image sequence or video file, not a browser-ready scene a stakeholder can walk themselves. The destination worth aiming for is different: export a GLB from the model and bring it into Linea, which turns it into a first-person walk shared as a link, not a file someone has to download and hope opens.

A rendered still shows a client what a space looks like. A walkthrough shows them what it feels like to stand in it. Neither replaces drawings, but only one of them proves circulation works.
Exporting a clean GLB out of Revit
A GLB carries geometry and materials, nothing else. That's the whole point, but it means what you send matters more than how you modelled it. Not everything in your Revit file needs to make the trip.
What actually needs to travel: walls, floors, roof, glazing, key furniture, and enough site context to orient the viewer, kerbs, boundary treatment, adjacent massing. What doesn't: fixings, rebar, MEP runs, structural connections, and any family that only earns its place in construction documentation. A client walking through a scheme to judge room proportions has no use for a duct run above a suspended ceiling they'll never see modelled at that fidelity anyway.
Before export, purge unused elements and materials from the model. This is standard Revit housekeeping, but it matters more here than usual: every unused family, every orphaned material, every hidden layer is dead weight the exported mesh carries with it. Independent Revit-to-render workflow guidance is consistent on this point: strip construction detail, annotations and unused families before sending a model downstream, and swap heavy parametric elements for simpler optimised geometry where you can. A walkthrough doesn't need a fully parametric stair; it needs a stair that reads correctly at eye level and doesn't clip through the geometry when someone walks up it.
Keep materials simple. Block colours and clean glazing survive a GLB export far better than fussy procedural material stacks that were never going to translate cleanly through a GLB export in the first place. If a material won't read at a glance from six feet away inside the walkthrough, it's not worth preserving the complexity.
A worked example
Take a three-storey mixed-use scheme: retail at ground, offices above, residential on the top floor. Exported at full LOD 400 with site services, cable routing, structural steel connections and internal partition build-ups all present, the file is heavy, slow to load, and full of detail nobody walking the scheme will ever look at directly. Stripped to walls, openings, floors, roof and massing, with furniture blocked in at the right scale, the same scheme exports lighter, loads faster, and puts every ounce of that saved weight into what actually matters for a walkthrough: the client standing at the entrance, looking up the stair, and understanding how the space unfolds.
| Model version | What's included | Good for |
|---|---|---|
| Full LOD 400 | MEP, rebar, fixings, structural connections, full annotation | Construction documentation, coordination |
| Stripped for walkthrough | Walls, floors, roof, glazing, furniture, site context | Client walkthrough, spatial sign-off, planning review |
If a detail only matters to a contractor reading a section, it doesn't need to survive the export. Strip it before it slows down the file someone else has to open.
From GLB to a walkable scene in Linea
Bring the GLB in from Linea's Import tab and it lands in the drawing as geometry you can walk. Do the weight-saving on the way out of Revit rather than after: what you export is what runs in the browser, so hiding the linked consultant models and the detail nobody sees at eye level is the step that matters, and it takes minutes rather than the retopology work a real-time engine would ask of you.
You're dropped in at eye level with collision switched on. That single detail changes what the walkthrough is for. Instead of orbiting above the model looking down at a stair, your client walks up it. Instead of admiring an entrance from a hero camera angle, they approach it the way a visitor actually would, at their own pace, at their own height. This is where a walkthrough earns its place over a render: it tests circulation the way plans and sections can't, because plans and sections are read, not walked.
Check the circulation-critical thresholds first, before you send anything to a client. Door widths. Stair headroom. The approach sequence into the entrance, whether it feels generous or cramped once you're standing in it rather than looking at it in plan. These are exactly the moments a walkthrough proves a design decision worked, or exposes one that didn't. A corridor that reads fine at 1:100 can feel tight the moment someone's actually standing in it, and it's far better for you to find that out before a client review than during one.
Building the walkthrough is desk work, which is worth knowing at the planning stage of your week, not a limitation on how the finished piece gets shared. You do the work at your desk; the walkthrough itself is not tied to that machine once it's built, and it opens on a phone as readily as a laptop.

A walkthrough is the only output that tests circulation the way it will actually be experienced: at eye level, on foot, one threshold at a time. That's the argument no plan or render can make on its own.
Sharing it: a link beats a file every time
Share a /play link and it opens in any browser. A planning officer, a client, a design review panel member: none of them need software installed, none of them need a GPU that can handle a real-time renderer, none of them need you on the phone talking them through a viewer they've never used before. That single fact removes the most common failure point in sending anyone anything visual: the moment they can't open it.
The link is the delivery mechanism, so treat connectivity as something to check rather than assume. A site visit with no signal, a boardroom pitch on a machine you don't control, a committee meeting in a building with patchy Wi-Fi: open the walkthrough once before you need it, and keep a set of stills from the same scheme as your fallback.
Compare that against the alternative. Send a Lumion export or an .fbx file and you're hoping the recipient has the right viewer installed, the right plugin, the right version. That hope is doing a lot of work it shouldn't have to do. A browser link removes the entire failure point: there's nothing to install, nothing to configure, nothing that can go wrong beyond an internet connection.
The practical use case writes itself. Attach the /play link to a Design and Access Statement, and a planning officer can walk the entrance sequence and approach before they've even scheduled a site visit. Email it ahead of a planning committee meeting, and members can walk the scheme in their own time, at their own pace, before the room discussion starts. That's a materially different starting point for a discussion about massing or overlooking than a stack of elevations they've skimmed once.
A link a client opens on their own laptop is worth more than a beautifully rendered file they can't. Access is the feature.
Where this fits alongside your other outputs
A walkthrough doesn't replace drawings or renders. It sits alongside them, doing a job neither can do on its own: making the spatial argument that a plan and section, however well drawn, can't fully carry on paper. A section shows a stair's rise and run. A walkthrough shows what it feels like to climb it.
Your static renders for the DAS and your competition boards still come from Composer or Image generation, and that division of labour is worth keeping deliberate. Use a rendered still where you need a fixed, composed, polished image: the hero shot for a competition panel, the material study for a client deck, the atmospheric view that sells a concept in a single frame. Use the walkthrough as the leave-behind for stakeholders who need to feel scale rather than read a section, the planning officer weighing up an entrance sequence, the client trying to picture their kitchen extension before committing to it.
If the scheme was modelled in Linea rather than Revit, the same workflow applies without modification. Linea exports GLB, OBJ or STL directly from the model, so the walkthrough pipeline isn't tied to one authoring tool. Whether your scheme started in Revit for a larger multi-storey project or in Linea for a faster-moving residential job, the export path into Linea is the same: clean the geometry, keep the materials simple, export, import, walk it.
Keep version discipline. Reissue the walkthrough every time the design moves meaningfully, in the same way you'd reissue a rendered view after a client comment changes the massing. A walkthrough tied to an outdated scheme is worse than no walkthrough at all: it shows a client or a committee a building you're no longer proposing, and that's a harder conversation to walk back than simply not having sent anything yet.

Takeaway
The Revit model you work in and the walkthrough your client experiences should never be the same file. Strip the model down to what a viewer actually needs to see, export it clean as a GLB, and let Linea turn it into a first-person walk shared as a link rather than a download. Your drawings still carry the technical argument. Your renders still carry the atmosphere. The walkthrough carries the one thing neither can: the feeling of standing in a space that doesn't exist yet, before anyone's committed to building it.
Keep reading.

Try ArchAdemia Tools for yourself
Draw it, model it, render it, publish it. One place, built for architects and small practices. Plans from £29 a month, all in.