Hand Sketch to Finished Render: A Step-by-Step Architecture Workflow.
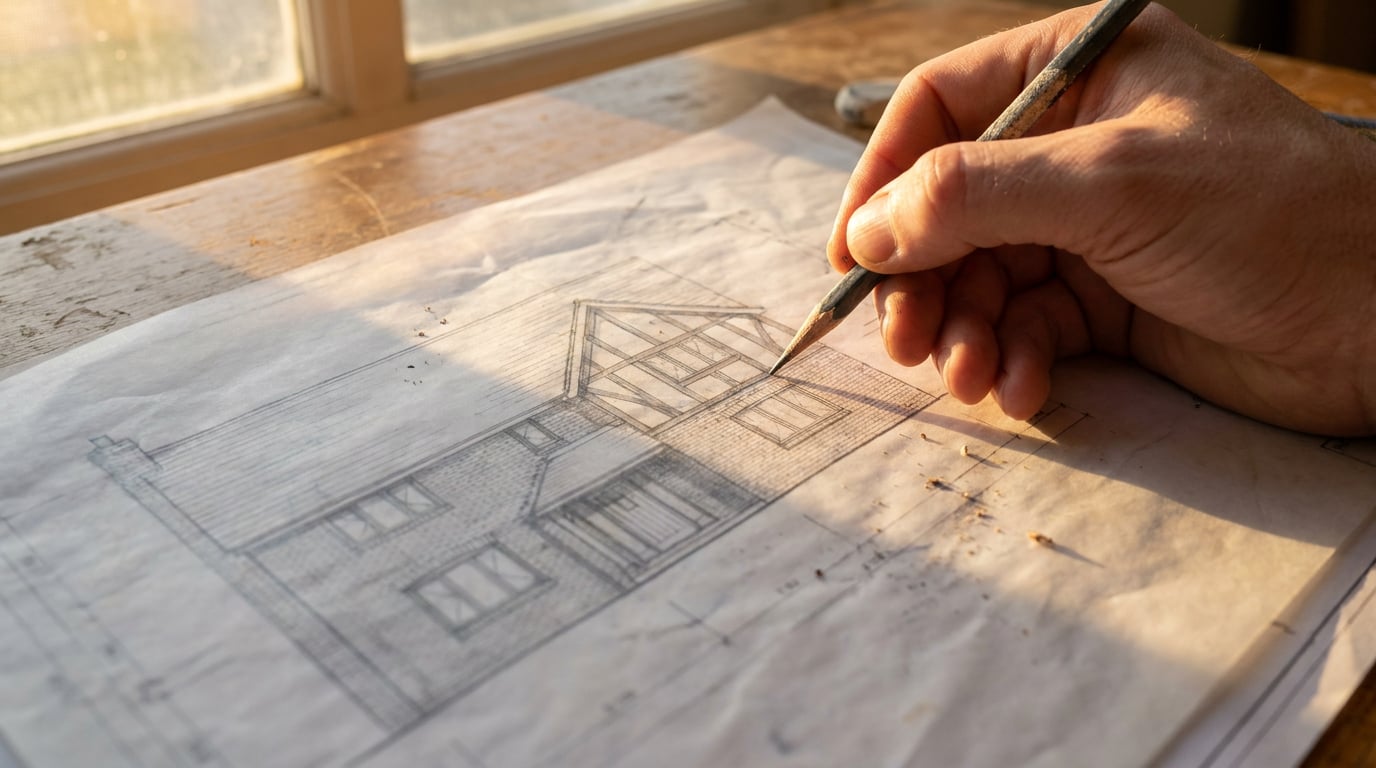
A concept sketch on paper can reach a client-ready render without leaving one platform. Here is the route, step by step, with the checks that keep the geometry honest.
A sketch on tracing paper has a short life. It sits in a notebook, gets photographed badly, and then someone redraws it from scratch in CAD because the original has no scale and no geometry anyone can trust. This guide covers a better route: capture the sketch properly, give it a real scale, block out the massing, render a view, retouch it, and put it on a sheet. The principle running through every step is that the model is the source of truth and the render is a visual layer on top of it.
The same hand-to-finished pattern holds well beyond buildings. An industrial designer takes a concept doodle to a material study. A landscape designer takes planting massing to a seasonal visual. An exhibition designer takes a visitor route to an installation view. In each case the sketch carries the intent, and everything after it should serve that intent rather than overwrite it.
The five steps below run inside ArchAdemia Tools, using Vector, Linea, Shoot, Retouch and Layout, with Corb on hand throughout.
1. Get the Sketch Into the Platform Without Losing the Idea

Capture decides how much of the sketch survives. Photograph it flat and square, in even daylight. Tracing paper is the usual culprit: a phone flash or a window reflection bleaches the linework and the trace that follows will be patchy. Tape the sheet down, stand directly above it, and keep your own shadow out of the frame.
On desktop, drop the photograph into Vector and run Image Trace. It turns the photograph into real, editable paths on their own layer, placed over the photograph at its original size and position. The photograph is hidden rather than deleted, so you can switch it back on and compare the trace against the original at any point.
Two practical checks before you trace:
- The file needs to be a PNG, JPEG or WebP under 5MB. Resize a large phone photo first.
- Image Trace uses credits, and the cost shows before it runs, so there is no surprise at the end.
Once the paths land, tidy them. Use Direct Select to reach inside the traced group, delete stray marks left by paper grain or pencil smudges, and reshape any anchor that wandered.
If you only have a phone on site
Both studios open a stripped-back version on a phone rather than a locked wall. Vector's Companion lets you photograph a sketch straight onto a document. Linea's phone view lets you add a photographed sketch as a trace guide. Both stay uncalibrated until someone sets a real-world length on desktop, so treat them as capture tools, not measuring tools.
Set a real scale straight away
In Vector, pick a standard metric or imperial ratio, or calibrate against a known distance, such as a dimension you wrote on the sketch or a door width you remember measuring. From that moment the drawing stops being a picture. The Measure tool reports real distances, and hovering a closed shape gives its area and perimeter. Until a scale exists, readings are paper millimetres and are flagged as such. A true scale bar regenerates whenever the scale changes.
A sketch with a calibrated scale is a drawing. A sketch without one is a picture of an idea. Set the scale before you do anything else with it.
2. Block Out the Massing Before You Chase Detail

Resist the urge to add windows and materials while the volume is still wrong. Move to Linea and open the Massing workspace. It is a direct-modelling toolset over the same drawing, built for blocking out a scheme quickly:
- Place a footprint. It lands flat as an unextruded face.
- Push the face into a solid.
- Drag an edge upwards to pitch a roof.
- Draw a Rectangle on a face to set out a window, then Extrude to punch it clean through.
Bring the traced plan, or the photographed sketch, in as a guide and model over it. Because the Vector trace carries a real scale, the footprint can sit at true size instead of being eyeballed.
Type sizes, do not drag them
Mid-gesture, start typing a number. It lands in a box beside the cursor, Enter applies it, and Tab steps between values when a gesture takes more than one. Lengths read in the drawing's own units, so 6ft and 1200mm both parse. A storey height of 2700mm is a typed fact, not a drag that happened to stop near the right place.
Group, then build
Group blocks to hide scaffolding without deleting it. Once the massing is settled, switch to Build for parametric walls, doors, windows, stairs and roofs, with levels stacking into storeys.
One honest boundary: Linea is a drawing and modelling tool for everyday practice work, not a BIM package. If the project already lives in Revit or ArchiCAD, import the IFC and work from that rather than rebuilding. Linea parses IFC in the browser, and nothing is uploaded.
Use Corb as a second pair of eyes
The Corb chip beside the 2D/3D toggle answers questions about the drawing for free. Ask it about proportion, how the volume meets the ground, or whether the opening rhythm is doing what you intended. If you ask it to build or change the model, it proposes the job in a card that states the real credit price. Nothing is drawn until you confirm.
Corb will name a planning or regulatory issue worth checking and say who decides it. It will not tell you a scheme complies. That call stays with whoever carries the professional liability.
Block out volume first, detail second. A render of the wrong massing is just a more convincing mistake.
3. Set Up the Camera and Send the View to the Render Studio

Choose the view the scheme is sold on. That is almost always eye height from the approach, the view a planning officer, a client or a neighbour would actually have, not a bird's-eye view that flatters the massing. Think of it as the same discipline a set designer applies to the audience's sightline: the view that matters is the one people will really see.
In Linea, place render cameras, or send a perspective view straight into the rendering studio. Capturing a view and placing cameras use credits, and the price shows first.
Paint what you want the render to read
New geometry in Linea is born in flat painted colour, never texture. A new wall is white, floors and roofs are light grey, metalwork is plain metal. A photographic finish only appears on a surface because you painted it there. So before you capture a view, paint the surfaces that need a material read: brick on the main elevation, timber on the soffit, dark metal on the roof. The render can only describe what the model shows.
A full set of stills
For a range of angles, use Shoot. It generates a full set of camera angles for a scheme, with exterior and interior handled separately. A finished set of stills is a complete outcome on its own. Animation is optional, and a planning image, a competition board or a portfolio sheet does not need it.
Prompt for light and camera, not adjectives
Write around the things a photographer controls: where the light comes from, the camera height, who is standing in the frame. "Late afternoon sun low from the left, camera at 1.6m, two figures at the entrance" does more work than "beautiful atmospheric render". Corb's render-craft advice on the canvas covers the same ground in photographic terms: foreground occlusion, one dominant light, depth falling into haze.
| Weak prompt | Stronger prompt |
|---|---|
| Stunning modern pavilion, atmospheric | Eye-height view from the approach path, one low sun from the left, wet paving, two figures at the entrance, distance falling into haze |
| Cosy interior, warm and inviting | Camera at seated height, daylight from a single window on the right, timber table in the foreground partly occluding the view |
The render can only describe what the model shows. If a surface matters, paint it before you capture the view.
4. Fix the Render in Retouch, Not by Regenerating
Every architect has regenerated a whole image to fix one bad corner and lost the three things that were working. Retouch exists to stop that. It is non-destructive, so edits land on real layers and the original stays safe underneath.
Fix one area, keep the rest
Select only the offending region, such as a warped balustrade or a smeared window head, and use mask-plus-prompt generative fill. The result lands on a real new layer. If you do not like it, switch the layer off.
Rescue soft or repetitive areas
On wide renders, detail often goes soft in the distance or repeats across a large facade. Enhance area re-renders a selected region at higher resolution with no prompt and composites it back through the selection.
Select by description, swap the material
Retouch can select by typed description. Type "all the brickwork" and it selects every matching region. Then use Material swap with an attached reference to change the texture, again as a toggleable layer. The same trick serves an interior designer testing three flooring options in one afternoon.
Test the light
Six one-click re-light presets regenerate the document at a different time of day or weather: Golden hour, Dusk, Blue hour, Night, Overcast and Sunny. Each arrives as a new layer, so the original is never touched. Run them before the client meeting and you will know which version of the scheme reads best.
Grade without committing
The Adjust panel's grade lives as its own maskable adjustment layer, so colour work stays editable until export.
Never regenerate a whole image to fix one corner. Mask the problem, fix it on its own layer, and keep everything that already works.
5. Put It on a Sheet and Check What You Are Promising
A render nobody sees is a private exercise. Layout is where the scheme leaves the building. It has two modes over one document model:
- A Sheet: one large surface, A1 landscape by default. This is the crit board, the competition panel, the pin-up.
- A Document: many pages at A3. This is the Design and Access Statement, the portfolio, the report.
Start from one of the seven templates (Image-led Board, Competition Board, Presentation Board, Design and Access Statement, Portfolio, Project Book, Client Deck). They arrive with placeholder text and image frames only, so nothing needs undoing before you begin. Drag imagery in from the gallery, set type from the self-hosted type library, pull guides off the rulers, and use the layout grid (Manuscript, Columns or Modular) to align everything. The grid is a reference overlay and never appears in an export.
Export properly
Export a vector multi-page PDF at true sheet size, with optional bleed and crop marks if it is going to print. For a client or a tutor who just needs to look, share a read-only webpage link. It stays current as you edit the document, and it can be revoked or re-issued. Free-trial links carry a small footer; paid plans remove it.
Read the render against the drawing
Before the sheet leaves the building, check what it promises. A render is an interpretation. Lay it next to the Linea model and verify:
- Massing: does the silhouette match?
- Openings: are the windows where the model puts them, and the right number?
- Storey heights: do the floor lines agree with the typed values?
Anything the render has quietly changed, either fix in Retouch or take back to the model. Compliance and planning calls stay with whoever carries the professional liability. A good-looking image does not make a scheme compliant.
Close the loop
Send the plan out of Linea as DXF or as a scaled PDF sheet on a chosen paper size with a title block. The sketch that started on tracing paper now exists as drawings, a render and a presentation sheet, all from one workspace.
The takeaway is the order of operations. Capture the sketch properly, give it a scale, model it, render the view that sells it, correct the image on layers, and check it against the model before it goes out. Generative tools earn their place at the appearance stage. Geometry stays yours.
Keep reading.
Try ArchAdemia Tools for yourself
Draw it, model it, render it, publish it. One place, built for architects and small practices. From £19 a month, all in.