From Competition Brief to Shortlist: A Small Practice's Five-Week Workflow.
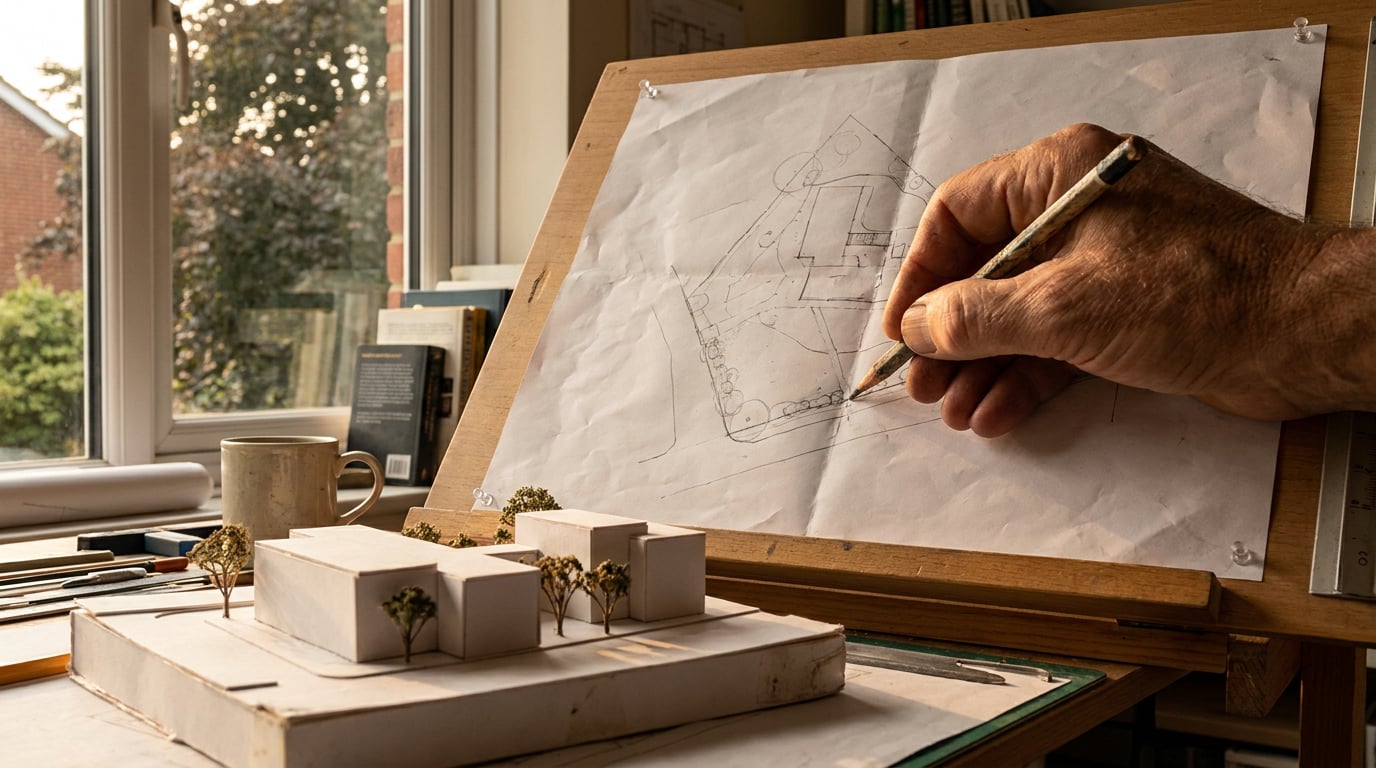
A week-by-week workflow for a small practice: read the brief, block out the scheme, render it, lay out the board and submit, inside one platform.
Week One: Read the Brief Before You Draw a Line
 Most competition entries are lost in the first week, and not for lack of talent. A team starts modelling before it has agreed what the scheme is for, then spends week four defending decisions nobody made on purpose. A five-week schedule only works if week one is spent reading.
Open a Project in ArchAdemia Tools for the competition and load everything into it: the brief, the site documents, the planning context, the organiser's Q&A. Every later step then works from the same source. Chat, research and drafting all read the same project, so nothing gets re-explained in week three.
### Research the site and the jury
Use the Research surface for the background reading. Pull the site's history, comparable schemes on similar plots, and whatever the jury has published about its own taste: previous winners, juror practices, the language in past reports. Check anything that matters against the primary source before it goes near a board. Drop the findings that earn their place onto the project knowledge shelf, and leave the rest.
The competition ecosystem is wider than facade renders. Current AI-in-architecture programmes span architecture, landscape, urban design and masterplanning, interiors, diagrams and mapping, animation, and real-estate development. Read your own brief the same way. A masterplan competition rewards a clear site strategy and a legible diagram. An interiors competition rewards material and atmosphere. A development competition needs a viability narrative. Decide which of these your jury is really asking for.
### Have Corb read the brief against the project
Ask Corb to read the brief against the project notes and name the risks. He will flag the planning, daylight or accessibility issues that matter, say why they matter, and say who decides them: the planning authority, the consultant, the client. That is issue-spotting, and it is deliberately fenced. Corb flags issues and never rules on compliance. Whether your scheme complies stays with whoever carries the professional liability. He also asks for any dimension the brief does not give rather than inventing one. If the brief is silent on the height limit, he asks for the number.
This matters because general-purpose language models are good at reading a long document and poor at certifying one. Treat his output as a checklist of questions for the team, and take the answers to the people who are responsible for them.
Most competition entries are lost in the first week, and not for lack of talent. A team starts modelling before it has agreed what the scheme is for, then spends week four defending decisions nobody made on purpose. A five-week schedule only works if week one is spent reading.
Open a Project in ArchAdemia Tools for the competition and load everything into it: the brief, the site documents, the planning context, the organiser's Q&A. Every later step then works from the same source. Chat, research and drafting all read the same project, so nothing gets re-explained in week three.
### Research the site and the jury
Use the Research surface for the background reading. Pull the site's history, comparable schemes on similar plots, and whatever the jury has published about its own taste: previous winners, juror practices, the language in past reports. Check anything that matters against the primary source before it goes near a board. Drop the findings that earn their place onto the project knowledge shelf, and leave the rest.
The competition ecosystem is wider than facade renders. Current AI-in-architecture programmes span architecture, landscape, urban design and masterplanning, interiors, diagrams and mapping, animation, and real-estate development. Read your own brief the same way. A masterplan competition rewards a clear site strategy and a legible diagram. An interiors competition rewards material and atmosphere. A development competition needs a viability narrative. Decide which of these your jury is really asking for.
### Have Corb read the brief against the project
Ask Corb to read the brief against the project notes and name the risks. He will flag the planning, daylight or accessibility issues that matter, say why they matter, and say who decides them: the planning authority, the consultant, the client. That is issue-spotting, and it is deliberately fenced. Corb flags issues and never rules on compliance. Whether your scheme complies stays with whoever carries the professional liability. He also asks for any dimension the brief does not give rather than inventing one. If the brief is silent on the height limit, he asks for the number.
This matters because general-purpose language models are good at reading a long document and poor at certifying one. Treat his output as a checklist of questions for the team, and take the answers to the people who are responsible for them.
A model that spots issues in the brief saves you an afternoon. A model that rules on compliance is a liability. Keep Corb on the first job.
Week Two: Block Out the Scheme in Linea
 With the idea agreed, week two is about testing massing quickly and choosing one direction. Linea is the drawing and modelling lane: a 2D plan and a 3D model of the same building, edited together rather than one generated from the other.
### Bring the site in cleanly
Import the site CAD file as DXF or DWG, or an IFC export from Revit or ArchiCAD. Practice CAD files rarely arrive tidy. A single model space often holds twenty-odd drawings on the same layers. The import dialog draws the file before it lands and finds each separate drawing inside it, so one click on an outlined region crops the import to the single site plan you need, cut clean at the edge. Where the detection misses, drag your own box.
### Test three or four options
Switch to the Massing workspace. Place footprints, push each into a solid, pitch a roof by dragging an edge up, and group blocks to hide scaffolding without deleting it. The point is speed: three or four distinct options in a day, none of them precious. When one direction survives, move to Build for the detailed walls, doors and windows.
Place the scheme on its real location, with ground and surrounding buildings, then walk the model in first person. The entrance sequence is where a jury forms its impression, and walking it exposes problems a plan view hides: a door that lands awkwardly against a level change, a stair that feels cramped for the first three metres.
### Ask Corb for design advice on the massing
Show Corb an untextured massing view and ask about footprint, height against the neighbours, roof form and opening rhythm. He reads the view against the project notes he already holds, including the Week One sentence. He will say nothing about material, because a model with no finishes cannot show it. Expect observations like a cornice line that fights the adjoining terrace, not a verdict on the scheme.
### Send the plan out
Export a DXF of the plan for the structural or planning consultant and keep working in the same model. The consultant gets real CAD linework, and you do not rebuild anything.
With the idea agreed, week two is about testing massing quickly and choosing one direction. Linea is the drawing and modelling lane: a 2D plan and a 3D model of the same building, edited together rather than one generated from the other.
### Bring the site in cleanly
Import the site CAD file as DXF or DWG, or an IFC export from Revit or ArchiCAD. Practice CAD files rarely arrive tidy. A single model space often holds twenty-odd drawings on the same layers. The import dialog draws the file before it lands and finds each separate drawing inside it, so one click on an outlined region crops the import to the single site plan you need, cut clean at the edge. Where the detection misses, drag your own box.
### Test three or four options
Switch to the Massing workspace. Place footprints, push each into a solid, pitch a roof by dragging an edge up, and group blocks to hide scaffolding without deleting it. The point is speed: three or four distinct options in a day, none of them precious. When one direction survives, move to Build for the detailed walls, doors and windows.
Place the scheme on its real location, with ground and surrounding buildings, then walk the model in first person. The entrance sequence is where a jury forms its impression, and walking it exposes problems a plan view hides: a door that lands awkwardly against a level change, a stair that feels cramped for the first three metres.
### Ask Corb for design advice on the massing
Show Corb an untextured massing view and ask about footprint, height against the neighbours, roof form and opening rhythm. He reads the view against the project notes he already holds, including the Week One sentence. He will say nothing about material, because a model with no finishes cannot show it. Expect observations like a cornice line that fights the adjoining terrace, not a verdict on the scheme.
### Send the plan out
Export a DXF of the plan for the structural or planning consultant and keep working in the same model. The consultant gets real CAD linework, and you do not rebuild anything.
Block out fast, walk the model early, and stop modelling once the massing answers your one-sentence idea.
Week Three: Render the Three Images That Win the Jury
 Week three produces the images the jury will actually look at, so spend the time on three that carry the idea and not on thirty.
### Get the views out of the model
Send perspective views from Linea straight into the rendering studio. If you want to pose entourage and use an explorable environment as a backdrop, capture views in Composer instead, where a Worlds environment can sit behind the scene. Composer's posing and capture are desktop work.
### Generate stills, not a film
In Shoot, generate a set of exterior camera angles and, separately, interior ones. A finished set of stills is a complete outcome on its own. Competition boards are static, and most jury time is spent on a single sheet, so there is no need to animate anything.
Video has its place, but spend on it deliberately. Third-party comparisons of video-generation costs, largely from vendor or vendor-affiliated sources and therefore only indicative, put per-second API rates anywhere from a few cents for lighter modes to several tens of cents for flagship modes, with a ten-second clip from some models costing around a pound to a few pounds. Resolution, audio, duration and platform mark-up all differ, so the figures are not directly comparable. The sensible reading is that a short entrance-sequence study or an atmospheric teaser is affordable as a one-off, and animation as a default deliverable is not. If you do test models, test two or three against your actual board image rather than trusting any ranking, since claims that one model has the strongest realism are vendor marketing and not independent benchmarks.
### Vary one hero image along one axis
On the canvas, ask Corb for a set of two to six variations off one hero image, varied along a single axis: lighting, weather, camera, entourage or grade. The result is four ways the same corner reads, at different times of day, and not four different buildings. Each prompt carries a server-composed clause that holds the geometry, massing and openings still. It is a preservation instruction, not a lock, so check every result against the model. If a window has migrated or a roof has changed pitch, reject that frame. The variations land idle, so nothing is charged until you run them.
### Finish in Retouch
Retouch handles the finishing, and every edit lands on a layer so nothing is baked in:
Week three produces the images the jury will actually look at, so spend the time on three that carry the idea and not on thirty.
### Get the views out of the model
Send perspective views from Linea straight into the rendering studio. If you want to pose entourage and use an explorable environment as a backdrop, capture views in Composer instead, where a Worlds environment can sit behind the scene. Composer's posing and capture are desktop work.
### Generate stills, not a film
In Shoot, generate a set of exterior camera angles and, separately, interior ones. A finished set of stills is a complete outcome on its own. Competition boards are static, and most jury time is spent on a single sheet, so there is no need to animate anything.
Video has its place, but spend on it deliberately. Third-party comparisons of video-generation costs, largely from vendor or vendor-affiliated sources and therefore only indicative, put per-second API rates anywhere from a few cents for lighter modes to several tens of cents for flagship modes, with a ten-second clip from some models costing around a pound to a few pounds. Resolution, audio, duration and platform mark-up all differ, so the figures are not directly comparable. The sensible reading is that a short entrance-sequence study or an atmospheric teaser is affordable as a one-off, and animation as a default deliverable is not. If you do test models, test two or three against your actual board image rather than trusting any ranking, since claims that one model has the strongest realism are vendor marketing and not independent benchmarks.
### Vary one hero image along one axis
On the canvas, ask Corb for a set of two to six variations off one hero image, varied along a single axis: lighting, weather, camera, entourage or grade. The result is four ways the same corner reads, at different times of day, and not four different buildings. Each prompt carries a server-composed clause that holds the geometry, massing and openings still. It is a preservation instruction, not a lock, so check every result against the model. If a window has migrated or a roof has changed pitch, reject that frame. The variations land idle, so nothing is charged until you run them.
### Finish in Retouch
Retouch handles the finishing, and every edit lands on a layer so nothing is baked in:
- Enhance area re-renders a selected region at higher resolution with no prompt, which suits wide renders where paving or planting has gone soft or repetitive.
- Material swap replaces a facade's texture to match an attached reference, as a toggleable layer.
- The six re-light presets (golden hour, dusk, blue hour, night, overcast, sunny) regenerate the whole document at a different time of day or weather, so you can put dusk against overcast and choose honestly.
Three considered images beat thirty adequate ones. Vary a single axis at a time, and check every frame against the model.
Week Four: Lay Out the Board and Write the Statement
The board is where a good scheme either reads in ten seconds or does not. Layout is the sheet a scheme leaves on, and for a competition it has a template ready. ### Start from the grid Open the Competition Board template, which defaults to A1 landscape, and turn on the layout grid. Choose Manuscript, Columns or Modular. Renders, plans and type then snap to one structure. The grid is a reference overlay only and never appears in an export. A jury reading forty boards in a day rewards alignment, whether or not they notice it. ### Place the drawings properly Place the renders from the gallery. Bring plans and sections in as vector linework through Vector, which imports vector-ready PDFs, DXF and SVG as real editable paths, so line weights stay crisp at A1 instead of dissolving into a raster. Set the drawing's real-world scale and the rulers read true metres, so a 42mm line at 1:100 spans 4.2m. Add the north point, scale bar and key diagrams as SVG layers. Clipping masks help here: they crop an imported sheet to one drawing without deleting anything. ### Set the type with discipline Choose from the self-hosted type library of 300 openly licensed families, or upload the practice's own brand fonts to carry across Retouch and Layout. Keep the hierarchy to one idea per panel. A board with a single clear sentence per panel and a visible reading order outperforms one that tries to say everything. ### Draft the statement, then rewrite it Select a text frame and ask Corb to draft the concept statement from your Week One sentence. Or have him build a first-pass document from a template page by page, on the writing model you pick. Treat the draft as raw material. Competition statements that read like everyone else's are forgettable, so rewrite it in the practice's own voice. Whichever model you use, check every factual claim in the text yourself.Set the grid first, keep one idea per panel, and let the draft statement be a starting point you rewrite.
Week Five: Export, Check and Submit
The final week is for clean files, a rules audit and a calm submission, not for last-minute redesign. ### Export at true size Export a vector multi-page PDF at true sheet dimensions, with bleed and crop marks if the organiser wants a printed copy, plus a PNG of each panel for the submission portal. Vector output keeps linework and type sharp at any reproduction size. ### Run the rules as a checklist Treat the competition rules as a literal checklist:- File size: within the portal's limit for every upload.
- Anonymity: no names, logos or identifying metadata on the boards or in the files.
- Sheet count: exactly what the brief allows.
- Title block: the organiser's format, with no identifying marks.
| Week | Focus | Main surfaces | Deliverable |
|---|---|---|---|
| 1 | Brief, research, one idea | Projects, Research, Corb | One-sentence concept and three target images |
| 2 | Massing and site | Linea, Corb | One chosen massing, DXF to consultants |
| 3 | Images | Shoot, Canvas, Retouch | Three finished hero images |
| 4 | Board and statement | Layout, Vector, Corb | Complete A1 board draft |
| 5 | Export, check, submit | Layout | Submitted entry and archived project |
The tools compress the production, but the idea still wins the competition: agree it in week one, test every later decision against it, and keep compliance and final judgement with the people who carry the responsibility.
Keep reading.

Try ArchAdemia Tools for yourself
Draw it, model it, render it, publish it. One place, built for architects and small practices. Plans from £29 a month, all in.