Revisions After Pre-App Feedback Without Starting Over.
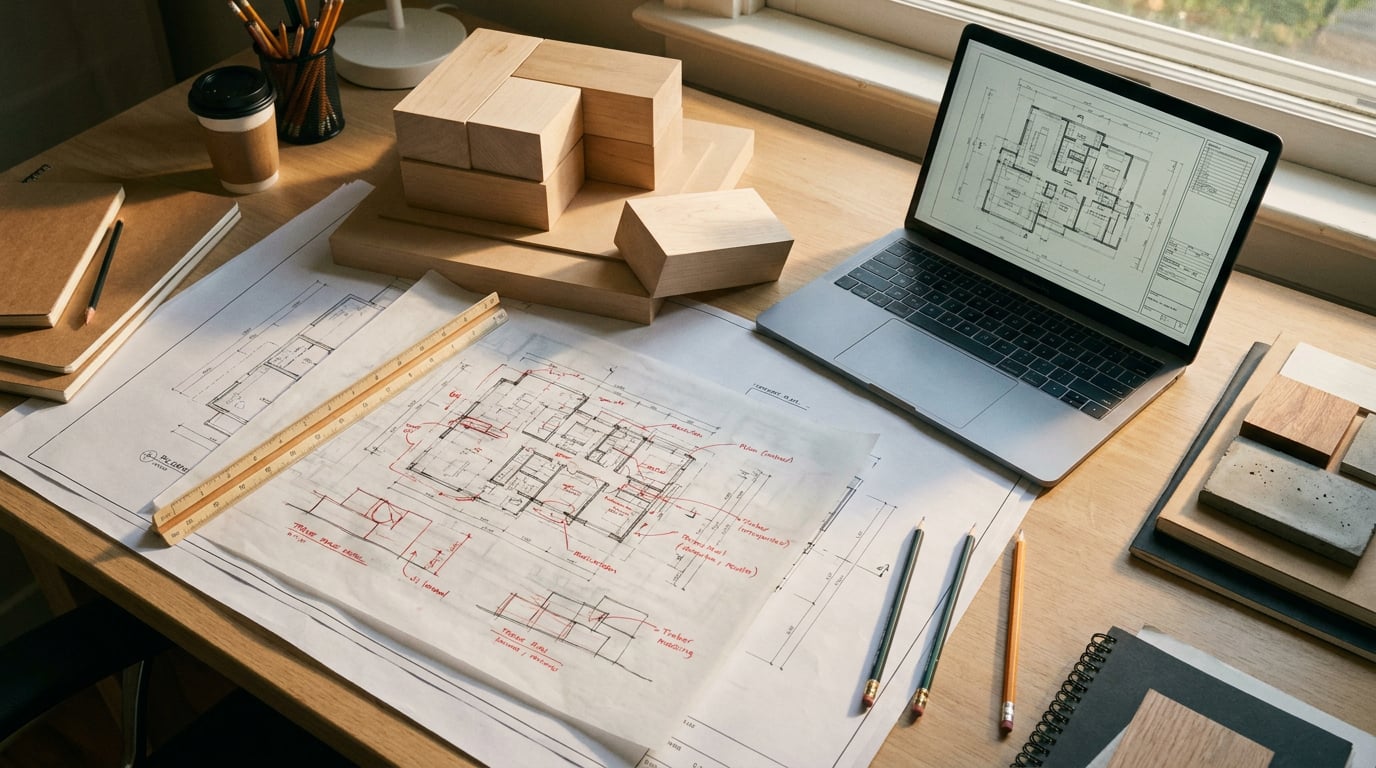
Pre-app feedback lands as a list of comments, not a redesign. Here is how to update plans, renders and your Design and Access Statement without rebuilding.
Triage the Officer's Comments Before You Touch a Drawing
 The pre-app response lands, and the instinct is to open the drawings and start fixing. Resist it for an hour. Most revisions that spiral into a week of rework started with an unsorted list of comments, not with a difficult design problem.
Read the response once, then sort every comment into one of three buckets:
- Changes the geometry. Reduce the bulk, step the top storey back, move the footprint off the boundary, lower the ridge.
- Changes the story. The massing stays, but the justification does not. Officers often want the design rationale reframed around local character, or the relationship to a neighbour explained more clearly.
- Changes neither. A clarification, a request for evidence, a question about access or refuse storage.
| Officer comment | Response | Sheets and statement paragraphs touched | Deliberately not changing, and why |
|---|---|---|---|
| Top storey reads dominant from the street | Step back 1.2m from the front elevation | Plans L02, elevation 01, section A, DAS para 4.3 | Storey heights: unchanged, already agreed |
| Clarify bin store capacity | Add dimensioned bin store detail to site plan | Site plan, DAS para 6.1 | Footprint of the store: unchanged |
Sort comments by what they change, not by the order the officer wrote them. Only geometry comments should send you back to the model.
Change the Model Once, Then Reissue Every View From It
 Revisions snowball for one reason: each drawing was edited by hand. Move a wall in the ground floor plan and you must also move it in the first floor, both elevations, two sections and the 3D view you sent to the visualiser. Miss one and the officer finds the inconsistency before you do.
The fix is structural. Edit the authoritative model once and cut everything else from it. In Linea, the plan and the 3D model are one building, so moving a wall, resizing a window or pitching a different roof updates both at once. There is no separate drawing to fall out of step.
### Big moves first, in Massing
Take the comments from your geometry bucket and sort them by scale. The big moves (reduce the bulk, step the top storey back, shift the footprint off a boundary) belong in the Massing workspace. It is a direct-modelling toolset over the same drawing: push a footprint into a solid, split faces, drag an edge up to pitch a roof, group blocks to hide scaffolding without deleting it. Get the envelope right here, where changes are quick and the detail is not in the way.
Only once the envelope answers the officer's concern should you switch to Build for the fine work: doors, windows, stair detail. Doing it in this order avoids the classic waste of carefully detailing a window that the massing change then moves.
### Type the numbers the officer gave you
When a comment contains a figure, such as a 1.2m setback or a ridge lowered by 600mm, do not drag and eyeball it. Start typing during the gesture and the value lands in a box beside the cursor. Press Enter and it applies; Tab steps between values where a gesture takes more than one. Lengths read in the drawing's own units, so 1200mm and 4ft both parse.
This matters for the paper trail as much as accuracy. If the response letter says "step back by 1.2m", the model should hold exactly 1.2m, not 1.19.
### Reissue sections and elevations, do not redraw them
Linea cuts sections and elevations from the model as real linework and keeps saved views you can reissue after the model moves, including a saved eye-height view captured mid-walk. After the massing change, you are not redrawing the street elevation. You are reissuing it.
When the set is ready, export the sheet as a PDF at a true plotted scale on your chosen paper size, with a title block. Add DWG or DXF if the consultant team needs it. Because every sheet comes from the same model, the revised set matches itself, which is exactly what a case officer comparing round one with round two is checking.
If a revision requires touching the same wall in five drawings, the workflow is wrong, not the revision. Change the model once and reissue the views.
Bringing Legacy CAD and Marked-Up PDFs Into the Revision
Not every project started in Linea. Plenty of pre-app packages were drawn in AutoCAD or Revit, and the pragmatic question is how to revise them without redrawing from scratch. ### Land the old drawings as editable linework Vector takes a DWG, DXF or vector-ready PDF and lands it as editable linework. A DWG or DXF carries its own real layers across and arrives at true 1:1 real-world scale automatically; a PDF restores layers from its own optional content groups or, failing that, from colour and lineweight. No redraw required. Practice CAD files rarely hold one tidy drawing. A single model space often holds a dozen plans, sections and details on the same layers, so ticking layers cannot isolate the one you want. Vector's import report finds the separate drawings in the file and outlines each one on the preview. A click crops the import to just that plan, cut clean at the edge. If the detection misses, drag your own box and it does the same thing. ### Check dimensions before they reach a sheet Once the drawing is in, use the Measure tool to check a revised dimension against the officer's comment. Click two points for a distance, or hover a closed shape for its area and perimeter. With a scale set, results read in real units. The true-unit rulers along the top and left read real-world measurements too: at 1:100, a 42mm line spans 4.2m of ruler. If the comment asks for a 1.2m setback, confirm it on the drawing rather than trusting that it looks about right. ### Show what changed A revised drawing should make the change obvious. Two small techniques help:- Recolour the changed footprint. Use the Paint Bucket to fill the revised area, then set its blend mode to Multiply. The linework underneath keeps reading through the colour, so the changed area stands out against the unchanged drawing without hiding anything.
- Draw new detail on its own layer. Where a comment needs a thin additional detail over an old drawing, put it on a separate named layer. The original stays untouched, and you can show or hide the change at will.
Refresh the Renders Without Re-Rendering the Whole Scheme
 Renders are where revision effort tends to balloon, because the instinct is to regenerate every view whenever anything changes. Match the fix to the comment and a lot of that work disappears.
A massing complaint genuinely needs new views from the revised model. A materials or context complaint often does not. If the officer thinks the brick is too red against the neighbours, the building has not moved, so there is no reason to re-render it.
### Fix the affected part in Retouch
In Retouch, select just the affected area. You can lasso it, or select by typed description: ask for "all the brickwork" and it selects every matching region. Then use material swap to match an attached reference. The result lands as a toggleable layer, so you can flip between before and after and keep both.
Other targeted tools are worth knowing:
- Enhance area re-renders a selected region at higher resolution with no prompt, and composites it back through the selection. Use it where an edit has left a region soft.
- Re-light presets (Golden hour, Dusk, Blue hour, Night, Overcast, Sunny) regenerate the whole document at a different time of day or weather as a new layer. Reach for these when the comment questioned how the scheme sits in daylight.
A materials comment is not a massing comment. Retouch the affected area and keep the camera; only re-render the scheme when the geometry actually moved.
Update the Design and Access Statement and Resubmit as a Tracked Set
The drawings are only half the resubmission. The statement has to tell the same story as the revised set, and it is the document officers read first. ### Edit in place, do not rewrite In Layout's Document mode, the Design and Access Statement template holds your pages at A3. Change one paragraph or swap one image frame and the rest does not reflow. That is the practical difference between a revision and a rewrite: you touch only what the log says you touch. ### Answer the comments inside the document Add a short response section to the pre-app comments inside the statement itself. Pair each comment with the revised drawing or render that answers it. Your revision log from the start of the process makes this quick to write, because the comment, the response and the affected sheets are already in a table. Turn the rows into prose and drop in the images. If you want help with wording, select a single text frame and ask Corb in Layout to rewrite it. Check every figure it returns against the model before it stays in the document. Corb will not invent a dimension, and the discipline cuts both ways: supply the real numbers from the model rather than asking it to estimate. Keep one boundary firmly in view. A statement paragraph can describe how a revision responds to an officer's comment. It must not assert that the scheme now complies with policy unless you, as the professional carrying that responsibility, are prepared to say so. Corb does not check compliance, and neither should the draft imply that it did. ### Export and share the set Export a vector multi-page PDF at true sheet dimensions for the submission. Alternatively, share the document as a read-only public link that stays current as you edit, useful for a client who wants the latest version without another email attachment. ### Close the loop with a one-page change summary Finish with a single page: what moved, what stayed fixed, and which sheets were reissued. Most of it is already in the revision log. The fixed items in column four become the "what stayed fixed" list, and the sheets-touched column becomes the reissue list. This page earns its place later. When the next round of feedback arrives, or a condition is discharged, or an amendment is needed months on, you start from a clear written record instead of reconstructing what changed from a stack of PDFs.Revising after pre-app is a sorting problem before it is a drawing problem: triage the comments, change the model once, retouch only what moved, and keep a written trail of every decision.
Keep reading.

Try ArchAdemia Tools for yourself
Draw it, model it, render it, publish it. One place, built for architects and small practices. From £19 a month, all in.