From Concept Sketch to Client-Ready Render: A Full Workflow.
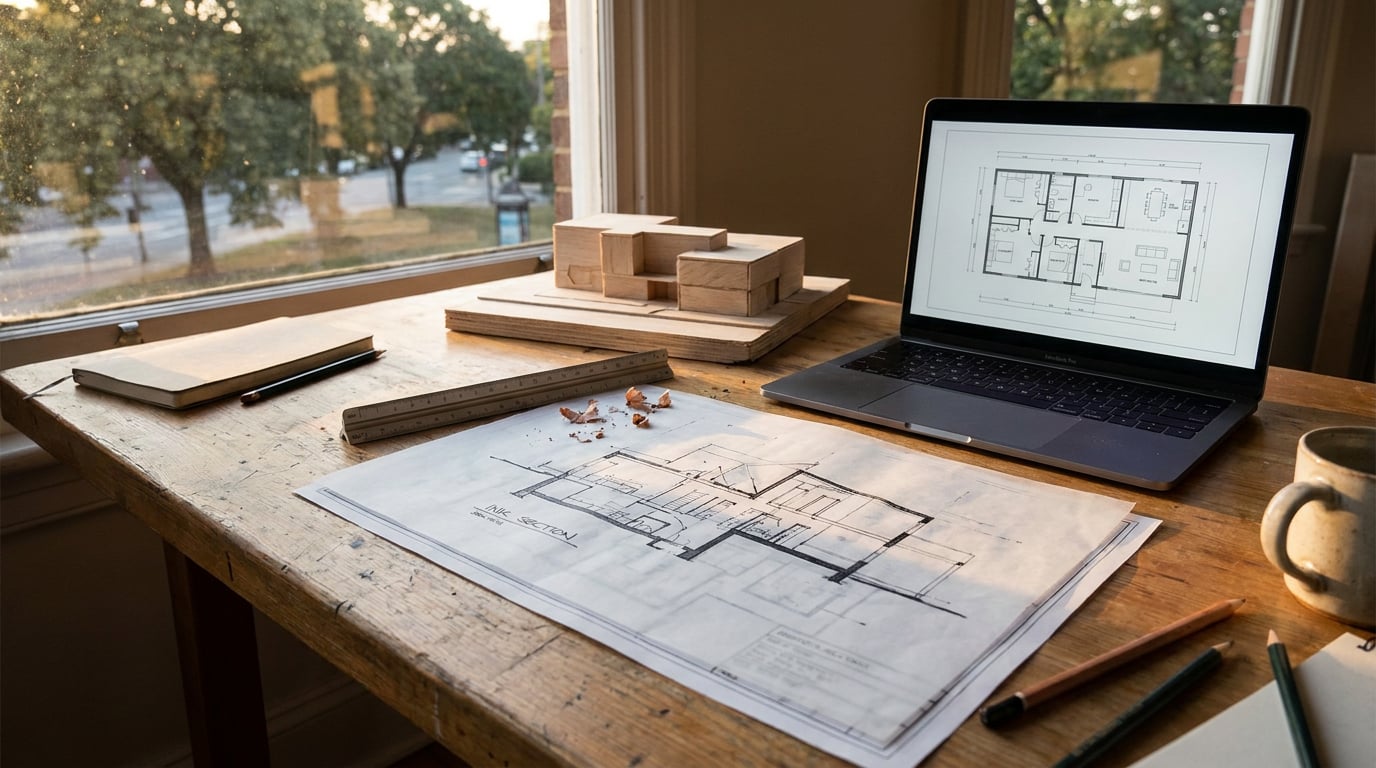
A working sequence from massing sketch to presentation-grade render, using one connected toolset instead of five disconnected apps.
Why the handoff between tools is where schemes die
Most concept-to-render pipelines fail quietly, in the gaps between applications rather than inside any one of them. A massing gets sketched in one tool, modelled properly in a second, rendered in a third, and presented in a fourth. At every handoff, something drifts: a wall thickness rounds differently on export, a north point gets lost, a scale bar has to be redrawn because nobody carried it across.
On a live job, this costs more than time. A small practice re-draws a massing that already existed, because the render tool wanted its own geometry. It re-explains site context every time a new file opens, because the site model didn't travel with the building model. Versions go stale: the render everyone approved was built from Tuesday's plan, and the plan moved on Thursday, and now nobody's sure which sheet is current.
The fix isn't a faster individual tool. It's a connected pass: Linea for drawing and massing, 3D/Shoot for the render, Retouch for finishing, Layout for the sheet, with the same geometry and the same scale surviving from the first sketch to the file that goes to the client. This article walks that sequence end to end, from a rough massing sketch to a render sitting on a Design and Access Statement page, ready to submit.
The workflow that saves time isn't the one with the fastest single step. It's the one where geometry, scale and context never have to be re-established.
Step 1: Get the concept into Linea fast

A concept sketch doesn't need a fully modelled scheme before it's useful. Linea's Massing workspace (Alt+M / Alt+B) is built for exactly this stage: place a footprint, push it into a solid, drag an edge to pitch a roof, punch openings with Rectangle plus Extrude. None of it waits for walls, doors or a construction system to exist. It's the digital equivalent of a study model on the desk, except it's dimensionally real from the first block.
That's the part that matters for a small practice working fast against a deadline: typed values mid-gesture. Start typing a number while drawing, hit Enter to apply it, Tab to move between fields on a gesture that takes more than one value. A massing sketched this way is never "roughly right" and then corrected later. It's dimensionally honest from the first block, which means the footprint you're eyeballing against a boundary line is actually the footprint, not a guess to be fixed in Build.
Early options don't need separate files either. Group a block to hide the scaffolding behind it without deleting anything, so three roof pitches or two footprint variants can sit alongside the one currently being developed. Nothing gets binned just because it's not the leading option this week.
Before committing to a footprint at all, place the scheme on its real location, with the ground and surrounding buildings present. A massing that looks resolved in isolation can look wrong the moment it sits next to its actual neighbours, and it's far cheaper to see that on day one than after the model's been developed.
Massing in Linea isn't a placeholder to throw away. It's the first layer of a model that keeps developing, not a sketch that gets replaced.
Step 2: Develop the model without leaving the drawing
Once the massing is agreed, switching to Build gives you parametric walls, doors, windows, stairs and roofs, with levels stacking into proper storeys. This is still the same file, the same origin point, the same site context established in step one. Nothing gets re-imported.
New geometry in Linea is always born in flat painted colour, never a texture. A new wall is white. A new roof is light grey. This isn't a limitation, it's a discipline: the model stays honest about what's actually designed versus what's finish. A reviewer looking at an untextured massing can tell instantly that the brick hasn't been decided yet, rather than mistaking a placeholder render material for a design decision.
Most practices aren't starting from nothing. Linea imports DXF and DWG, and native IFC from Revit or ArchiCAD. The import dialog is built around a real problem: a practice CAD file routinely holds twenty-odd drawings inside one model space, all sharing the same layers. The dialog finds those separate drawings and outlines them, so a click on the one you need crops the import to just that plan, cut clean at the edge, landing on the origin rather than dumping the whole file's worth of geometry into your drawing.
Once the model's developed enough to test, cut a section or elevation straight from it as real linework, issued on a sheet like a plan. That drawing sits ready to go next to the render later, cut from the same model, at the same moment in the design.
An untextured model isn't unfinished work. It's a model that hasn't lied to you yet about what's actually been resolved.
Step 3: Send the view into rendering

The handoff that usually costs a scheme its geometry is exactly the one Linea skips. Send a perspective view straight from Linea into the rendering studio, rather than re-modelling the scheme or re-importing geometry into a separate render engine and hoping the scale survives the trip.
In 3D/Shoot, generate a full set of camera angles for the scheme, with exterior and interior handled separately. That's coverage for a client deck done in one pass, rather than picking a single hero view and hoping it's enough, or going back for more angles days later once the deadline has moved on.
Six one-click re-light presets, Golden hour, Dusk, Blue hour, Night, Overcast, Sunny, regenerate the whole scene at a different time of day as a new layer. This is where the comparison with adjacent disciplines gets useful. In product and media work, teams are already using video models to shortcut concept-to-render: cost trackers report entry tiers of AI video generation running under $0.10 per second, with editing an existing clip typically costing meaningfully less than generating a scene from nothing. That gap, generation is expensive, editing an existing asset is cheap, is exactly the logic behind a re-light preset. You're not regenerating a scheme from a prompt every time you want to see it at dusk instead of noon. You're re-lighting real geometry that already exists.
For context-heavy sites, where the surrounding streetscape matters as much as the building, Worlds mode builds an explorable environment from a prompt or a photo, usable as a Composer backdrop. A scheme on a tight urban infill site reads completely differently against its actual street than it does floating on a white background, and Worlds gives you that backdrop without modelling three neighbouring buildings by hand.
Generating a whole scene from scratch every time you want a different mood is the expensive habit. Re-lighting geometry that already exists is the cheap one, and it's the one that keeps the building accurate.
Step 4: Finish the render in Retouch, not from scratch
This is where the workflow diverges hardest from "generate everything" tools used in product visualisation or film pre-viz, where regenerating the whole frame is often the only option on offer. Architecture doesn't need that, and can't really afford it: the geometry is fixed, the client has seen it, and a full re-render risks changing something nobody asked to change.
Material swap replaces a selected area's texture against an attached reference, landing as a toggleable layer. Testing a brick option against a cladding option becomes two layers you flick between in a client meeting, not two separate renders queued half an hour apart.
Enhance area re-renders a soft or repetitive patch at higher resolution and composites it back through the selection. Wide exterior shots often go flat at the edges, foliage smears, distant brickwork loses definition, and this fixes exactly that region without touching the rest of the frame.
Grading stays non-destructive throughout, via the Adjust panel: Light, Colour, curves, HSL, texture, dehaze, vignette. That matters because a render isn't actually finished until a client has seen it and asked for something, a slightly warmer sky, less contrast on the shadow side, a plant moved. Layer masks and adjustment layers mean that request stays a live edit. Nobody's re-rendering from Linea because a client didn't like the vignette.
Retouching real geometry with material swaps and re-light presets is the safest place for AI-style operations in architecture. Inventing structural geometry from a prompt is not.
Step 5: Build the sheet the render actually lives on

A finished render with nowhere to sit is only half a deliverable. Layout's founding templates map onto the actual moments a practice needs to present work: Presentation Board for a crit, Client Deck for a pitch, Design and Access Statement for a submission. Picking the right one at the start avoids rebuilding a sheet in a different format later.
Drag the finished render straight from the gallery. Set type from the self-hosted type library. Use the layout grid, Manuscript, Columns or Modular, to keep multiple views aligned without eyeballing margins by hand, and it's a reference overlay only, never present in an export.
For DAS or portfolio work, Layout's Document mode carries many A3 pages in one file. The same render sits across a context page, a massing-diagram page and a final-image page, without rebuilding the sheet each time or re-exporting the same image into three separate documents.
Export as a vector PDF at true sheet dimensions, with crop marks for print if it's going to a plotter, or share a live read-only link that stays current as the document is edited. That last option matters for a submission that's still being refined: the planning officer or client sees the latest version through the link, rather than an emailed PDF that's already out of date by the time it lands in their inbox.
| Template | Best for | Format |
|---|---|---|
| Presentation Board | Crit, pin-up | Sheet, A1 landscape |
| Client Deck | Pitch, first-stage presentation | Sheet or slide format |
| Design and Access Statement | Planning submission | Document, multi-page A3 |
Where the workflow actually saves time
The saving isn't any single step running faster than its equivalent in a separate tool. It's that geometry, scale and context survive the whole pass, instead of being re-established four times across four applications.
Concretely: a massing sketched in Linea's Massing workspace on Monday, developed in Build on Tuesday morning, rendered with a full camera set and a Golden hour re-light by Tuesday afternoon, finished with a material swap and a grading pass in Retouch on Wednesday morning, and dropped into a Design and Access Statement template by Wednesday afternoon. Not a single re-import in the whole sequence. The section cut on the DAS context page is from the same model as the render on the final-image page, because it's the same file all the way through.
Before anything goes to a client, run a short check:
- Scale bar and north point carried through from the original Linea drawing, not redrawn by eye at the layout stage.
- The re-light preset actually matches the site's real orientation. A Golden hour render facing the wrong direction is a giveaway that undermines the whole presentation.
- Material swaps read correctly at print resolution, not just on a laptop screen at 50% zoom.
The habit worth building isn't a faster render. It's moving the view between studios, and leaving the file where it is.
Keep reading.

Try ArchAdemia Tools for yourself
Draw it, model it, render it, publish it. One place, built for architects and small practices. Plans from £29 a month, all in.