A Day in the Life of a Small Practice, Drawn Start to Finish.
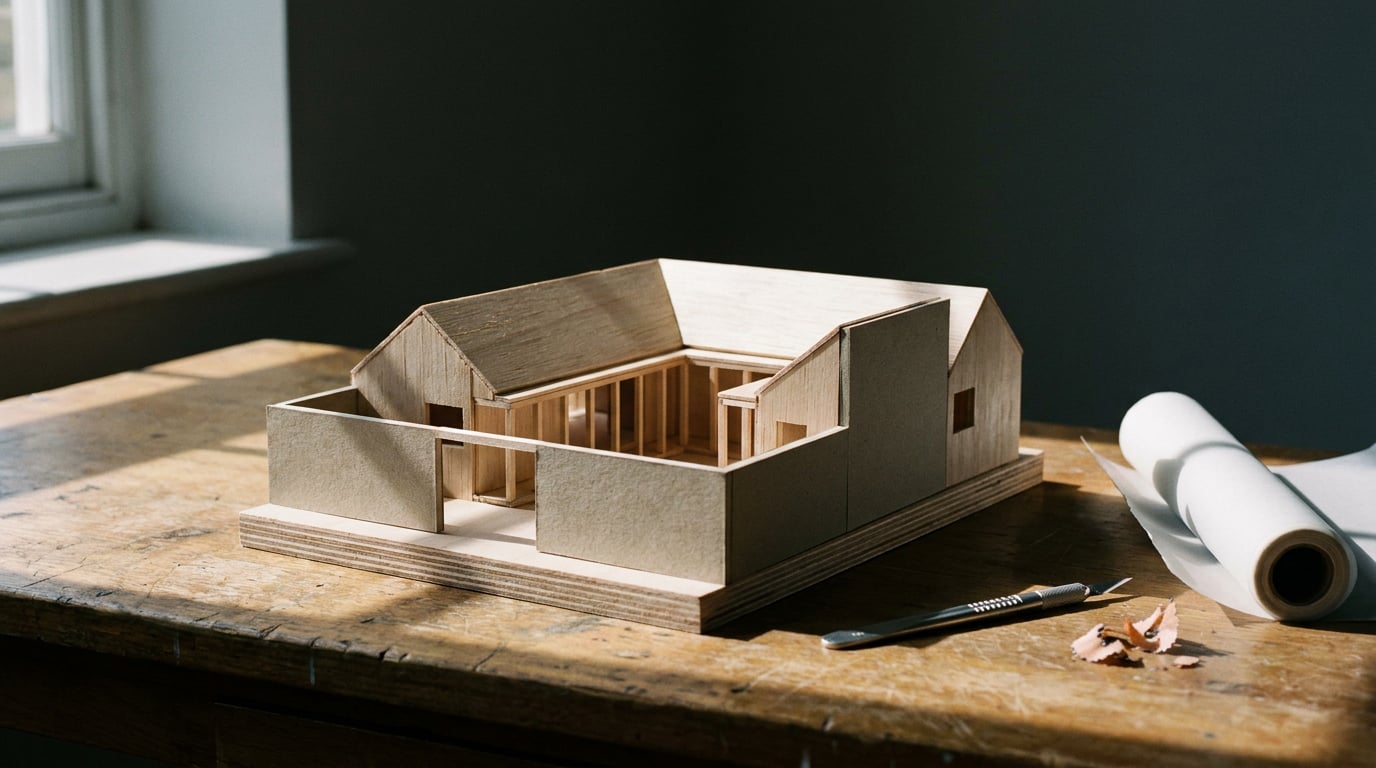
Follow one small practice through a working day: a site sketch becomes a plan, a render, a board and a published page without leaving one platform.
A small practice does not lose its day to design. It loses it to the gaps between files: the DXF that needs converting, the model that needs exporting, the render that needs re-importing, the sheet that needs rebuilding in a third package. This walkthrough follows one scheme, a small extension to a house, from a photographed site sketch at half past eight to a published project page at five. It runs through ArchAdemia Tools, a software platform for architects: draw in Linea and Vector, render in Retouch, lay out in Layout, publish in Web.
Nothing here claims to replace your BIM package or your CAD licence. It describes what a day looks like when drawing, visualisation and publishing live in one place.
8:30am: A Site Sketch and an Old CAD File Become the Day's Base

The day starts with two inputs the practice already owns. One is a photographed site sketch from yesterday's visit, with party wall lengths and a boundary scribbled in the margin. The other is a legacy DXF from a previous job on the same street, which holds the neighbouring building footprints.
Neither needs redrawing from scratch.
On a phone, Linea opens a stripped-back version where the sketch can be added to a drawing as a trace guide. It stays uncalibrated until someone sets a real-world length on desktop, which takes a few seconds once you are at the desk. The DXF goes through Linea's import dialog, and this is the step that saves the most time. The dialog draws the file before it lands, and it finds the separate drawings inside it. A practice CAD file routinely holds twenty-odd drawings in one model space, all on the same layers, so ticking layers cannot isolate the plan you want. Instead, each drawing found is outlined on the preview. Click the one plan you need and the import crops to it, cut clean at the edge and landing on the origin.
If the job is a 2D drawing sheet rather than a model, the same file opens in Vector. Vector reads a CAD export at true 1:1 real-world scale and restores the file's own layers, with units confirmed or overridden if the file does not declare them. A pre-import report shows what will change and lets you tick the layers to keep before anything is created. There is no re-keying of linework.
The old routine against this one
The familiar sequence is to open a CAD package to clean the file, a separate modelling package to build from it, and a converter to move the geometry between them. By the time the base is usable, half the morning has gone on plumbing.
| Step | Typical multi-package routine | Linea / Vector |
|---|---|---|
| Find the one plan in a multi-drawing file | Open CAD, window-select, copy, paste into a new file | Click the outlined drawing in the import preview |
| Get a usable scale | Check units, rescale, re-check | True 1:1 on DXF import; calibrate a sketch against a known length |
| Move to modelling | Export, convert, re-import | Same drawing, plan and 3D edited together |
One point on cost, because it shapes how a small practice works: drawing, modelling and walking the model are free on every plan. Credits are spent on generative actions, not on the act of drawing.
A CAD file with twenty drawings in it is a normal Tuesday. Cropping the import to the one plan you want beats ticking layers and hoping.
10am: Massing the Scheme, Then Switching to Real Walls and Doors
Early design is about volume, not detail, and the tool should not ask for detail yet. Linea's Massing workspace is a direct-modelling toolset over the same drawing. You place a footprint, which lands flat as an unextruded face, then push it into a real solid. Faces can be split, and dragging an edge upward pitches a roof.
Setting out openings is equally direct. Draw a rectangle on a face to mark a window, then Extrude, and it punches clean through the wall. When the scaffolding of construction lines starts to clutter the view, group the blocks to hide them without deleting them. You can return to them when the planning officer asks why the ridge sits where it does.
Switching to Build
Once the client agrees the volume, move to the Build workspace. This is where parametric walls, doors, windows, stairs, roofs and levels live, with levels stacking into storeys. The 2D plan and the 3D model are the same building, edited together, so a change to a wall in plan is a change in the model. Nothing is generated from the other and nothing drifts out of step.
Exact sizes are typed, not dragged. Start typing a number mid-gesture, whether drawing a wall, extruding a face or placing a door, and it lands in a box beside the cursor. Enter applies it. Lengths read in the drawing's own units, so 6ft and 1200mm both parse. For the angle on gestures that carry one, a degree suffix sends the number to the angle rather than the length.
New geometry is born in a flat painted colour, never a texture: a new wall is white, floors and roofs light grey. A photographic finish appears on a surface only because someone painted it there. That is a small thing, but it keeps early massing honest. A model that looks finished at 10am invites feedback on finish, when you want feedback on volume.
The honest limit
Linea is a credible everyday alternative to SketchUp or AutoCAD for the kind of work a small practice does constantly. It is not a BIM tool. If your consultants need coordinated IFC with parametric building objects and data, that stays in Revit or ArchiCAD. Linea does import native IFC files from either, parsed in the browser with nothing uploaded, which helps when someone sends you a reference model.
Corb on the drawing
Beside the 2D/3D toggle sits Corb, the assistant chip. Asking Corb a question about the drawing is free. Asking it to build or change the model works differently: describe what you want and Corb proposes the job on a card that states the real credit price before anything is drawn. You confirm, or you do not. A from-scratch build and each later edit use credits from the plan, so the card is the budget control. For a small practice watching its monthly allowance, that is the right way round.
Typed numbers and a priced proposal card mean nothing is drawn or charged by accident. The model does what you specified, at a cost you saw first.
12:30pm: From Perspective View to a Render the Client Can Read

After lunch the model needs to become something a client can read without squinting at a grey massing. Send a perspective view from Linea straight into the rendering studio rather than exporting and re-importing. One viewpoint becomes the source for the working render in Retouch, so the camera you chose in the model is the camera in the picture.
Retouch is built for non-destructive work, which matters when the client's feedback arrives in pieces over three days. Everything stays on layers, and nothing is baked in until export.
The client's favourite question
Every client asks what it looks like in the evening. The one-click re-light presets answer it: Golden hour, Dusk, Blue hour, Night, Overcast and Sunny. Each regenerates the document at a different time of day or weather as a new layer, so the daylight version stays intact underneath. Toggle between them on screen with the client in the room.
Swapping a material without tracing it
Say the client has fallen for a different brick. Select by typed description, for instance "all the brickwork", and the selection picks up every matching region. No tracing it by hand around every window reveal. Then use Material swap to replace the selected area's texture to match an attached reference photograph. It arrives as a toggleable layer, so the original brick is one click away if the client changes their mind, which clients do.
When a wide render goes soft
Wide perspectives often come back with a soft or repetitive patch, a lawn that looks stamped or a far boundary wall that has lost its detail. Enhance area re-renders a selected region at higher resolution with no prompt and composites it back through the selection. You fix the patch, not the whole picture.
Variations, framed honestly
On the canvas, Corb can spawn two to six variations off one image it has been shown, varied along a single axis: camera, lighting, weather, entourage or grade. A clause holding the geometry, massing and openings still is written into every prompt in the set. That is a preservation instruction to the model, not a geometric lock, so check the results against the scheme before they go anywhere near a client.
Be clear with the client about what these are. They are readings of one scheme, not alternative designs: here are four ways this corner reads at different times of day, not four buildings. The variations land idle, and nothing is charged until you run them.
A render is evidence for a decision the client is about to make. If it quietly changes the roof pitch, it has stopped being evidence.
Corb will also give design advice on the scheme itself, such as how an entrance meets the ground, but it never rules on compliance. It may name a planning, daylight or party-wall issue and say who decides it. Whether the scheme complies is a call for whoever carries the professional liability, and that is never the assistant.
Re-lighting, material swaps and enhancement all land as layers. The client can change their mind on Thursday without you starting again.
3pm: Putting the Scheme on a Sheet in Layout
Renders and plans do not persuade anyone until they are arranged. Layout holds two modes over one document model. Sheet mode is a single large surface, A1 landscape by default, for the crit board, competition panel or pin-up. Document mode is many pages at A3, for the Design and Access Statement, the portfolio or the report.
For a householder extension, this afternoon is Document mode: a short Design and Access Statement for the planning submission.
Start from a template, not a blank page
Layout offers founding templates: Image-led Board, Competition Board, Presentation Board, Design and Access Statement, Portfolio, Project Book and Client Deck. They are pre-populated with placeholder text and image frames only, so there is no inherited branding to strip out. Pick the Design and Access Statement template and the page structure is there waiting.
- Drag renders in from the gallery, or straight off the desktop.
- Set type from the self-hosted type library, which holds around 300 openly licensed families with Inter as the default.
- Turn on the optional layout grid (Manuscript, Columns or Modular) and let elements snap to it. The grid is a reference overlay only and never appears in an export.
- Pull guides off the rulers, and use align and distribute to square things up.
Where Corb helps, and where it costs
Select a text frame and ask Corb to fill that one in, say a paragraph describing the proposal's relationship to the neighbouring ridge line. Or ask it to build a whole new document from a prompt, page by page, working from a template. You pick the model: Sonnet, Opus or Fable. Bear in mind that Corb writes to the information you give it. Check every dimension and every claim about the site before it goes into a statement that a planning officer will read.
Manual layout work costs no credits. Asking Corb to write or build does. A practice that lays out by hand and uses Corb for first-draft text only will spend very little here.
Getting it out of the door
Export a vector multi-page PDF at true sheet dimensions, with optional bleed and crop marks if the board is going to a printer. Or share the document as a read-only public webpage, which is revocable, re-issuable, and stays current as the document is edited. That second option suits the client who wants to look at the draft on their phone on the train, without anyone emailing a 40MB PDF. Free-plan share links carry a small footer, which paid plans remove.
One document model serves both the pin-up and the printed statement. Switching between Sheet and Document mode is a decision about format, not a rebuild.
5pm: Publishing the Project Page and Closing the Laptop

The last job of the day is making the work findable. Web generates a multi-page microsite for the scheme or for the practice, and publishes to an archademia.app subdomain or to a custom domain you own. Building a site is free on any plan. Publishing is the step that needs Pro or above.
Contact and newsletter forms on a published page need no setup. They are spam-protected, a submission lands in the owner's inbox, and submissions also collect in a Forms inbox inside the studio, so an enquiry from a prospective client is not lost in a mailbox. An SEO panel sets the title, description and social image for each page, plus a site favicon, so the project reads properly when someone shares the link.
The cost, in plain figures
| Plan | Price | Credits | Concurrent generations |
|---|---|---|---|
| Free trial (7 days) | No card | 30 a day, no rollover | n/a |
| Starter | £29 a month | 3000 | 2 |
| Pro | £49 a month | 7000 | 3 |
| Max | £79 a month | 13000 | 4 |
Two practical notes for a small practice. First, the free trial gives 30 credits a day for seven days with no card, with a small watermark on output, so a practice can run one real scheme through this entire day before paying anything. Second, publishing is the Pro-and-above step, so a practice that only needs the drawing, rendering and sheet work can sit on Starter, and a practice that wants a live project page should look at Pro.
For context on the wider market, generative image and video are increasingly metered by output resolution and duration across the industry. Third-party comparisons report Luma charging in credits that rise with resolution, and video providers pricing per second of footage. Treat any single-provider figure as a snapshot and check checkout pricing before you budget, since these numbers move. The point for a small practice is the same everywhere: variations, upscaling and animation are metered operations, so decide deliberately which ones a given scheme needs.
The Real Saving Is the Exports You Do Not Do
The value in this day is not a faster render. Plenty of tools render quickly. It is that one project moved from a photographed sketch, to a plan, to a massing, to a render, to a sheet, to a published page without being exported, converted and re-imported five times along the way. Every one of those hand-offs is a place where scale slips, layers collapse and a late-afternoon change forces a rebuild.
Where your consultants need BIM, keep BIM. Where the job is a drawing, a volume, a picture and a page, keep it in one place and keep your hours for the design.
Run one real scheme through the whole day on the free trial: sketch, plan, massing, render, sheet, page. If it saves you the five hand-offs, the plan pays for itself; if it does not, you have lost nothing.
Keep reading.
Try ArchAdemia Tools for yourself
Draw it, model it, render it, publish it. One place, built for architects and small practices. Plans from £29 a month, all in.