Exporting Revit Models Without Wrecking Materials or Scale.

Revit exports arrive in rendering software with grey blocks instead of brick and doors sized like wardrobes. Here's the workflow that stops it happening.
Why Revit exports break in the first place
Every Revit export problem traces back to one of four things: format mismatch, unit mismatch, coordinate confusion, or material translation. Understanding which one you're dealing with saves an afternoon of guessing.
FBX, IFC and GLB each handle materials and units differently. Autodesk positions FBX as the pipeline format into 3ds Max: it carries geometry, materials, lights and environment settings in one file. DWG and DWF, by contrast, are geometry-only routes with no material or lighting data attached. IFC sits somewhere else entirely, built to preserve element semantics and classifications for editable building models rather than pure visualisation geometry. None of these formats are interchangeable, and picking the wrong one for the job is the first way an export goes wrong before you've even opened the receiving application.
Even when the format is right, Revit's own material definitions rarely map 1:1 to a renderer's shader model. A Revit "Autodesk Rendering" material and a 3ds Max shader are built on different assumptions about how reflectivity, roughness and transparency behave. Workflow documentation for Revit-to-Max pipelines is blunt about this: treat the transfer as a starting point, not a finished look.
Shared coordinates versus internal origin is the most common cause of a model landing miles from the world origin in the receiving application. Revit exports can be based on project coordinates or on the internal origin, and if you haven't set shared coordinates deliberately, the software exports from wherever that arbitrary origin happens to sit. Connector tools that move Revit geometry into other coordinate systems explicitly offer a choice between using Revit's coordinates as-is or remapping them, because relying on the internal origin produces inconvenient placements downstream.
Units are architectural, feet and inches or metric depending on the template, and a mismatched import scale gives you a door that's three metres wide or a building the size of a shoebox. Autodesk's own guidance for exporting to 3ds Max explicitly advises matching Revit project units to the target scene units before export. Third-party OBJ exporters expose an explicit unit control for exactly this reason: the default Revit unit template is not always what the destination software expects.
Most "broken" exports aren't broken at all. They're a units mismatch or a coordinate offset wearing a scarier costume.
Nested families and linked models often get flattened or dropped entirely on export, silently, with no warning dialogue. RPC content in particular is known to be unsupported in some export paths and needs removing beforehand. Linked models generally need exporting separately rather than assuming they'll travel with the host file. And material names carrying spaces, special characters or duplicates get renamed or merged on import, which quietly breaks material assignment in the receiving application without telling you it's happened.

Preparing the Revit model before you export anything
The work that prevents export problems happens in Revit, not in the receiving software. Five minutes of preparation here saves an hour of troubleshooting later.
- Purge unused materials, families and line styles first. Manage > Purge Unused strips out everything the model doesn't actually need. A clean export is a smaller, more predictable export, and it removes the orphaned materials that otherwise show up as mystery entries in the receiving software's material list.
- Check units in Manage > Project Units. Confirm the template matches what the destination software expects, metric almost always for UK and European practice work. This single check prevents the bulk of scale disasters before they happen.
- Assign real materials to every visible surface, not just a generic "default" or "wall" material. Renderers need something to hang a texture on, and a surface left on a generic material gives the destination software nothing meaningful to remap. This applies to family instances too, not just walls and floors.
- Set the project's shared coordinates deliberately if the model needs to sit on a real site later, rather than exporting from an arbitrary internal origin. If you know the scheme is heading into a site-context workflow, sort coordinates before export, not after.
- Turn off view-specific overrides. View filters, temporary hide/isolate, and per-view graphic overrides can silently strip geometry from an export because export scope is controlled by the visibility settings of whichever 3D view you're exporting from.
Export problems are almost always solved before the export button is pressed, not after the file lands somewhere else.
Picking the right export format for the job
The destination determines the format. Sending a model to the wrong format for the job you actually need is the second most common source of pain, right after units.
| Format | Carries materials? | Best for |
|---|---|---|
| FBX | Yes, with UVs | Desktop rendering pipelines, still images |
| IFC | Element semantics, not shaders | Editable round-trip, staying a building model |
| GLB | Baked, basic PBR | Walkthroughs, web viewers, lightweight environments |
FBX carries materials and UVs reasonably well and is the standard route into most desktop rendering pipelines. Export it from a 3D view via File > Export > FBX. Check that texture paths transfer, not just material names, because a material can arrive correctly named with its texture reference pointing nowhere.
IFC is the safer round-trip for anything that needs to stay editable as a building model rather than become pure visualisation geometry. If the scheme is heading somewhere that needs to retain wall types, storeys and element classifications, IFC keeps that logic intact in a way that FBX and GLB don't attempt to.
GLB is the lean option when the destination is a walkthrough or an explorable environment rather than a high-end still, because it bakes geometry and basic materials into one portable file. This is the format worth reaching for when the deliverable isn't a rendered image at all, it's a client experience.
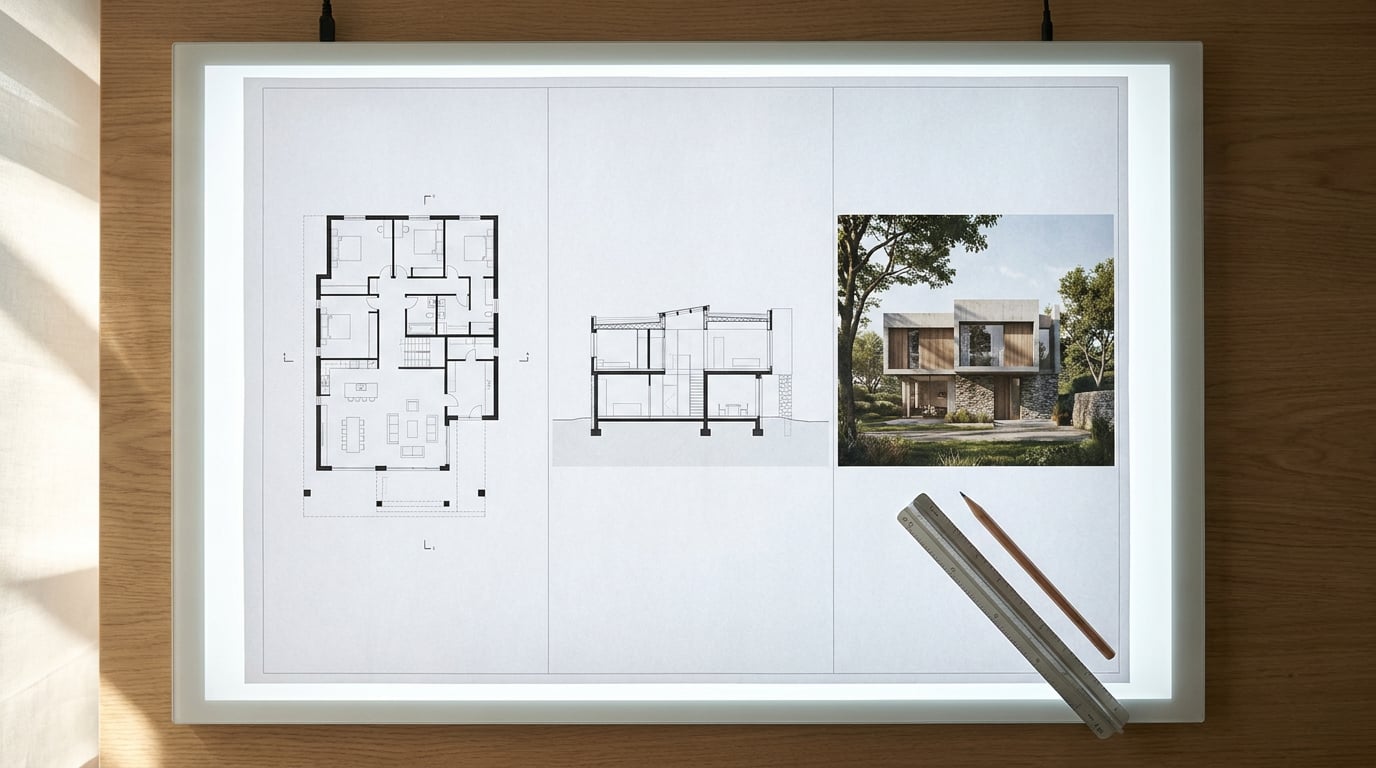
Linea, the drawing and modelling surface in ArchAdemia Tools, imports IFC directly. That means a Revit model can move into a lighter 2D/3D workflow for replotting sheets or restyling materials without treating Revit as the only place the model can be edited. Linea holds a 2D plan and a 3D model of the same building together, so an imported scheme can be worked on, sectioned and issued as a drawing sheet at a true plotted scale, without round-tripping back through Revit for every change.
For a client walkthrough rather than a rendered still, a GLB export into Linea turns the same Revit model into a first-person, in-browser walk. Linea imports the GLB and drops the viewer inside at eye level with real collision, and the client opens it with a shared link in any browser. No plugin, no desktop GPU needed on their end, which matters when the person reviewing the scheme is a client or planning officer rather than a visualiser with a workstation.

Fixing materials after the export lands
Expect to reassign at least some materials by hand. Treat the export as a geometry delivery, not a finished material set. This is the mindset shift that saves frustration: nothing that comes out of Revit is meant to be the final render-ready material, it's a placeholder with the right name and the right slot.
Group materials by name convention in Revit before export, something like brick_red, glass_clear, timber_oak. This isn't a formal standard, it's practical discipline, and it pays off the moment you need to batch-reassign forty instances of the same material in the receiving software instead of hunting them down one at a time.
A material named "Generic - Wall" gives the renderer nothing to work with. A material named "brick_red" tells the next person in the pipeline exactly what to reassign it to.
If a scheme is moving into Composer for a photorealistic still, pose the imported geometry against a Worlds backdrop and correct materials in that scene rather than trying to perfect them in Revit first. Composer is built for exactly this: posing models with gizmos, dropping them into an explorable environment as a backdrop, and rendering out to a photorealistic image once the materials and composition are right in that context, not before.
Bake lighting-dependent finishes as flat base colours in Revit rather than fighting Revit's render materials to look photoreal. Reflective glass, polished floors, anything where the finish depends on how light hits it rather than what colour it is, should travel as a simple base colour and let the rendering environment handle the reflections and gloss. Revit was never going to nail that lighting interaction, and trying to force it there wastes time that's better spent in the renderer itself.
Checking scale survived the round trip
Never assume scale is correct just because the model looks roughly right on screen. A model at half the intended scale can still look plausible until you put a person or a door frame next to it.
Drop a known reference object into the imported scene and measure it before doing anything else. A 2100mm door, a 900mm worktop, a standard 300mm riser, anything with a dimension you know by heart. This is the fastest scale check available and it takes seconds.
A model that imports at 100x or 0.01x scale is almost always a units mismatch between Revit's export settings and the destination's default import units. This is a well-documented failure mode: metres exported as if they were centimetres, or vice versa, and the error compounds because it's a clean multiple rather than an odd fraction, which makes it easy to miss on a quick glance.
If the model is going into Linea for section or elevation work, confirm the imported geometry still plots at a true scale on the sheet before issuing anything. Linea exports a drawing sheet as a PDF at a true plotted scale on a chosen paper size, with a title block, but that true scale only holds if the geometry arrived correctly scaled in the first place. Check it on the sheet, not just in the 3D viewport, because a scale error that's invisible in an isometric view becomes obvious the moment it's measured against a scale bar.
Re-check scale again after any "centre model" or "reset transform" operation in the receiving software. These commands reposition geometry, but some also quietly rescale it as a side effect, and that second scale error is easy to miss if you only checked once, right after the import.

Building this into a repeatable export routine
A one-off export is a gamble. A repeatable export routine is a workflow, and the difference matters the second time you need to send the same model somewhere new.
Save a dedicated "export" view template in Revit with materials switched on, overrides switched off, and only the elements meant to travel visible. This view becomes the single starting point for every export from that project, regardless of which format it's heading into.
Document the unit and coordinate settings that worked once so the next export doesn't repeat the same afternoon of troubleshooting. A short note, project units set to millimetres, shared coordinates aligned to the site survey point, is worth more than the memory of having solved it before.
Treat the first export of a new project as a test. Send a small piece of the model, a single floor or a single wing, through the full pipeline before committing the whole building. If materials, scale and coordinates all survive that small test, the full export is far more likely to behave the same way.
The goal isn't a perfect export. It's a predictable one, where the same settings produce the same result every time you press the button.
Keep the workflow disciplined enough that swapping the destination, a still in Composer one week, a walkthrough in Linea the next, doesn't mean re-solving materials and scale from scratch. If the Revit model is clean, the units are documented, and the export view is set up once and reused, the format you're exporting into becomes a choice rather than a fresh problem each time.
The takeaway: Revit exports don't break because the software is unreliable, they break because units, coordinates and materials get decided by default rather than on purpose. Set them deliberately once, in a dedicated export view, and the same model can move into a rendered still, an IFC round-trip in Linea, or a client walkthrough without a single afternoon lost to a door that's three metres wide.
Keep reading.

Try ArchAdemia Tools for yourself
Draw it, model it, render it, publish it. One place, built for architects and small practices. Plans from £29 a month, all in.