How to Draw a Railing That Reads Correctly on Plan and Elevation.
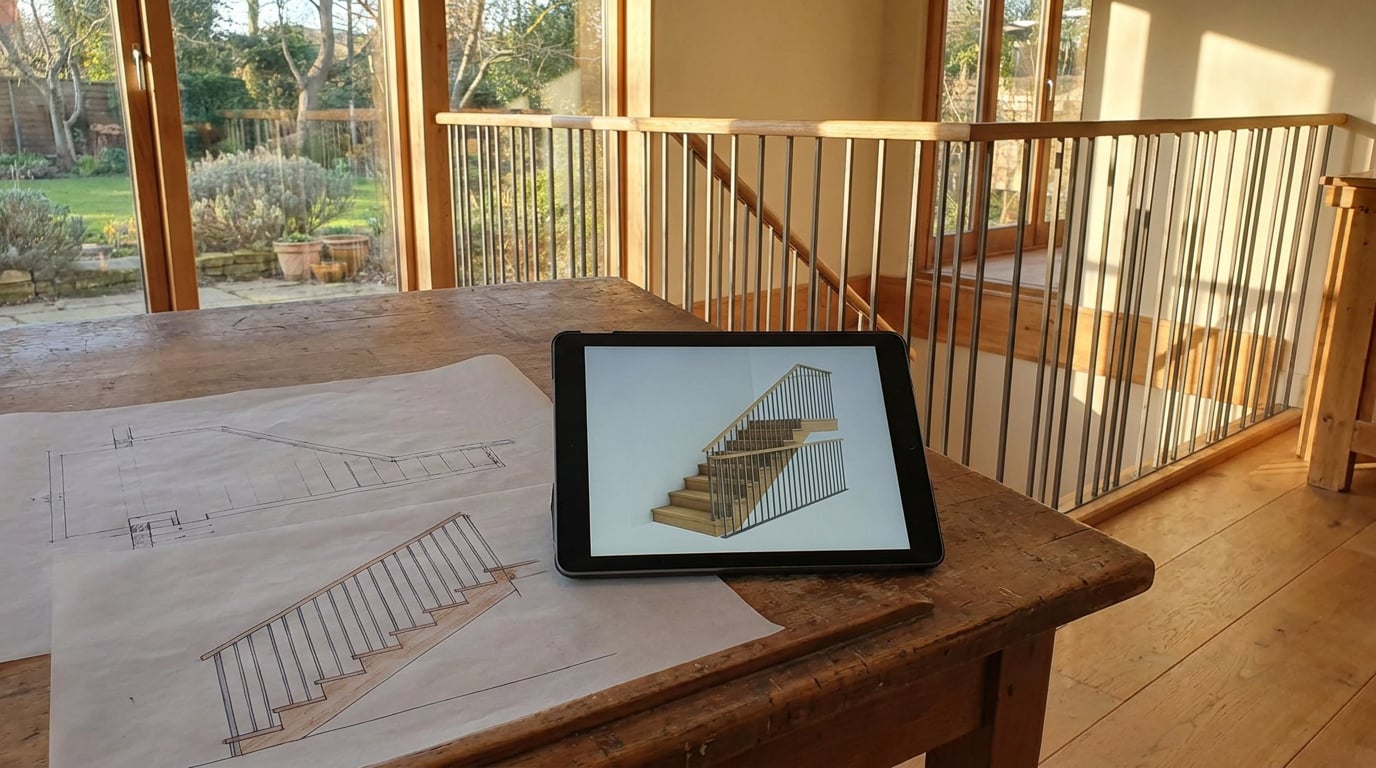
A railing is three lines on a plan and a rhythm of verticals in elevation. Here is how to draw one that reads as a balustrade, not scaffolding, at every scale.
Start with the section, not the plan
 A railing is defined by its section. Handrail height, baluster spacing, bottom clearance and fixing all live there, and the plan and elevation are simply that section extruded along a line. Draw it first at 1:5 or 1:10 and the other two views follow from it. Draw it last and you will spend the afternoon reconciling a plan that says one thing with an elevation that says another.
The same logic holds well beyond housing. A museum display barrier, a theatre balcony rail, a bridge parapet, a ramp handrail on a landscape scheme: in every case the section establishes the relationship between hand, body, edge and fixing. Plan then controls alignment and clearances. Elevation controls rhythm and visual weight.
### What the section must show
Four things, every time:
- The handrail or top rail profile. Its depth, its shape and where the hand sits.
- The post or baluster. Section size, centre-to-centre spacing and the clear gap between.
- The base fixing. Side-fixed to the slab edge, top-fixed to a stringer, set into a channel. Show the bolt, the plate or the grout.
- The build-up it lands on. Screed, insulation, waterproofing, stair finish. A builder or a planning officer should be able to see how the railing meets the floor without guessing.
| Glass balustrade | Vertical bar balustrade | |
|---|---|---|
| Components in section | Base channel, glazing, cap rail | Base rail, bars, top rail |
| Line count | Few | Moderate |
| What carries the drawing | Annotation: glass build-up, interlayer, channel fixing, wedge or grout | One spacing dimension and a bar section size |
| Commonest omission | Cap rail fixing and edge treatment | The spacing dimension itself |
Draw the section first, at 1:5 or 1:10. Plan and elevation are that section stretched along a line, so every dimension you resolve here is one you will not argue with later.
Plan view: how to draw a railing at 1:50 and 1:100
 The plan does two jobs for a railing: it fixes where the guarding sits and it shows where it stops. Everything else is noise at this scale.
### At 1:100: one line, correct weight
At 1:100 a railing is a single line of the right weight running along the edge of the slab, stair or balcony. Resist the urge to draw every baluster. A dotted string of vertical bars at this scale turns a clean edge into visual static and tells the reader nothing the line did not.
### At 1:50: show thickness and post positions
At 1:50 the railing earns more detail. Draw it as a thin double line or a narrow rectangle, with posts marked at their intervals, so the thickness of the guarding reads against the wall and slab edge. A glass balustrade in a base channel shows as a slim rectangle with the glass line inside it. A bar balustrade shows posts as small squares with the rail line running between them.
### Give it its own layer
A railing should sit on its own layer with a defined colour, weight and linetype, so it can be switched off in a cluttered plan and switched on for the coordination drawing. In Vector, the vector drawing studio in ArchAdemia Tools, layers carry their own colour, weight and linetype, and a layer can be hidden or set not to plot. That makes it simple to keep one railing layer across a set of plans and decide per sheet whether it prints.
### Stop the line where the guarding stops
Mark the stair direction with the arrow and the top and bottom of the flight. Let the railing line stop short of door swings so it is obvious where the guarding ends and where the opening begins. A railing that runs through a door arc invites an awkward phone call from the contractor.
### Sit it on a clean slab edge
Draw the railing line on top of a clean slab edge. A railing that floats a few millimetres inside the edge is the commonest sign of a rushed plan, and it shows up immediately when the sheet is printed at 1:50. If the fixing sits behind a fascia or upstand, draw that relationship deliberately and dimension it.
At 1:100 draw a line. At 1:50 draw a thin double line with posts. Never draw every baluster in plan, and never let the railing float off the slab edge.
Elevation: rhythm, spacing and the line that closes it
 Plan fixes the position. Elevation fixes the rhythm. A railing that reads well in elevation has a consistent beat, a clear hierarchy of line weight and a top line that closes cleanly at both ends.
### Set out in the right order
Draw the top rail first, then the posts, then the infill. Setting out in that order stops the baluster spacing drifting toward the end of a run. If you draw bars left to right and hope, the last gap will be a sliver or a gulf.
### Let the last gap fall where the layout puts it
Use a consistent baluster spacing and let the final gap fall where the layout puts it, within whatever opening limit you have confirmed. Then dimension the spacing and the number of bars once and repeat, rather than redrawing each bar by hand. On a stair, a one-off dimension plus a note ("bars at 110 c/c, 14 no.") reads faster than a row of individually annotated gaps.
### Vary line weight to build depth
Heavier for the handrail and posts in front, lighter for the infill and anything set back. This is what makes the railing read as a layer in front of the building rather than part of the facade. A bar balustrade drawn in one uniform weight flattens into a texture and pulls the eye away from the openings behind it.
### Stairs: follow the pitch line
On a stair, draw the railing parallel to the pitch line and keep the nosing line as the reference for the baluster tops. If the baluster tops are set against the horizontal, or against the wrong reference, the verticals read as if they are leaning, and no amount of dimensioning will fix the impression.
### Cut and beyond
On a sectional elevation, place the railing as a cut element where it is sliced and as a lighter element beyond it. The drawing then separates what is cut from what is seen, which is exactly what a planning officer or a contractor needs from it.
### The same grammar across typologies
This approach carries over unchanged to a retaining wall guard on a landscape scheme, an industrial walkway rail, a ramp handrail in public realm or a hospitality terrace balustrade. Only the section changes. The rhythm and weighting do not.
Set out top rail, then posts, then infill. Heavy line in front, light line behind. On stairs, reference the nosing line, not the horizontal.
Drawing a railing in Linea and sending it to a sheet
The drawn-by-hand method above works in any tool. In Linea, the BIM authoring tool inside ArchAdemia Tools, a good part of it is built in, because the plan and the 3D model are the same building. ### One railing, two views Linea has a parametric railing object alongside walls, stairs, slabs and roofs. A railing drawn on the plan exists in the model too, so you are not maintaining a plan line and a separate 3D element that can drift apart. ### Type exact lengths While drawing a railing, start typing a number and it lands in a box beside the cursor. Press Enter to apply. Lengths read in the drawing's own units, so both 1200mm and 6ft parse. For a railing that needs to land on a specific dimension from a column or a slab edge, that beats dragging and hoping. ### Cut the section from the model Cut a section or elevation from the model as real linework, then issue it on a sheet at a true plotted scale on your chosen paper size with a title block. The railing detail becomes a result of the model rather than a separate redraw, so when the stair changes the railing view changes with it. ### Export for consultants and contractors Export to DWG, DXF or IFC4 if the drawing is going to a consultant or a contractor. Then check what the file carries before it leaves. Open the export, look at the layers and confirm the railing arrived as you intended. A file that opens cleanly on your machine is not proof it opens cleanly on theirs. ### Walk it at eye height Walk the model in first person to check how the railing sits against the eye at standing height. A guarding that looks fine in elevation can still block a view you promised the client, particularly with a solid upstand or a heavy cap rail. Ten minutes inside the model catches what no elevation will.A railing drawn in the plan is already in the model, and a section cut from the model is already on the sheet. The fewer times you redraw it, the fewer times it disagrees with itself.
Presenting a railing so it reads as design intent
A railing that is correct but badly presented still costs you a query. A few habits make it read as deliberate design rather than an afterthought. ### Planning and the Design and Access Statement For a planning application or Design and Access Statement, show the railing in a short detail alongside the elevation, with the material named and one dimension that tells the officer how high and how open it is. That is usually enough. Do not bury the officer in construction detail they did not ask for, and do not leave the railing as an unexplained thin line. ### Match the sheet's graphic language Match the railing's graphic treatment to the rest of the sheet. A heavy-line railing on a lightweight elevation looks bolted on. If the facade is drawn in fine line with hatching only on cut elements, the railing belongs in that same hand. ### Test it in a render In a render, check that the railing is not turning into an unreadable tangle of thin lines at distance. This is where a visualisation tool earns its place as a checking aid. Retouch's Enhance area can re-render a selected soft region at higher resolution, which suits a balustrade that has gone fuzzy on a wide view. Corb can advise on camera height and depth so balustrades fall into haze convincingly rather than turning to noise. One caution. Image and video systems routinely alter repeated elements, so a generated balustrade is not evidence of compliant spacing or buildable fixing. Use the render to test legibility, camera height and the look of glass or bars at distance, never as a source of construction geometry. Show a measured section, elevation and material annotation first, then visualise. ### Build the sheet in Layout Build the sheet in Layout at A1 for a crit board or A3 for a document. Drag in the plan, elevation and detail, and use guides and the layout grid so the three line up. Export a vector PDF at true sheet dimensions so the thin railing lines stay crisp when printed, rather than softening as they would in a raster export. ### The takeaway Draw the section first and let it drive everything else. Plan locates the guarding and shows where it stops, elevation sets the rhythm and the weight, and the presentation sheet carries one clear dimension and one named material. Confirm every height and opening against the current regulation for your project and jurisdiction before you issue, and treat any assistant or render as a check on legibility, never a ruling on compliance. A railing drawn in that order rarely comes back with a query.Keep reading.
Try ArchAdemia Tools for yourself
Draw it, model it, render it, publish it. One place, built for architects and small practices. From £19 a month, all in.