From Measured Survey to As-Built Drawings: A Practical Workflow.
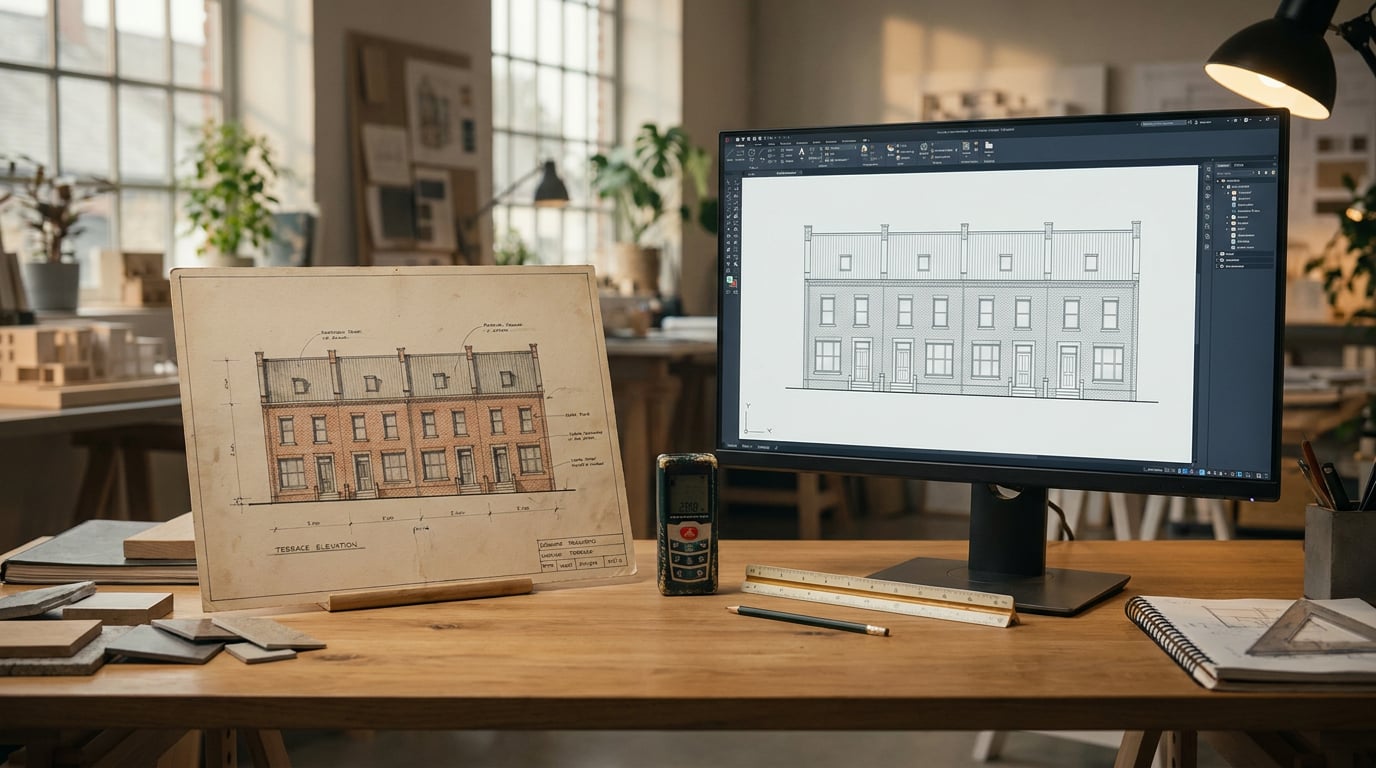
A step-by-step route from site measurements to issued as-built drawings: import the survey, trim it to one plan, rebuild, draw, and sheet it.
Decide what the survey is, before you open any software
 A measured survey is a time-stamped record of existing conditions. It is not a compliance certificate, and it does not become one because the linework is tidy. Hold that thought through the whole workflow, because it governs how you label drawings, what you promise a client and what you log when something does not add up.
Before any import, sort what you have been given into three piles. Each enters the workflow differently.
A measured survey is a time-stamped record of existing conditions. It is not a compliance certificate, and it does not become one because the linework is tidy. Hold that thought through the whole workflow, because it governs how you label drawings, what you promise a client and what you log when something does not add up.
Before any import, sort what you have been given into three piles. Each enters the workflow differently.
| Input | What it is | How to treat it |
|---|---|---|
| Surveyor's DWG or DXF | Layered CAD linework, usually with office-standard layer names and lineweights | Import, inspect, check units, then trace |
| Native IFC from Revit or ArchiCAD | Model data supplied for multidisciplinary coordination | Parse as a model, not as drawings |
| Your own hand notes and photographed sketches | Evidence, not geometry | Calibrate against a real dimension before drawing from it |
An as-built drawing records what was measured and when. Any area you could not access gets labelled as assumed, not drawn with the same authority as a measured wall.
 Import the DXF or DWG into Linea, the browser-based drawing and modelling studio on ArchAdemia Tools. The import dialog draws the file before it lands, so you see what you actually have before committing to it. That preview is worth a minute of attention. It is where a file in the wrong units or with stray linework far from the origin shows itself.
Practice CAD files frequently hold twenty-odd drawings in one model space, all on shared layers. Ticking layers cannot isolate the ground-floor plan from the first-floor plan when both sit on the same layer names. The import dialog finds the separate drawings and outlines them. Click one, or drag your own box where detection misses, and the import crops to that single plan, cut clean at the edge and landing on the origin.
### One import per level
Repeat the crop for each floor, importing the same file once per level. Every plan lands on the origin, so the storeys line up without manual nudging. This is faster and more reliable than copying linework between files, and it keeps each level traceable back to the same source.
### If the surveyor sent an IFC
Import that instead. A native IFC is parsed in the browser with nothing uploaded, which matters when the survey sits under a confidentiality clause. Surveys can contain commercially or security-sensitive information, so check what your instructions and any data-handling agreement require before the file goes anywhere. Treat any tool's privacy behaviour as something to confirm against its own documentation, not as something to assume.
### The first sanity check
Measure a known dimension against your own site notes before you build on the file. A door set or a long wall is ideal. If the file reads 1,980mm for a door you measured at 1,980mm, carry on. If it reads 1.98 or 19,800, stop and sort out the units now. Ten seconds here saves you rebuilding a floor later.
Import the DXF or DWG into Linea, the browser-based drawing and modelling studio on ArchAdemia Tools. The import dialog draws the file before it lands, so you see what you actually have before committing to it. That preview is worth a minute of attention. It is where a file in the wrong units or with stray linework far from the origin shows itself.
Practice CAD files frequently hold twenty-odd drawings in one model space, all on shared layers. Ticking layers cannot isolate the ground-floor plan from the first-floor plan when both sit on the same layer names. The import dialog finds the separate drawings and outlines them. Click one, or drag your own box where detection misses, and the import crops to that single plan, cut clean at the edge and landing on the origin.
### One import per level
Repeat the crop for each floor, importing the same file once per level. Every plan lands on the origin, so the storeys line up without manual nudging. This is faster and more reliable than copying linework between files, and it keeps each level traceable back to the same source.
### If the surveyor sent an IFC
Import that instead. A native IFC is parsed in the browser with nothing uploaded, which matters when the survey sits under a confidentiality clause. Surveys can contain commercially or security-sensitive information, so check what your instructions and any data-handling agreement require before the file goes anywhere. Treat any tool's privacy behaviour as something to confirm against its own documentation, not as something to assume.
### The first sanity check
Measure a known dimension against your own site notes before you build on the file. A door set or a long wall is ideal. If the file reads 1,980mm for a door you measured at 1,980mm, carry on. If it reads 1.98 or 19,800, stop and sort out the units now. Ten seconds here saves you rebuilding a floor later.
Import once per level, crop to a single plan, then measure one dimension you already know. Do that before any tracing.
 With clean reference geometry in place, trace over it with parametric walls, doors, windows, stairs, slabs and roofs. In Linea the plan and the 3D model are the same building edited together, not one generated from the other. Correct a wall thickness on the plan and it is corrected in the model. That propagation is the point: sections and elevations cut from the same model stay consistent with the plan, rather than being redrawn separately and drifting apart.
### Levels and exact values
Stack the levels into storeys and set floor-to-floor heights from your site notes. Type exact values rather than dragging. Start typing a number mid-gesture and it lands in a box beside the cursor. Press Enter to apply it, and Tab to step between values when a gesture takes more than one. Lengths read in the drawing's own units, so 1200mm and 6ft both parse. For survey work this matters: a wall drawn to a typed 215mm is a wall you can defend, where one dragged until it looks right is not.
### Irregular buildings: block out first
Where the building is irregular, use the Massing workspace first. Block out the footprint and roof form quickly, then switch to Build for detailed walls and openings. An out-of-square Victorian rear return with a pitched lean-to is far easier to establish as massing than to wrestle into walls on the first pass.
### Keep survey evidence apart from interpretation
Awkward existing features, such as a boundary wall, a lean-to or a rooflight, are best drawn as model lines and detail lines on named layers. That keeps survey information separate from your own interpretation. Name the layers plainly: measured, assumed, inaccessible. A reader scanning the drawing should be able to tell at a glance which geometry was observed and which was inferred.
New geometry in Linea starts as a flat colour: white walls, light grey floors and roofs. Finishes appear only where you paint them. That suits an existing-conditions model, which should read as a record of form and not as invented materials.
With clean reference geometry in place, trace over it with parametric walls, doors, windows, stairs, slabs and roofs. In Linea the plan and the 3D model are the same building edited together, not one generated from the other. Correct a wall thickness on the plan and it is corrected in the model. That propagation is the point: sections and elevations cut from the same model stay consistent with the plan, rather than being redrawn separately and drifting apart.
### Levels and exact values
Stack the levels into storeys and set floor-to-floor heights from your site notes. Type exact values rather than dragging. Start typing a number mid-gesture and it lands in a box beside the cursor. Press Enter to apply it, and Tab to step between values when a gesture takes more than one. Lengths read in the drawing's own units, so 1200mm and 6ft both parse. For survey work this matters: a wall drawn to a typed 215mm is a wall you can defend, where one dragged until it looks right is not.
### Irregular buildings: block out first
Where the building is irregular, use the Massing workspace first. Block out the footprint and roof form quickly, then switch to Build for detailed walls and openings. An out-of-square Victorian rear return with a pitched lean-to is far easier to establish as massing than to wrestle into walls on the first pass.
### Keep survey evidence apart from interpretation
Awkward existing features, such as a boundary wall, a lean-to or a rooflight, are best drawn as model lines and detail lines on named layers. That keeps survey information separate from your own interpretation. Name the layers plainly: measured, assumed, inaccessible. A reader scanning the drawing should be able to tell at a glance which geometry was observed and which was inferred.
New geometry in Linea starts as a flat colour: white walls, light grey floors and roofs. Finishes appear only where you paint them. That suits an existing-conditions model, which should read as a record of form and not as invented materials.
Name your layers by evidential status. Measured, assumed and inaccessible geometry should never share the same visual authority.
- Party wall out of square by a stated amount
- First-floor level assumed, not measured
- Rear bedroom not accessed on survey day
- Roof structure and foundation conditions unverified
A section that disagrees with a photograph is a measurement to re-check, never a drawing to tidy. Log the discrepancy and go back to site.
Keep reading.

Try ArchAdemia Tools for yourself
Draw it, model it, render it, publish it. One place, built for architects and small practices. Plans from £29 a month, all in.