From Site Survey to Massing Model: Your First-Week Workflow.
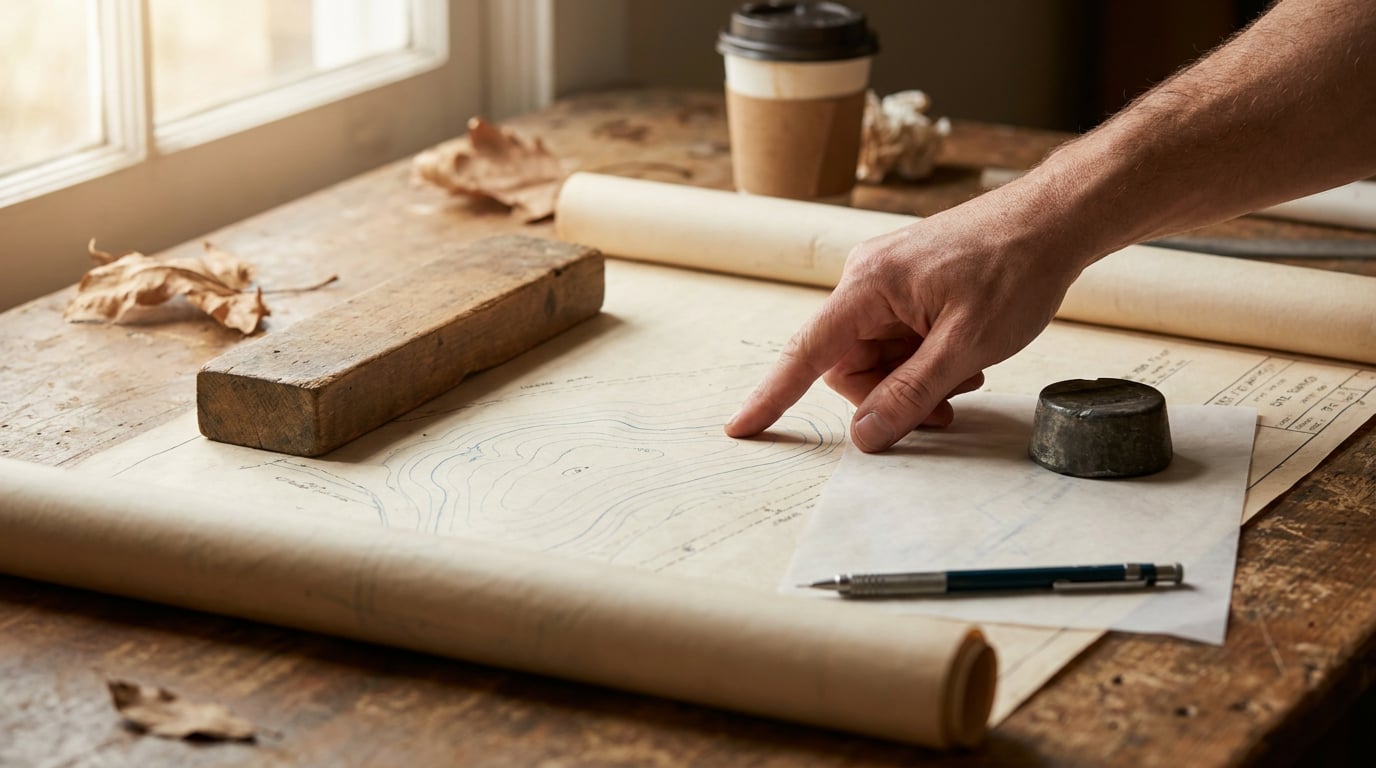
A practical week-one sequence for new projects: research the site, model the context, block out massing options, and land on a sheet a client can read.
Day one: get the site into the platform, not just your notebook
The first mistake most teams make in week one is treating research and drawing as separate acts, done by separate people, on separate afternoons. Fix that before you open a drawing tool. Start in Research and pull the planning history on the site: previous applications, refusal reasons, the local plan policies that apply to the allocation, and two or three precedent schemes on the same street or in the same character area. You want this in front of you before you draw a single wall, because it tells you what a planner has already objected to nearby, and there's no point spending day three modelling a massing option that repeats someone else's refusal.
Log everything centrally. Site photos, the topographic survey PDF, the boundary drawing, that scan of a hand sketch from the site visit: all of it goes into a shared Projects workspace, not five different inboxes across the team. A project with three people on it and one drawing set is fine. A project with three people on it and three separate folders of "the survey" is how a levels error survives to week four.
Then bring the site boundary into Linea and place it on a real location, with the ground and surrounding buildings modelled in. This matters more than it sounds. A massing study that floats in white space tells you nothing about whether your volume overshadows the terrace behind it or sits awkwardly against the ridge line next door. A massing study sitting on real topography, next to simple blocks representing the neighbours, tells you the truth straight away. Note orientation, overlooking angles and any rights of light constraints on day one, while you're looking at the site with fresh eyes. Every massing option you build for the rest of the week has to answer to these three things, so write them down now rather than rediscovering them in week two when a neighbour objects.

A massing study built against real neighbours and real topography from hour one saves you from redesigning around a constraint you should have caught on day one.
Day two: trace, model, and stop redrawing the same lines
If a hand sketch exists from the site visit, or a scanned survey with the building outline already marked up, trace it straight into walls inside Linea rather than re-measuring the site from scratch. Re-measuring feels thorough. It is mostly wasted time when the information already exists in a form you can trace directly. Linea holds a real 2D plan and 3D model of the same building, edited together, so a traced outline becomes a wall, and that wall is already coordinated between your plan and your model. There's no separate step where the drawing and the 3D catch up with each other later.
Build the surrounding context as simple massing blocks too. You don't need window details on the neighbour's house to judge whether your three-storey option throws a shadow across their garden at 4pm in December, you need a box of roughly the right height in roughly the right place. Simple massing blocks for adjacent buildings let you judge overshadowing and street scale honestly, without burning a day modelling buildings that aren't your project.
Set storey heights and stack levels on day two, before you commit to a footprint. This is the point in the week where getting levels right pays off for the rest of the process: Linea's parametric walls, floors and roofs update together, so raising a ceiling height on the ground floor doesn't mean rebuilding the floor above it by hand. Change the level, and the storeys that reference it move with it.
Keep the model in Linea rather than switching out to a general-purpose 3D tool at this stage. The reason isn't loyalty to one piece of software, it's that Linea holds a coordinated 2D plan and 3D model rather than a 3D form with no plan behind it, and it exports DXF back into CAD the moment a structural engineer or a consultant needs the drawing in their own system. Building the massing somewhere that doesn't hold a real plan means redrawing it properly later. Building it in Linea means the massing model and the working drawing are the same file from day two onward.
The single biggest time cost in a first-week workflow is redrawing the same information in a second tool. A model that holds plan and 3D together removes that step entirely.
Day three: block out two or three massing options fast
By day three you have a site, a boundary, neighbouring context and storey heights set. Now duplicate the base model and push volume in different directions: a courtyard arrangement if the site and brief suit an enclosed outdoor space, a linear block if the site is narrow and orientation favours a long elevation, a stepped terrace if the fall of the land or a height constraint on one boundary makes stepping the obvious response. Don't force all three onto every site. Let the brief and the topography tell you which two or three are worth building.
Go easy on the furniture and material libraries at this stage. Massing week is about volume, daylight and how the building sits on the site, not about finish. A grey block that clearly reads as three floors over a footprint tells a client and a planner more at this stage than a partially furnished, partially rendered fantasy of the finished building. Save material decisions for once a massing option is chosen.
Cut quick sections through each option directly from the model. This is where the site's fall becomes real: a section through a stepped option against the existing ground level shows you immediately whether the steps actually track the slope or fight it, and whether your ridge line sits above or below the neighbour's roof. Do this for each option while they're all still live in the model, so the comparison is apples to apples.
Then send a rough perspective from each option straight into the rendering studio. A plan diagram tells a colleague where the building sits. A perspective, even a rough one, tells them how it feels to stand across the street from it. You want something visual on the table by the end of day three, not three sets of plans that need translating in a review meeting.

Day four: pressure-test the options with Corb and a quick render pass
With three massing options sitting in the project, day four is about testing them against the brief rather than against each other in isolation. Talk the options through with Corb in the project chat. Ask it to look at the brief's stated priorities and flag which option answers them most directly: if the brief leads with daylight to a shared courtyard, does the courtyard option actually deliver that, or does the stepped terrace do it better despite the different form language? Corb can also draw a variant directly into a Linea model you choose, on whichever model you're working from, so a suggestion doesn't sit as a paragraph of text you then have to translate into geometry yourself.
Run each option through Image or 3D for a fast massing render. Greyscale or a single simple material is enough at this point: you're comparing bulk and shadow between three options, not finish quality. This is the same discipline as day three, just extended into imagery that's easier to put in front of a client or a planning officer than a wireframe.
Check overshadowing and overlooking visually rather than relying only on plan measurements. Render the same view, same time of day, same camera position, across all three options. A shadow diagram on paper is useful, but a rendered image of the same street view with the same sun angle across three massing options is the version that actually settles an argument in a design review, because everyone in the room is looking at the same thing rather than interpreting a hatch pattern.
Note, while it's fresh, where the design and access statement will need to justify height or massing decisions. If the stepped option needs three paragraphs explaining why it steps down toward the boundary, write that reasoning down on day four, next to the render that shows it. Reconstructing your own reasoning in week three from memory is slower and less convincing than capturing it the moment you made the decision.
A shadow diagram argues with a planner about method. A rendered image of the same view across three options settles the argument by showing them the answer.
Day five: put the week on a sheet a client or planner can actually read
The last day of the week isn't for new modelling, it's for making the previous four days legible to someone who wasn't in the room. Build the comparison in Layout using either the Design and Access Statement template or the Presentation Board template, depending on who's reviewing it first. Both templates come pre-populated with placeholder text and image frames, so the job is dropping your plans, sections and perspectives into a structure that already holds consistent scale and framing across the three options, rather than starting from a blank page.
Use the layout grid, whichever of the Manuscript, Columns or Modular options suits the content, to keep massing plans, sections and the rendered perspective aligned across the sheet. This is the difference between a comparison page that reads as considered and one that reads as three separate images someone dropped in at different scales. The grid is a reference overlay only, it never appears in the export, so there's no cleanup step before you send it out.
Export a PDF at true sheet dimensions for the project file, and share a read-only public link if the client wants to look at the options before the internal review meeting. That link stays current as you keep refining the document, and it's revocable if the project moves on to a version the client shouldn't be reviewing anymore.
| Day | Core output | Surface |
|---|---|---|
| Day one | Site placed with real context, constraints logged | Research, Projects, Linea |
| Day two | Traced base model with levels and storeys set | Linea |
| Day three | Two or three massing volumes with sections | Linea, rendering studio |
| Day four | Options tested against brief, comparative renders | Corb, Image, 3D |
| Day five | Client or planner-ready comparison sheet | Layout |
Keep the underlying Linea model live and clearly named throughout, and don't archive it once the sheet goes out. Whichever massing option gets chosen in the review meeting becomes the literal starting point for week two, the same file with the same levels and the same context already in place, not a fresh model built from a chosen image. That's the point of holding plan and 3D together from day one: the decision made at the end of the week has somewhere real to land.

The takeaway: a first week doesn't need five tools and five handoffs, it needs one model that gets more informed each day: sited on day one, traced and leveled on day two, optioned on day three, tested on day four, and presented on day five. Every day either adds information to that model or reads information out of it. Nothing gets rebuilt, and by Friday the option a client picks is already sitting inside the file that starts week two.
Keep reading.

Try ArchAdemia Tools for yourself
Draw it, model it, render it, publish it. One place, built for architects and small practices. Plans from £29 a month, all in.