SketchUp to Render: Export Clean Geometry, Keep Your Materials.
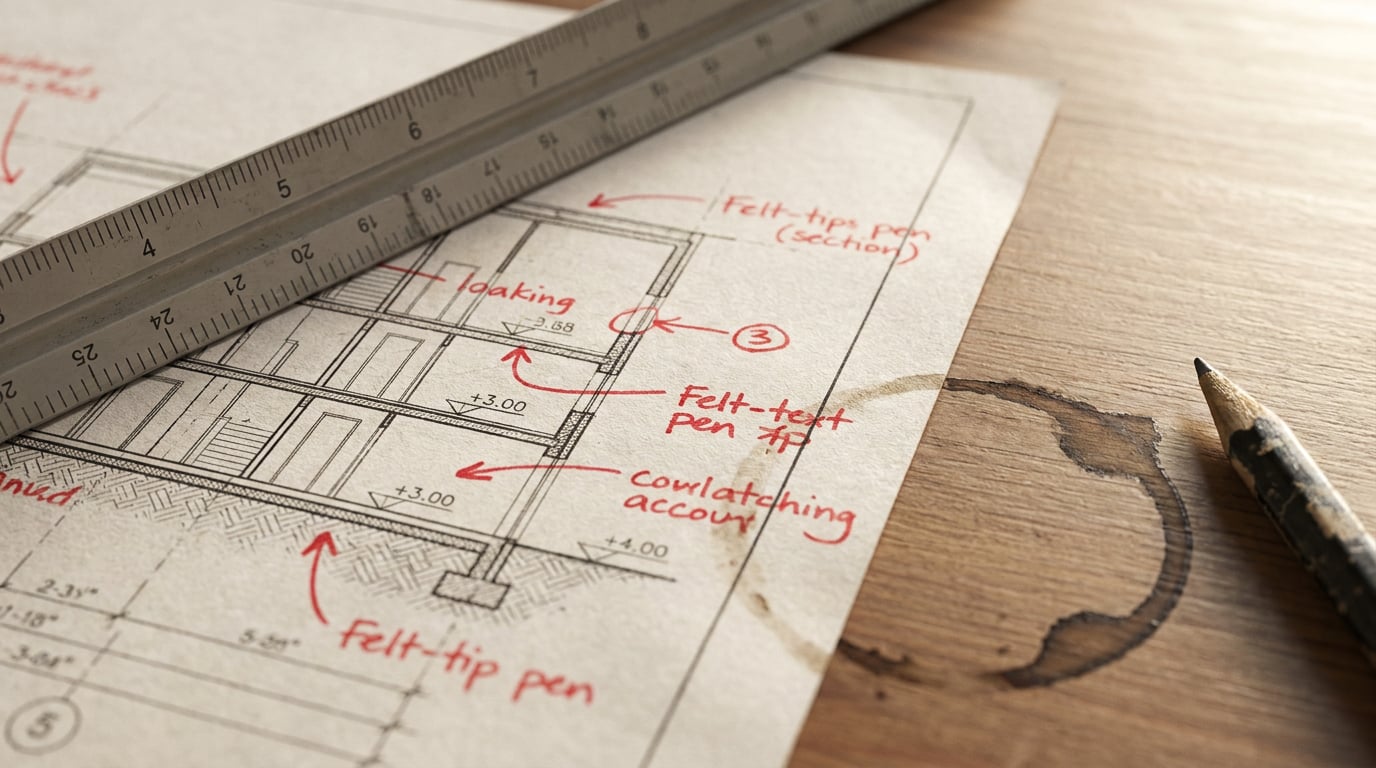
Most broken materials after a SketchUp export are a modelling problem, not a render problem. Fix the model first, then send it on with its finish intact.
Clean the Model Before You Touch Export
 The export is only as clean as the file you send it. Most "the render broke my model" problems are a SketchUp file that was never tidied, not a renderer fault. Spend the first ten minutes of the job removing what the next stage should never see.
Start with the usual culprits. Switch on hidden geometry and look for **stray edges** left over from a half-finished push-pull, **duplicate faces** stacked on top of each other, and **tiny sliver faces** that appear when a push-pull lands a hair off the line it should have met. None of these is dramatic in SketchUp. All of them are practical things to hunt down, because each one adds geometry the renderer has to interpret and a place where a material assignment can go astray. These are sensible checks rather than measured causes: no source quantifies the effect of any one of them on export time, so treat them as hygiene, not as a benchmark.
Then purge. In SketchUp, purge unused components, materials and styles before you export. A file that has lived through three design iterations drags old material names and abandoned components into the next stage, and those names are what you will be reading when you try to swap a finish two days later. The exported OBJ carries its material assignments in a companion
The export is only as clean as the file you send it. Most "the render broke my model" problems are a SketchUp file that was never tidied, not a renderer fault. Spend the first ten minutes of the job removing what the next stage should never see.
Start with the usual culprits. Switch on hidden geometry and look for **stray edges** left over from a half-finished push-pull, **duplicate faces** stacked on top of each other, and **tiny sliver faces** that appear when a push-pull lands a hair off the line it should have met. None of these is dramatic in SketchUp. All of them are practical things to hunt down, because each one adds geometry the renderer has to interpret and a place where a material assignment can go astray. These are sensible checks rather than measured causes: no source quantifies the effect of any one of them on export time, so treat them as hygiene, not as a benchmark.
Then purge. In SketchUp, purge unused components, materials and styles before you export. A file that has lived through three design iterations drags old material names and abandoned components into the next stage, and those names are what you will be reading when you try to swap a finish two days later. The exported OBJ carries its material assignments in a companion .mtl file, so every stale material in the model is a stale entry you may have to explain to someone else.
Next, nested groups. Explode the ones that carry no purpose, the groups-inside-groups that built up while you were organising the model and now only hide geometry. Keep components wherever you will need to swap, move or repeat something later: a window type, a chimney, a rooflight. The rule is simple. If a group exists to be moved or swapped, it stays. If it exists only because you grouped something once and forgot, it goes.
### A worked example: the planning-stage massing
Take a house massing prepared for a planning application, with a heavy imported tree library dropped around it to make the SketchUp view look finished. Those trees are the biggest geometry in the file and the least relevant to the export. Delete them. Export the architecture, the walls, roof, openings and chimneys, and add entourage back at the render stage, where it can be scaled, varied and lit properly. The model shrinks, the export is faster to inspect, and you stop dragging a stock tree's material names into your finish schedule.
Export the architecture, not the scenery. Anything that is entourage in the final image belongs in the render stage, not in the geometry you hand over.
Flip Your Faces Before the Render Does It Wrong
 SketchUp faces have a front and a back, and the export has to decide which one a renderer treats as the visible surface. Get this wrong and a surface can disappear, shade unexpectedly or lose the material you assigned to it.
SketchUp's own documentation is clear about the mechanism. The OBJ exporter writes each face as one polygon unless triangulation is enabled, and SketchUp warns that applications expecting triangles can produce missing or reversed polygons if this is not handled correctly. That is the official risk. How badly a reversed face looks depends on the renderer: it may render incorrectly, disappear or shade unexpectedly. Do not assume it will always go black. Assume only that you cannot predict it, and fix it at source.
The fix is quick. Switch the style to show back faces in a contrasting colour, then orbit the whole model. Anything showing the back-face colour from the outside is facing the wrong way. Select it and reverse the face. Do this before exporting, not after you have spotted the problem in a render.
### Check the thin elements first
The wrong face is easy to miss on slender geometry. Check these deliberately:
SketchUp faces have a front and a back, and the export has to decide which one a renderer treats as the visible surface. Get this wrong and a surface can disappear, shade unexpectedly or lose the material you assigned to it.
SketchUp's own documentation is clear about the mechanism. The OBJ exporter writes each face as one polygon unless triangulation is enabled, and SketchUp warns that applications expecting triangles can produce missing or reversed polygons if this is not handled correctly. That is the official risk. How badly a reversed face looks depends on the renderer: it may render incorrectly, disappear or shade unexpectedly. Do not assume it will always go black. Assume only that you cannot predict it, and fix it at source.
The fix is quick. Switch the style to show back faces in a contrasting colour, then orbit the whole model. Anything showing the back-face colour from the outside is facing the wrong way. Select it and reverse the face. Do this before exporting, not after you have spotted the problem in a render.
### Check the thin elements first
The wrong face is easy to miss on slender geometry. Check these deliberately:
- Parapets and coping. A thin wall top is often modelled as a single extruded profile where one face flips during a push-pull.
- Window reveals. The inner faces of a reveal are small, partly hidden and the first to be reversed.
- Fascia boards. A long, narrow face viewed mostly from below is the classic place for a mismatch.
- Single planes. A face standing in for glazing or a roof surface has no thickness to hide an error.
Two-sided export hides a reversed face; it does not fix one. Repair the normals, then use two-sided faces only where a surface really is seen from both sides.
Name Materials Like Someone Else Will Open the File
 Someone else will open this file. It may be a colleague, a visualiser, or you in two days with no memory of why a surface is the colour it is. Name materials for that person.
Rename the defaults. A material called
Someone else will open this file. It may be a colleague, a visualiser, or you in two days with no memory of why a surface is the colour it is. Name materials for that person.
Rename the defaults. A material called Material3 tells nobody what it is. When you are trying to swap a finish later, you will be guessing. Name by surface type, in a pattern that matches your finish schedule:
| Poor name | Useful name | What it tells you |
|---|---|---|
| Material3 | brick_buff | Facing brick, buff tone |
| Colour_A04 | render_white | Painted render finish |
| Glass | glazing_clear | Clear glazing, not tinted or frosted |
| Grey_metal | zinc_standing_seam | Roof cladding system |
brick_buff makes the model line up with the schedule and makes substitution a single action. Be clear about the benefit: it is maintainability and easy substitution, not a proven speed gain. No source supports a measurable performance difference from fewer materials, so do not promise one to a client or a colleague.
### Keep the files together
The OBJ route depends on three things staying together: the .obj, the .mtl and the texture images they reference. In the export dialogue, make sure materials and texture maps are both being exported, and keep the image files in the same folder as the model. Move the OBJ alone and the materials arrive as flat colours or not at all.
### Test texture scale on a real face
A texture can look right in SketchUp and wrong at render resolution. Do not trust the swatch in the materials palette. Apply the material to an actual wall and look at it from the camera distance you intend to use. Brick coursing that reads convincingly in an orbit view can look oversized or tiny once the camera is at eye height on the street. There is no universal figure to aim for, so check each material on a real face at the real viewing distance and adjust the scale and projection until it holds up.
Choose the Export Route That Matches What You Need Next
There is no single correct export. Choose by what has to survive.| Route | Keeps | Watch for |
|---|---|---|
OBJ with .mtl | Geometry and material assignments, with texture images alongside | Triangulation settings, two-sided faces doubling polygon count, files separated from their textures |
Collada (.dae) | Geometry and materials, with an option to preserve front- and back-face materials | Same orientation checks; two-sided option welds each side separately |
| Flat image export | A single chosen view, nothing else | No geometry survives, so the view must be right before you export |
Test one wall and one window before you export the building. Ten seconds on a slice saves an afternoon on a failed full export.
Let the Render Stage Do the Finishing, Not the Rescue
The render stage should finish the image, not rescue a broken model. Studios commonly move from SketchUp or Revit into a visualisation tool and then into Photoshop or Lightroom for post-production; adding image generation is one more stage in that chain, not a replacement for a controlled model. Workflow guidance for architecture consistently recommends starting from a clean model and exporting a shaded view or line-art view, then describing materials, environment and planting in the prompt. These are recommended workflows, not independent performance studies, so treat them as working practice. An untextured SketchUp massing view is a reference for form. It tells the render stage the footprint, the height against the neighbours, the roof shape and the rhythm of openings. It says nothing reliable about material or finish, because there is none to read. Decide material and finish in the render, not in the model. In ArchAdemia Tools, take the exported view into Image generation and describe the finish you want. Where you already have a reference image for a surface, use Retouch instead: its material swap replaces a selected area's texture to match an attached reference, as a toggleable layer, so the brickwork or cladding can change without touching the rest of the view. Retouch also carries six one-click re-light presets: Golden hour, Dusk, Blue hour, Night, Overcast and Sunny. Each regenerates the whole document at a different time of day or weather as a new layer. Run them on the same view before a client sees anything, and you can show how the scheme reads in different light without rebuilding a scene. When a wide render has gone soft or repetitive in one area, use Enhance area. It re-renders a selected region at higher resolution with no prompt and composites it back through the selection, so you fix the weak patch without regenerating the whole image. ### Hold the geometry still Keep the brief tied to the model's own geometry. Tell the render to hold massing, storey heights, roof form and openings still, then check the result against your original SketchUp view. A preservation instruction in a prompt is a request to the model, not a lock, so the comparison is not optional. Check the result against plans and sections too, especially where the building envelope or accessibility is concerned, because a render can look plausible while drifting from the drawings.A render finishes the model you give it. It cannot repair one. Fix orientation, materials and scale in SketchUp, then let the render stage add light, finish and atmosphere.
A Pre-Export Checklist You Can Pin Above Your Desk
Run these four checks, in this order, every time.- Purge. Remove unused components, materials and styles, and delete anything that belongs to entourage rather than architecture.
- Check face orientation. Show back faces in a contrasting colour, orbit the whole model, and reverse anything facing the wrong way. Look hardest at parapets, reveals, fascias and single planes.
- Rename materials. One name per surface type, matching the finish schedule, with no defaults left.
- Confirm texture scale. Apply each material to a real face and check it at the intended camera distance.
Keep reading.

Try ArchAdemia Tools for yourself
Draw it, model it, render it, publish it. One place, built for architects and small practices. Plans from £29 a month, all in.