Archademia Login: Getting Your Practice Set Up Properly.
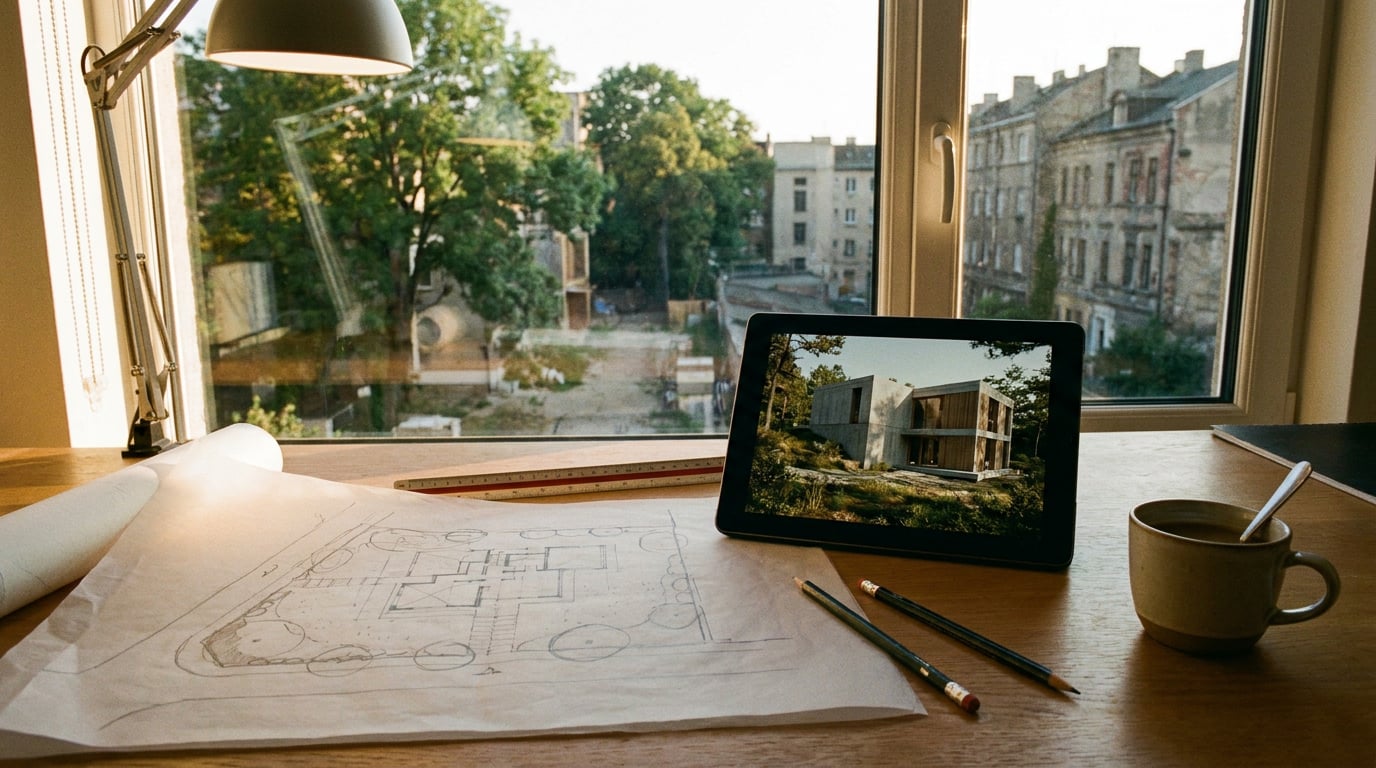
What happens after you log in matters more than the login itself. Here's how to set up your workspace so ArchAdemia Tools earns its place in your workflow.
Logging in for the first time takes thirty seconds. Setting the account up so it actually helps you run jobs takes about twenty minutes, and most of that is decisions rather than clicking. This is what to do in that first session, in the order that saves you the most rework later.
What you're actually logging into
ArchAdemia Tools is one platform with one credit system, not five subscriptions spread across five browser tabs. That distinction matters more than it sounds. If you've been paying separately for a CAD viewer, an image generator, a document editor and a presentation tool, the overhead isn't just the cost, it's the context switching: exporting from one, re-importing into another, losing your layer structure somewhere in between.
The dock is the map of everything that sits behind your login: Dashboard, Corb, Projects, Research, Documents, Image, Retouch, Video, 3D, Shoot, Linea, Vector, Canvas, Composer, Web, Editing and Layout. One login, one credit balance, all of it. You're not choosing which tool to subscribe to. You're choosing which one to open next.
New accounts start on a 7-day free trial, no card required. You get 30 credits a day, refreshed daily, though they don't roll over, so a quiet Tuesday doesn't bank credits for a busy Thursday. Every model on the platform is selectable during the trial too, including the pricier flagships, so you can genuinely test the full roster before deciding between Starter, Pro or Max rather than guessing from a features page.
One login, one credit pool, every model unlocked from day one. The only ceiling on a trial account is how far 30 daily credits stretch, not which tools you're allowed to touch.

First move: set up a Project, not a one-off generation
The instinct on any new platform is to open the flashiest tool and generate something. Resist it. Go to Projects first.
Projects group work by scheme rather than by tool, so a planning application's drawings, renders and Design and Access Statement text all sit in one place. That's the opposite of how most people organise a desktop, where files get sorted by type: a renders folder, a drawings folder, a Word documents folder, none of them talking to each other.
If you're running client work, even a small residential extension or a single-unit conversion, name the project by job number or site address from the very first session. It feels like unnecessary admin when you've got one project open. It stops feeling unnecessary the moment you've got fourteen projects open and a client calls asking for a revision to "the one from March."
There's a practical reason this matters beyond tidiness. Corb reads the project's brief, its RIBA stage and its existing decisions when you ask for help inside a project chat. A well-set-up project gives Corb something to work from. A pile of ungrouped files gives him nothing, and the advice comes back generic because there's no context feeding it.
Unorganised work gets weaker advice. Corb reads what the project already knows; a scheme with no structure behind it gets you guesswork dressed up as guidance.
Get oriented with Corb before you touch a generation surface
Corb is the assistant threaded through ArchAdemia Tools. His job is to explain what each studio does and point you towards the model suited to the task actually in front of you, rather than you working that out by trial and error across a dozen wasted credits.
Ask him directly: which image model handles a planning-context exterior with a realistic streetscape, versus which one is better suited to a loose interior mood board for a client presentation. That's a fair question and one he's built to answer, because the model that renders a convincing material palette for an interior isn't automatically the one that handles massing and context believably for a planning submission.
Two things to keep in mind about what he won't do. He never invents dimensions, and he never rules on compliance. If your project doesn't state a floor-to-ceiling height or a boundary distance, he'll ask for the number rather than guess one that sounds plausible. And if a scheme brushes up against a planning or building regulations question, he'll name the issue and say who decides it. He won't tell you it complies. That call sits with whoever carries the professional liability, and it's never him. Treat his advice as direction, not sign-off.
One surface-specific detail worth knowing early: on the Canvas, Corb works on Claude only, specifically Sonnet 5, Opus 5 and Fable 5. Everywhere else in the platform, the writing picker widens out to include GPT-5.6 and Gemini models alongside Claude. So a document you're drafting in Documents has the full model menu; a Canvas workflow chatting to Corb doesn't, and that's by design rather than an oversight.
Corb gives direction, not sign-off. He'll tell you which model suits an exterior render or an interior mood board, and he'll flag a planning issue by name, but the compliance call and the missing dimension are always yours to supply.
Bring existing work in rather than starting from zero
The fastest way to abandon a new platform is to open a blank canvas with nothing familiar on it. The fix is to bring your actual files in during that first session, and both drawing surfaces are built for exactly that.
Linea imports DXF, DWG and native IFC files straight from Revit or ArchiCAD, plus GLB, FBX, OBJ, DAE and STL model formats. All of it is parsed in the browser, nothing gets uploaded to a server first. If you've got a scheme already modelled in Revit, that's your starting point, not a rebuild.
Vector's Import door does the equivalent job for 2D work: a vector-ready PDF exported from AutoCAD, Revit or SketchUp LayOut lands as real, editable linework, not a flattened image you're left tracing over. A DXF from any CAD package works the same way, arriving at true 1:1 scale automatically.
Both tools solve a problem every practice runs into eventually: a CAD file or sheet with twenty-odd drawings sitting in one model space, all sharing the same layers. Import that file and both Linea and Vector detect the separate drawings inside it, outline them on a preview, and let you crop to the one you actually need rather than dragging the whole tangled mess in and untangling it by hand.
This matters specifically at login stage because the first session is the fork in the road. Bring a real file in and you're immediately working on your own project. Start from an empty canvas instead, and it's easy to close the tab and never come back, because nothing on screen relates to the job you actually need to do.

Know where credits go before you spend them
Nothing kills confidence in a new platform faster than an unexpected charge. So it's worth knowing, before you touch anything, which actions are free and which cost credits.
In Linea, drawing, modelling, walking a model and exporting cost nothing on any plan, including the free trial. The only paid step is generating a 3D model from a prompt or a photograph, and the cost is quoted before it runs, either a flat 55 credits for a quick shape or 180 for cleaner geometry and real textures.
Layout works the same way. Manual layout work, building a crit board, a competition panel or a Design and Access Statement by hand, is free on every plan, Free trial included. The paid step is asking Corb to fill a text frame or build a whole document from a prompt.
Vector follows the same pattern again: the rail tools, Import, Pathfinder operations and every export format are free. Only two things cost credits, generating vector artwork from a description and tracing a placed photograph into editable paths, and both show their credit figure before you commit.
| Studio | Free | Costs credits |
|---|---|---|
| Linea | Drawing, modelling, walking, exporting | Generating a 3D model (55–180 credits) |
| Vector | Import, rail tools, Pathfinder, all exports | Generate (18–67 credits), Image Trace (6 credits) |
| Layout | All manual layout work | Corb filling or building a document |
Starter gives you 3000 credits a month and 2 concurrent generations. Pro and Max raise both numbers, which is the part that matters for a practice running several jobs in parallel rather than one scheme at a time: more credit headroom and more generations running at once without queuing behind each other.
The pattern repeats across every studio: drawing, editing and exporting are free. Generation from a prompt is the paid step, and the cost is always shown before it runs.
Set your workspace up for how you actually work
The last piece of getting properly set up is matching the platform to where you'll actually be sitting when you use it.
At a desk with a second monitor, Retouch, Linea and Vector's full toolsets are built for that kind of precision: layers, rulers, guides, and typed values rather than dragged ones. That's the environment for detailed material swaps in a render, or drafting a section at a true plotted scale.
Reviewing on site or in a client meeting is a different job, and most studios recognise that by opening a stripped-back Mobile Express version instead of the full desktop layout locked behind a small screen. Retouch, Linea, Vector, Composer and Layout all do this: a document list, a flattened preview, comment and export functions, the things you actually need standing in front of a client rather than at a desk. Drawing itself, and full precision editing, stays desktop work, which is the right trade-off. Nobody's routing a wall in Linea from a phone in a site cabin.
One setup step worth doing early rather than late: upload your practice's brand fonts once in Retouch. TTF, OTF, WOFF and WOFF2 are all supported, variable fonts included, and once they're in, they carry through to Layout automatically. That means your type standard stays consistent from an early sketch review right through to a submission document, without re-uploading fonts project by project.
And once a project has something worth showing, publish a Layout document as a read-only link. Clients see progress without needing an account of their own, and the link stays current as you keep editing the document behind it, so there's no re-sending a PDF every time something changes.

The takeaway: the login itself is the easy part. What sets a practice up properly is the first session's decisions: naming projects from day one, bringing real CAD and PDF files in rather than starting from a blank canvas, and knowing which actions are free before you spend a single credit. Get that structure right early and every project after it inherits the benefit.
Keep reading.
Try ArchAdemia Tools for yourself
Draw it, model it, render it, publish it. One place, built for architects and small practices. Plans from £29 a month, all in.