Frame a Render Like a Photographer: Focal Length and Eye Level.
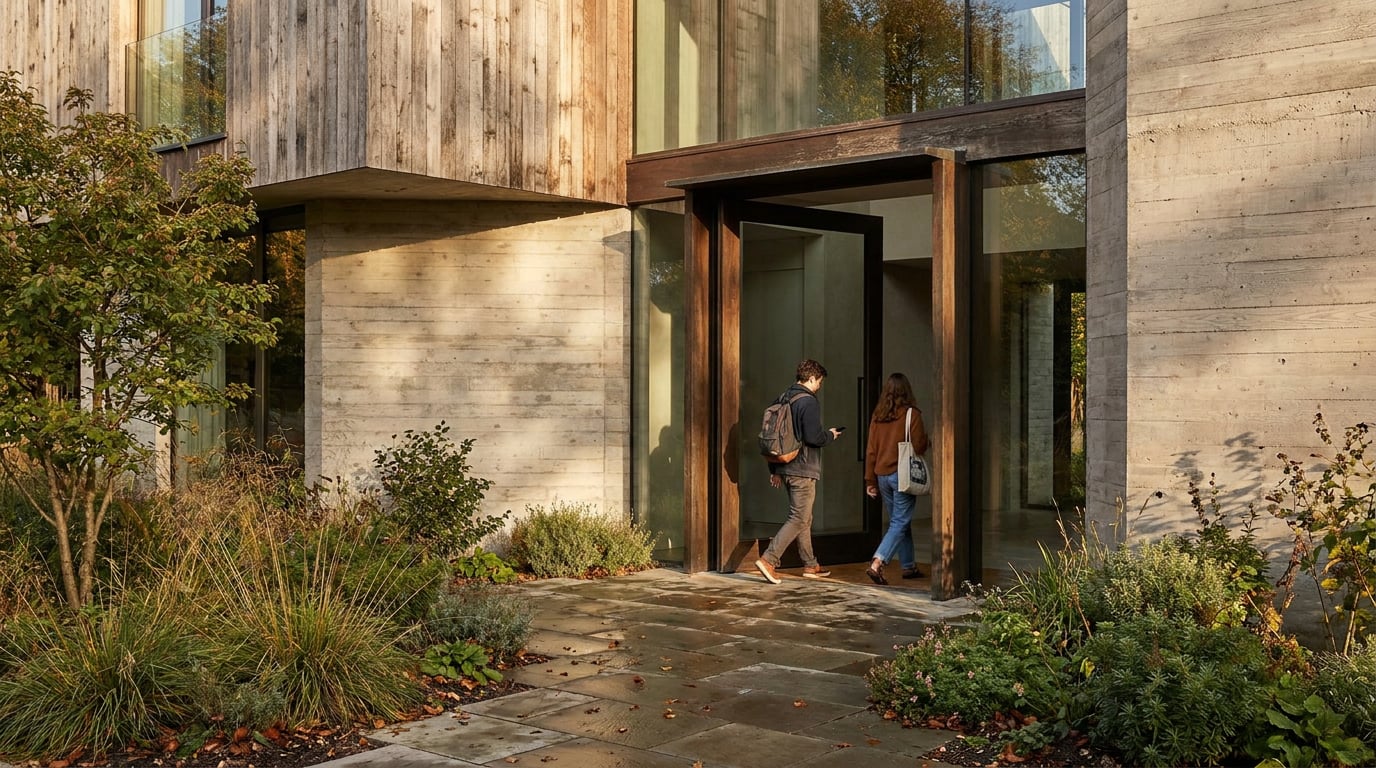
Most renders look wrong before anyone touches the light. Fix the lens and the eye level first, and everything downstream gets easier.
Why your render looks 'off' before the light is even wrong
When a render gets picked apart in a crit, the critique nearly always lands on lighting or materials. That's rarely where the problem starts. Most renders that feel synthetic have a camera fault: wrong height, wrong lens, wrong distance from the subject. You can fix the sun position and the brick texture all day and the image will still read as CGI, because the eye is responding to something more fundamental than surface quality.
A photographer chooses focal length and eye level before they even think about exposure. They walk the site, find the standing point that makes sense, decide whether a 28mm or a 50mm tells the story, and only then worry about the light. Render setup should follow the same order. Camera first, light second.
This matters because wide, low, distorted renders read as "CGI" even with flawless materials and physically accurate lighting. They break how humans actually perceive buildings from the street. Nobody stands 1.2 metres off the ground pointing a 16mm lens at a facade. When a render does that, the viewer's eye registers the mismatch immediately, even if they can't say why.
The fix is a mindset shift: set up the shot like a photographer standing on site with a specific lens in hand, not a floating camera with no physical constraints. Ask where a person would actually stand. Ask what lens they'd have on the body. That single discipline does more for believability than another lighting pass ever will.
Camera discipline, not lighting, is usually the difference between a render that reads as photographed and one that reads as generated.
Eye level: the single fastest fix for a fake-looking exterior

Human eye level sits roughly between 1.5 and 1.7 metres. Set a camera there and the image behaves the way a site visit photo behaves: foreground and background compress the way they do when you're actually standing somewhere, looking at something. That compression is one of the strongest cues the brain uses to judge whether an image was photographed or built. A render shot from head height feels like a person is standing in that spot. A render shot from 3 metres up feels like a drone, or worse, a diagram with materials applied. Raise the camera only when there's a genuine reason to. A first-floor viewpoint referenced in a Design and Access Statement, an aerial context shot for a masterplan, a roof terrace view. Outside of those cases, keep the tripod on the ground. Industry guidance on interior and exterior visualisation consistently puts standard eye-level views in the 1.5 to 1.7 metre band, treating it as the default rather than the exception. Higher perspectives, in the 10 metre-plus range, are reserved for genuinely aerial or masterplan framing, not for making a single building look more dramatic. The comparison is worth making explicit in front of a client or a crit panel. Render the same exterior view twice: once at 1.6 metres, once at 3 metres. Put them side by side. The difference is not subtle. The low version reads as a place you could walk into. The high version reads as a rendering exercise. If you want the fastest single credibility upgrade available to you, this is it. Not every fix requires a re-render. If a render was shot slightly too high and everything else about it works, correcting it doesn't have to mean starting over. In Retouch, the perspective distortion tool on a layer lets you drag a corner to pull converging verticals back into true, which can rescue a shot that's a touch off without touching the render engine at all.
Interior views need their own height logic. A kitchen reads best around 90 to 95cm, a living room around 80 to 90cm, a hallway around 110 to 120cm, tracking furniture height rather than standing eye level, because a camera at 1.6m in a low-ceilinged room distorts proportion just as badly as a wide lens does.
Focal length: why the 24-35mm range is the architect's default

A wide lens, in the 16 to 24mm equivalent range, exaggerates depth and bends straight lines toward the edges of the frame. It's a genuinely useful tool for a tight urban site where you physically cannot back away from the building far enough to fit it in frame. It is the wrong tool for a considered street elevation you want a client or a planning officer to trust. A standard lens, 35 to 50mm equivalent, matches how the eye actually reads a facade. Straight lines stay straight. Proportion stays proportion. This is why professional architectural photography sits overwhelmingly in this range rather than reaching for the widest glass available. Current guidance for archviz camera setup converges on a similar number from the CG side: 24 to 35mm as the honest range for exteriors, with 35 to 70mm recommended when the goal is to avoid perspective exaggeration altogether. Some archviz-specific advice narrows this further, to 28 to 35mm, on the basis that this range sits very close to how human eyes actually perceive a scene, producing no distortion. There's a tell that gives away an over-wide render every time: too much building crammed into too little site distance. If a scheme only fits the frame at 16mm, that's usually a sign the camera needs to back up rather than the lens needs to widen. Where the site allows it, always take the second option. Move the camera further from the subject and narrow the lens to compensate. The building will look like it does when you actually visit it. Interiors run a different rule. A slightly wider lens, 24 to 28mm, is often necessary just to show a room's proportions honestly without standing outside the walls, something a photographer obviously can't do. That's not a contradiction of the exterior guidance, it's a practical accommodation for a fixed-size box. The distortion tolerance for interiors is genuinely higher than it is for a street elevation, because there's no other way to capture the space. It's worth looking at how architectural photographers actually frame exterior work. Photographers known for architectural subjects tend to avoid extreme wide angles on their exterior shots except when the brief is genuinely about wide urban context, a whole street or a skyline. Their single-building work sits much closer to standard focal lengths. That's not a documented technical fact you'll find in a lens spec sheet, it's a pattern you can see by looking at the work, and it's consistent with the numbers above: architecture wants to be shot close to how the eye sees it, not stretched to make it look more impressive than it is.
| Shot type | Focal length (full-frame equivalent) | Camera height |
|---|---|---|
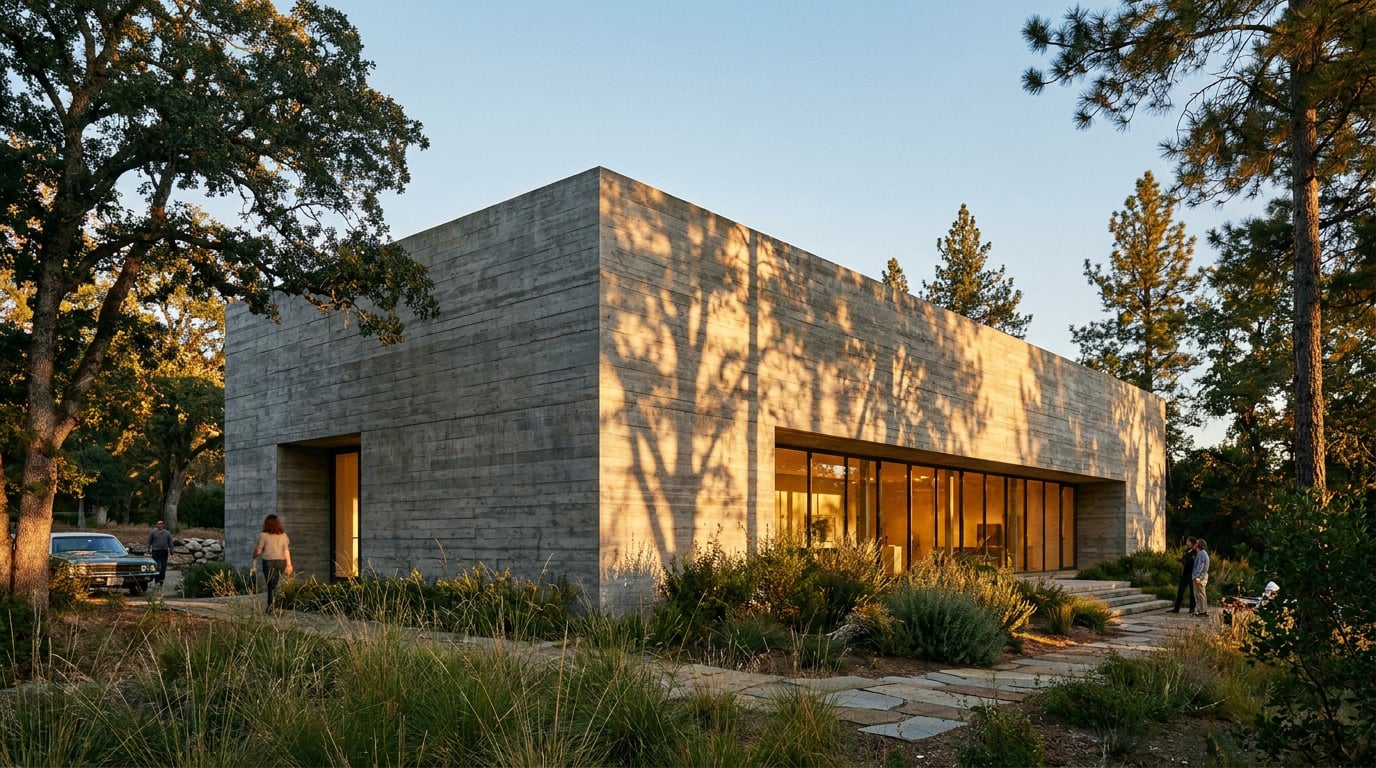
| Street elevation, exterior | 24-35mm | 1.5-1.6m |
| Tight urban site, exterior | 16-24mm (only if no alternative) | 1.5-1.6m |
| Interior, standard room | 24-28mm | 1.5-1.7m |
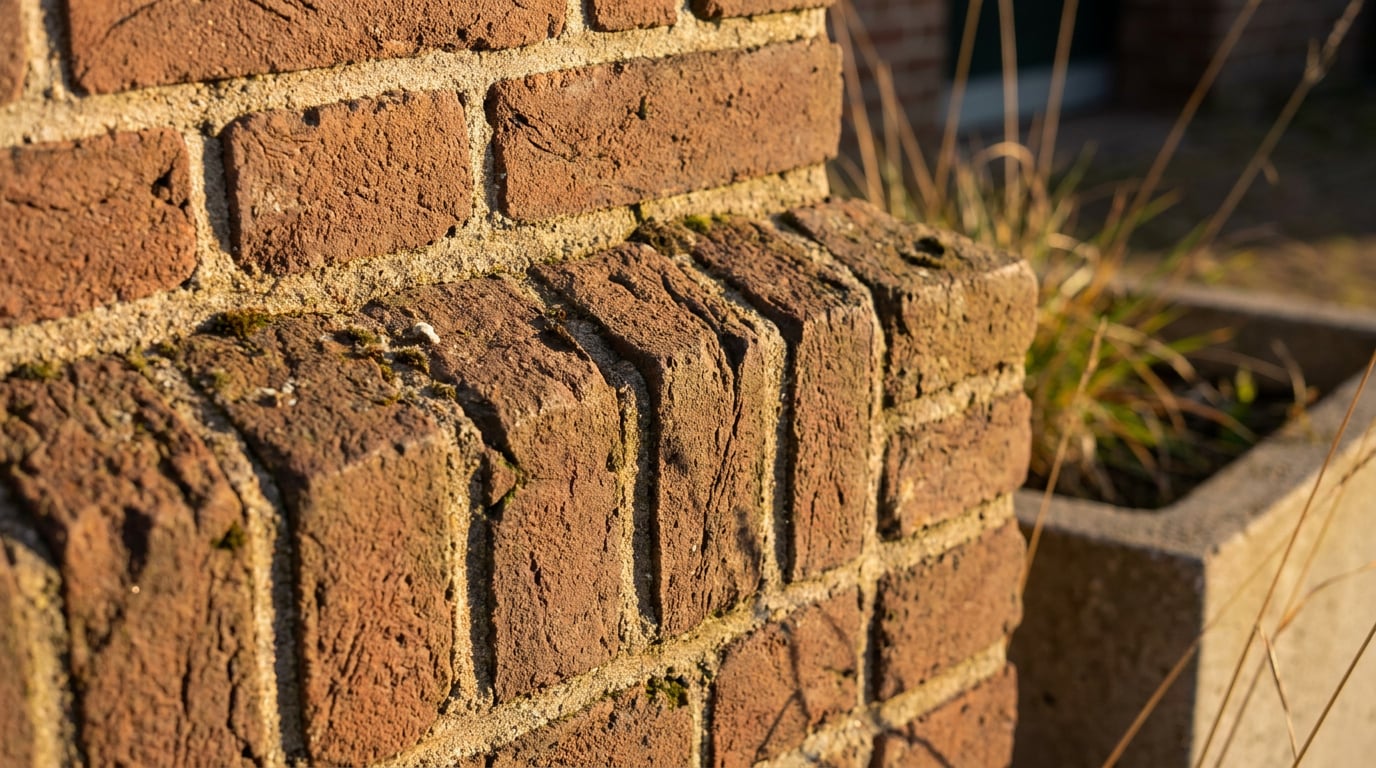
| Facade or material detail | 50-85mm | Matched to detail height |
| Masterplan or site context | Wide, aerial | 10m+ |
If a scheme only fits the frame at 16mm, back the camera up rather than widening the lens further. The building should look the size it actually is.
Reading the composition in the surface you're already using
Treat a full set of camera angles the way a photographer treats a shot list, not as a batch of random views. One wide establishing shot to set context. One eye-level approach shot that puts the viewer on the pavement. One detail-distance material shot at a longer focal length. In Shoot, generating a full set of angles for a scheme works best when you plan it this way before you generate anything, because it forces every image in the set to do a different job rather than producing six versions of the same generic view. Corb, on the canvas, is worth using specifically for this kind of check. Wire in a reference exterior photograph and ask what focal length and eye level it reads as before generating variations from it. Corb advises in photographic principles, including camera height and lens, when shown a reference image, rather than reasoning purely in prompt language. That's a genuinely useful sense check before you commit to a set: know what you're matching before you try to match it. Corb's variation sets are also the right tool for isolating one variable at a time. Test camera angle on its own, without touching lighting or entourage, and you can see exactly how eye level changes the read of a single elevation. This works because a set of variations off one source image carries a clause holding the geometry, massing and openings fixed across every prompt in the set. That clause is a preservation instruction to the model, not a guarantee, but it does the job that matters here: it stops a camera experiment from quietly becoming a massing change you didn't intend to make. If you're testing whether 1.6m reads better than 2.4m on a facade, you want that to be the only thing that moved.
Vary one axis at a time. If camera height and lighting change together, you can't tell which one fixed (or broke) the shot.
Fixing framing after the fact instead of re-rendering

Not every framing mistake is worth a full re-render. A render shot slightly too high, or cropped a touch too wide, is often a correction job rather than a regeneration job. Retouch carries perspective distortion, skew and Enhance Area tools that can fix the geometry on a layer without going anywhere near the render engine again. Perspective distortion, dragging any of a layer's four corners independently, can pull a facade's verticals back into true if the original camera height introduced a slight lean. Skew handles a more subtle correction where one part of the frame reads as marginally off-angle. Neither requires touching the original prompt or model. Enhance Area earns its place here too. If you've cropped a wide establishing shot down into a tighter, more standard-lens composition, the cropped region often loses resolution. Enhance Area re-renders that selected region at higher resolution with no prompt required, then composites it back through the selection, so the tighter crop reads as sharp as if it had been shot on a longer lens from the start. This is a genuinely faster route than reprompting a whole new focal length and hoping the model reproduces the same scheme. Cropping is also, on its own, a legitimate way to simulate a longer lens. Rather than regenerating a wide establishing shot with a new focal length prompt, crop it down directly in Retouch to a tighter, more standard composition. It's a much faster iteration loop than a full regeneration, and it works well when the original wide shot already has the right eye level and just needs narrower framing. Know where this approach stops working. If the distortion is baked into the geometry, converging verticals from a genuinely low, wide shot where the camera itself was in the wrong place, no amount of layer-based correction will fully fix it. Perspective distortion can nudge lines back toward true, but it can't rebuild information the original camera angle never captured. In that case, a re-render with a corrected eye level and lens from the start is the faster and more honest route. Knowing which situation you're in, salvageable crop versus baked-in distortion, saves a lot of wasted time pushing corner handles that were never going to solve the problem.
The takeaway
Lighting gets the credit and the blame far too often. The real difference between a render that reads as photographed and one that reads as generated sits earlier in the process: a believable eye level, a focal length that matches how the eye actually sees a facade, and a camera distance that respects the physical site. Set the camera up like a photographer standing there with a chosen lens, not a floating point with no constraints, and the materials and lighting you add afterward will finally have something honest to sit on.
Keep reading.
Try ArchAdemia Tools for yourself
Draw it, model it, render it, publish it. One place, built for architects and small practices. Plans from £29 a month, all in.