Glass and Reflections in Renders: Real Glazing, No Blown-Out Facade.
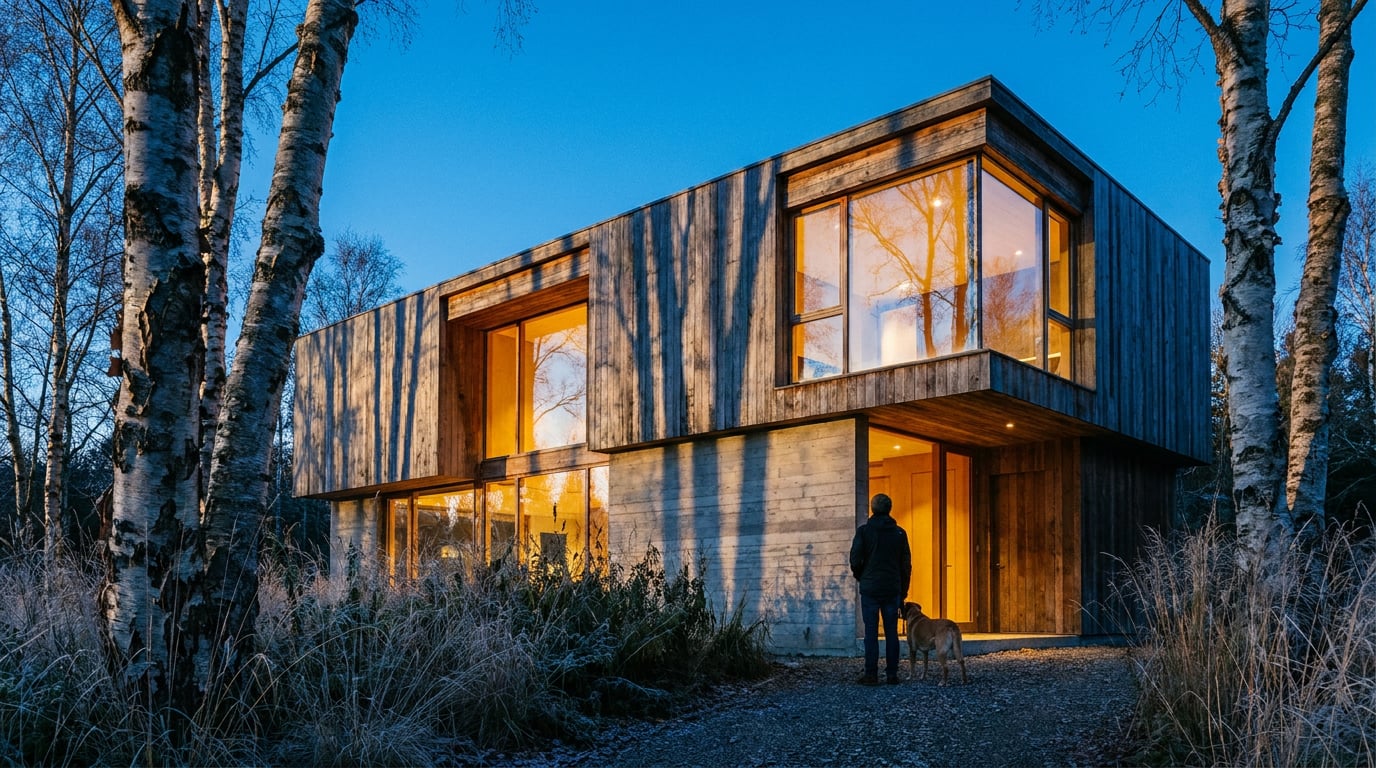
Glass reads as real when it reflects something believable and shows what is behind it. Here is how to build glazing that holds up without burning out the facade.
Why Glass Fails in Renders: Mirror, Void or Blown-Out Sheet
 Every glazed facade in a render fails in one of three ways. The glass becomes a perfect mirror, a dark void with nothing behind it, or a white blown-out sheet that erases the building. Each one is a failure to balance two things real glass always does at the same time: reflect and transmit.
Real glazing is a blend. A portion of the light bounces off the surface and shows you the sky, the street and the building opposite. The rest passes through and shows you the ceiling, the floor plate and whatever is lit inside. The ratio between those two shifts constantly with viewing angle and light. Render only the reflection and you get a mirror. Render only the transmission with nothing inside and you get a void. Push the sky reflection too bright and you get a sheet of white.
The problem is worst on the planning-application view. A long curtain-walled elevation, shot flat-on from across the street, tends to collapse into one grey-blue rectangle. There is no rhythm left, no storey lines, no sense that anyone works or lives behind it. A Design and Access Statement can survive a plain brick elevation. It struggles with a facade that reads as a tinted slab.
The reference you need is already in your head. Walk past a built glazed building at 10am, again at 2pm, and again at dusk. The same pane that mirrored the sky in the morning becomes see-through at dusk once the interior lights come on. Take a few phone photographs and keep them next to your render. A comparison against real glass is faster and more honest than any settings tweak.
Every glazed facade in a render fails in one of three ways. The glass becomes a perfect mirror, a dark void with nothing behind it, or a white blown-out sheet that erases the building. Each one is a failure to balance two things real glass always does at the same time: reflect and transmit.
Real glazing is a blend. A portion of the light bounces off the surface and shows you the sky, the street and the building opposite. The rest passes through and shows you the ceiling, the floor plate and whatever is lit inside. The ratio between those two shifts constantly with viewing angle and light. Render only the reflection and you get a mirror. Render only the transmission with nothing inside and you get a void. Push the sky reflection too bright and you get a sheet of white.
The problem is worst on the planning-application view. A long curtain-walled elevation, shot flat-on from across the street, tends to collapse into one grey-blue rectangle. There is no rhythm left, no storey lines, no sense that anyone works or lives behind it. A Design and Access Statement can survive a plain brick elevation. It struggles with a facade that reads as a tinted slab.
The reference you need is already in your head. Walk past a built glazed building at 10am, again at 2pm, and again at dusk. The same pane that mirrored the sky in the morning becomes see-through at dusk once the interior lights come on. Take a few phone photographs and keep them next to your render. A comparison against real glass is faster and more honest than any settings tweak.
Glass is never one thing. If your pane is only reflecting or only transmitting, the render will read as a flaw before anyone notices the architecture.
Light Decides Everything: Sky, Time of Day and Reflectance
 Before you touch a material, decide what the light is doing. Glazing responds to light more than any other surface on the building, and most bad glass is really bad lighting.
### Viewing angle sets the balance
Reflectance rises at shallow viewing angles. A facade seen obliquely mirrors the sky and street. A facade seen head-on lets you look straight through to the interior. This is the first compositional decision for any glazed elevation, and it should be made on purpose.
A head-on elevation suits a planning drawing where you want to show the fenestration pattern and the life inside. An oblique street view will always carry more reflection, so you need to supply something worth reflecting. Choose the camera knowing which behaviour you are asking for, rather than discovering it in the first draft.
### Skies that behave
Overcast skies give soft, even reflections that rarely blow out. That is why they suit planning submissions and Design and Access Statements: the glass stays legible, nothing glares, and the facade reads as a consistent surface. The trade-off is that overcast glass can look flat and slightly dead.
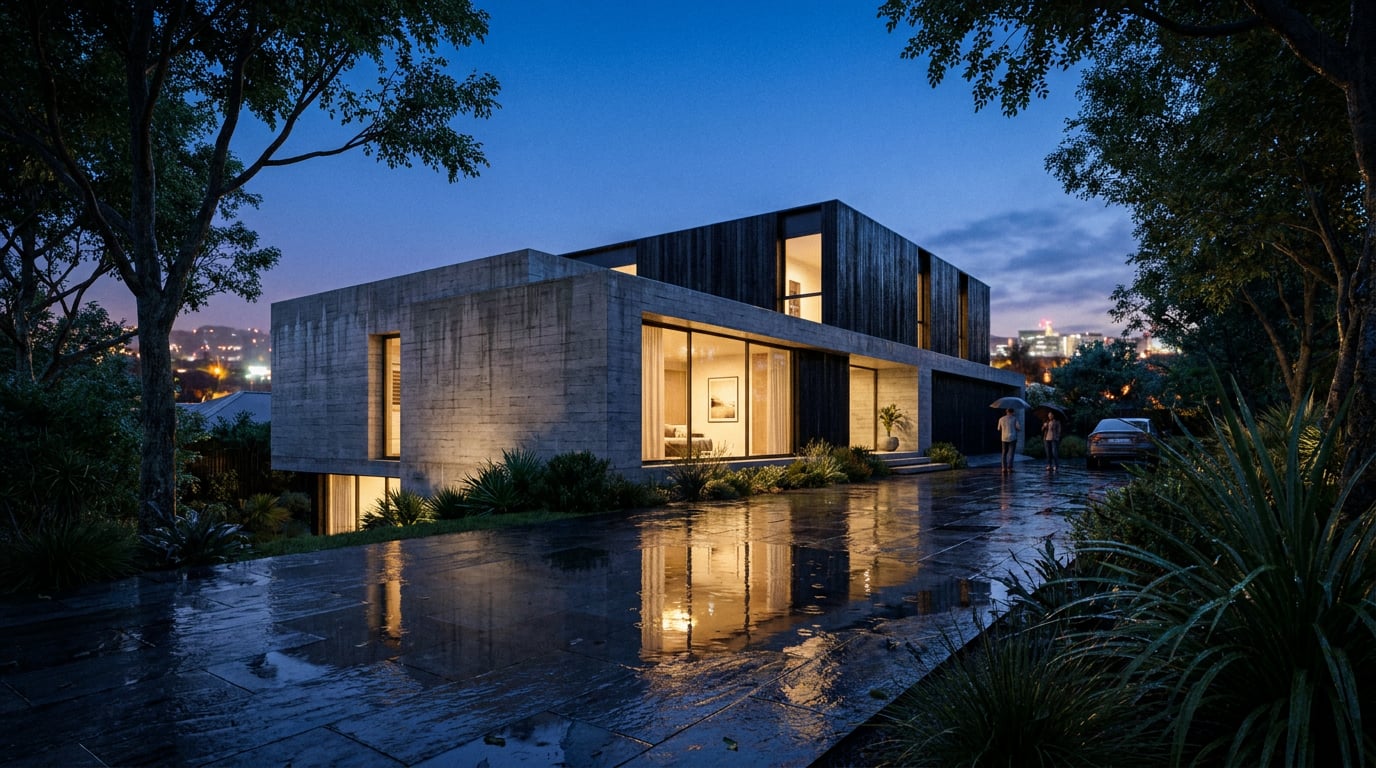
Golden hour and dusk reward glazing. Warm interior light set against a cooler reflected sky is the classic reason glass looks alive. Dusk sells a scheme, but only if the interiors are lit. A dusk render with dark rooms behind the glass is a void with a nicer sky.
### One light source, one set of highlights
Keep one dominant light source. Competing bright patches across the glass are the quickest tell of a bad render, because the eye reads them as inconsistent reflections of a sun that cannot be in two places. If the sun is low and left, every highlight should agree.
### Protect the highlights, not the whole image
Exposure discipline matters more on glass than anywhere else. When the facade starts to blow out, the instinct is to dim the entire image. That muddies the brickwork, the landscape and the people along with it. Lower the sky brightness instead. The sky is what the glass is reflecting, so bringing it down tames the reflection while leaving the rest of the frame at the exposure you chose.
| Condition | What the glass does | Main risk | Best use |
|---|---|---|---|
| Overcast, head-on | Mostly transmits, soft reflection | Looks flat | Planning views, Design and Access Statements |
| Overcast, oblique | Even sky mirror | Grey slab | Context studies |
| Bright sun, oblique | Strong sky reflection | Blown-out sheet | Avoid for full elevations |
| Golden hour | Warm interior against cool sky | Competing highlights | Client presentation, competition boards |
| Dusk, lit interiors | Transmission dominates | Void if rooms are dark | Hero image, marketing |
Before you touch a material, decide what the light is doing. Glazing responds to light more than any other surface on the building, and most bad glass is really bad lighting.
### Viewing angle sets the balance
Reflectance rises at shallow viewing angles. A facade seen obliquely mirrors the sky and street. A facade seen head-on lets you look straight through to the interior. This is the first compositional decision for any glazed elevation, and it should be made on purpose.
A head-on elevation suits a planning drawing where you want to show the fenestration pattern and the life inside. An oblique street view will always carry more reflection, so you need to supply something worth reflecting. Choose the camera knowing which behaviour you are asking for, rather than discovering it in the first draft.
### Skies that behave
Overcast skies give soft, even reflections that rarely blow out. That is why they suit planning submissions and Design and Access Statements: the glass stays legible, nothing glares, and the facade reads as a consistent surface. The trade-off is that overcast glass can look flat and slightly dead.
Golden hour and dusk reward glazing. Warm interior light set against a cooler reflected sky is the classic reason glass looks alive. Dusk sells a scheme, but only if the interiors are lit. A dusk render with dark rooms behind the glass is a void with a nicer sky.
### One light source, one set of highlights
Keep one dominant light source. Competing bright patches across the glass are the quickest tell of a bad render, because the eye reads them as inconsistent reflections of a sun that cannot be in two places. If the sun is low and left, every highlight should agree.
### Protect the highlights, not the whole image
Exposure discipline matters more on glass than anywhere else. When the facade starts to blow out, the instinct is to dim the entire image. That muddies the brickwork, the landscape and the people along with it. Lower the sky brightness instead. The sky is what the glass is reflecting, so bringing it down tames the reflection while leaving the rest of the frame at the exposure you chose.
| Condition | What the glass does | Main risk | Best use |
|---|---|---|---|
| Overcast, head-on | Mostly transmits, soft reflection | Looks flat | Planning views, Design and Access Statements |
| Overcast, oblique | Even sky mirror | Grey slab | Context studies |
| Bright sun, oblique | Strong sky reflection | Blown-out sheet | Avoid for full elevations |
| Golden hour | Warm interior against cool sky | Competing highlights | Client presentation, competition boards |
| Dusk, lit interiors | Transmission dominates | Void if rooms are dark | Hero image, marketing |
Fix glass with the sky first. Lowering sky brightness protects the facade highlights without dimming everything else in the image.
Build Depth Behind the Glass: Interiors, Blinds and Occlusion
 A pane that shows nothing reads as a void. The cure is not more reflection. It is giving the glass something to transmit.
### Give every opening something to show
Even a simple interior is enough. Ceiling lines, a floor plane, a soft light fitting and a suggestion of a back wall tell the eye there is a room. You do not need furnished apartments on every floor. You need enough depth that the glass stops looking like a painted panel.
### Vary what sits behind each opening
Rows of identical blinds or identical empty rooms look generated. Real buildings are untidy. Mix drawn blinds, half-drawn blinds, partial views of ceilings, occupied floors and the occasional dark room. A residential elevation in particular benefits from variation: one flat with lights on, one with curtains drawn, one with a plant on the sill. The variation is what makes the facade feel inhabited rather than modelled.
### Put a real place in the reflection
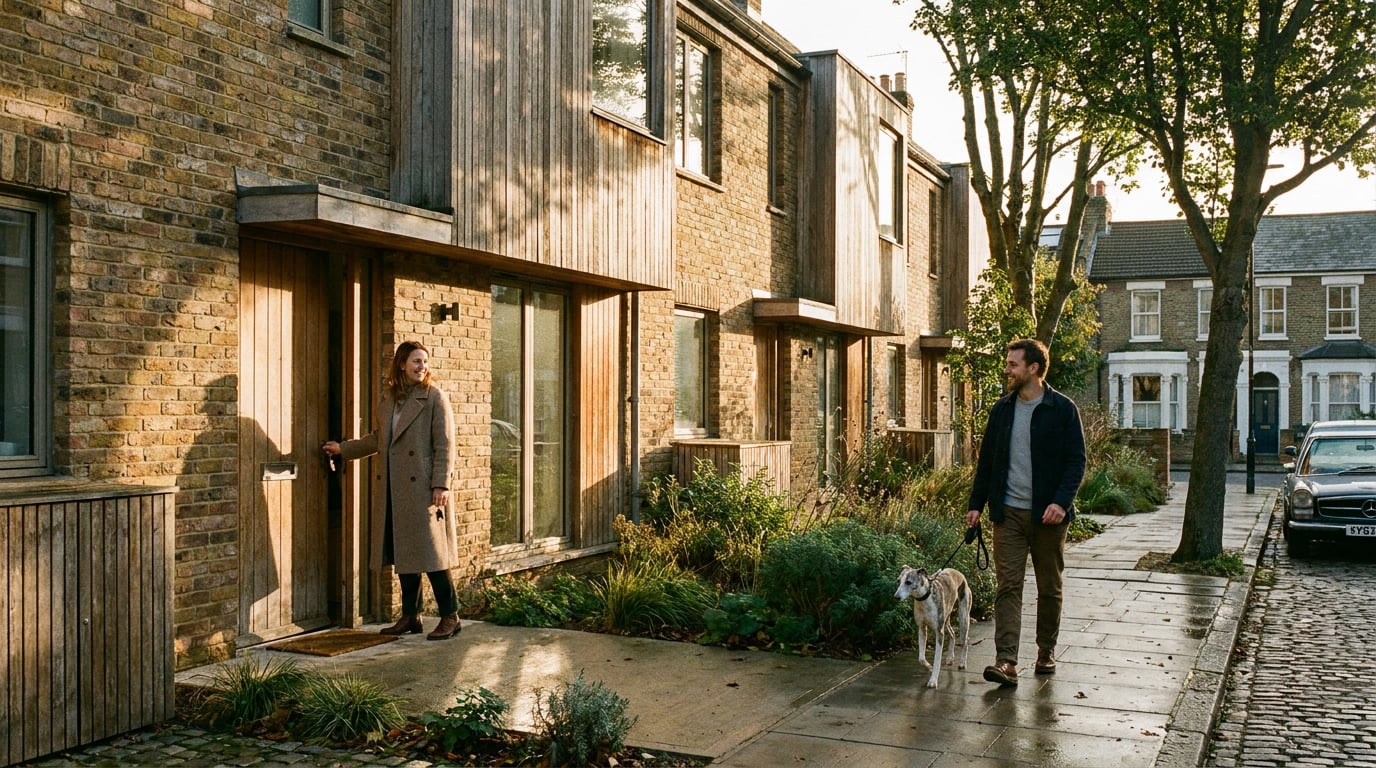
Context in the reflection tells the eye the glass is reflecting a real site. A neighbouring building, a street tree or a fragment of skyline does more for credibility than any material setting. For a scheme in a conservation area, a hint of the adjoining brick terrace in the reflection ties the new building to the street in a way a plain sky never will.
### Model the frame, not just the pane
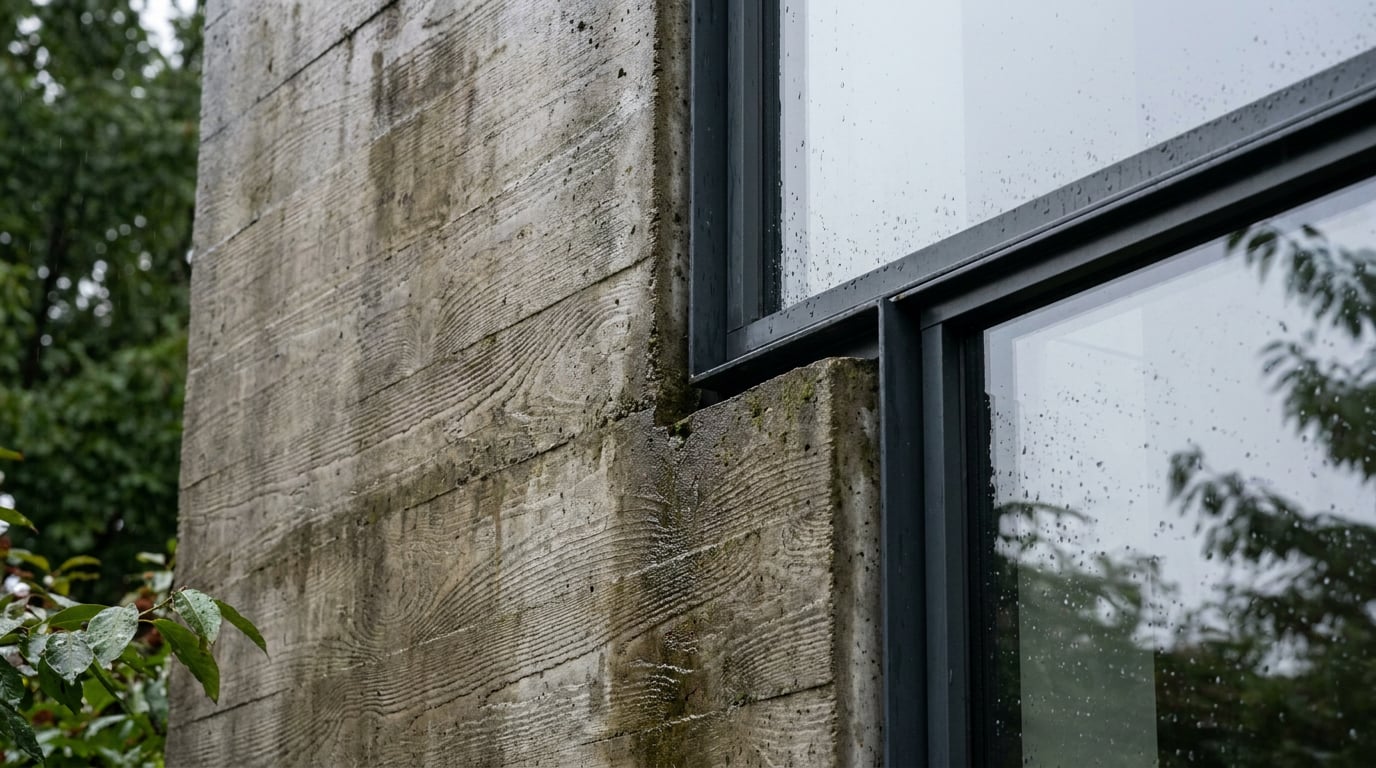
Mullions, transoms and reveals create shadow and depth at the glazing line. Glass set flush with the facade looks pasted on. Model or paint in the frame depth so each pane sits back from the face of the building and the sun can cast a thin shadow across it. In an unbuilt scheme this is often the single cheapest improvement, because it adds real relief where the eye expects it.
### Colour temperature does the rest
Interior lighting temperature against exterior daylight gives the contrast that makes a facade feel lived in at blue hour. Warm tungsten-toned rooms behind cool glass is the combination the eye associates with an occupied building. Keep the interior light warm and the reflected sky cool, and resist the urge to even them out.
A pane that shows nothing reads as a void. The cure is not more reflection. It is giving the glass something to transmit.
### Give every opening something to show
Even a simple interior is enough. Ceiling lines, a floor plane, a soft light fitting and a suggestion of a back wall tell the eye there is a room. You do not need furnished apartments on every floor. You need enough depth that the glass stops looking like a painted panel.
### Vary what sits behind each opening
Rows of identical blinds or identical empty rooms look generated. Real buildings are untidy. Mix drawn blinds, half-drawn blinds, partial views of ceilings, occupied floors and the occasional dark room. A residential elevation in particular benefits from variation: one flat with lights on, one with curtains drawn, one with a plant on the sill. The variation is what makes the facade feel inhabited rather than modelled.
### Put a real place in the reflection
Context in the reflection tells the eye the glass is reflecting a real site. A neighbouring building, a street tree or a fragment of skyline does more for credibility than any material setting. For a scheme in a conservation area, a hint of the adjoining brick terrace in the reflection ties the new building to the street in a way a plain sky never will.
### Model the frame, not just the pane
Mullions, transoms and reveals create shadow and depth at the glazing line. Glass set flush with the facade looks pasted on. Model or paint in the frame depth so each pane sits back from the face of the building and the sun can cast a thin shadow across it. In an unbuilt scheme this is often the single cheapest improvement, because it adds real relief where the eye expects it.
### Colour temperature does the rest
Interior lighting temperature against exterior daylight gives the contrast that makes a facade feel lived in at blue hour. Warm tungsten-toned rooms behind cool glass is the combination the eye associates with an occupied building. Keep the interior light warm and the reflected sky cool, and resist the urge to even them out.
An empty pane reads as a void. Varied interiors, a real reflected context and visible frame depth are what make glazing believable.
Fixing Glazing in the Image: Retouch, Masks and Enhance Area
Not every glazing problem can be solved at the render stage, and re-rendering a large elevation for a small fix is slow. Much of the correction can happen in the image, and in Retouch in ArchAdemia Tools it stays non-destructive. ### Select the glass, grade only the glass Open the render in Retouch and select the glazing by typed description, for example all the glazing. The selection picks up every matching region across the elevation, so you are not tracing mullions by hand. Apply a grade to that selection only, and the brickwork and cladding stay exactly as they were. This matters because the fixes glass needs, such as pulling down a bright reflection, would damage the masonry if applied to the whole frame. ### Keep it reversible Use an adjustment layer with a layer mask so the glass grade stays non-destructive. The Adjust panel's grade can sit as its own maskable layer in the stack, which means you can paint the mask to reduce the effect on one stubborn floor or switch the whole grade off to compare. For a sky reflection that has gone white, three controls do most of the work:- Dehaze to bring detail back into a washed-out reflection without flattening the whole facade.
- Curves to compress the brightest highlights while holding the mid-tones that carry the interior.
- HSL bands to nudge the reflected sky toward a cooler blue and separate it from the warmer interior behind.
Select the glazing by description, grade it on a masked adjustment layer, and keep every change toggleable so the facade is never committed to one answer.
A Glazing Checklist Before the Render Leaves the Studio
Run through this on every elevation before the image goes into a board, a Design and Access Statement or a client deck.- Name the failure. Check each elevation for a mirror, a void or a blowout. Fix the one that applies before touching anything else. Applying three fixes to a problem you have not identified wastes time.
- Check both halves. Confirm there is a believable reflection and a believable interior in the same pane, and that neither dominates.
- Check the highlights. One light source, consistent highlights, sky brightness controlled rather than the whole exposure.
- Check the variety. No rows of identical blinds, no run of identical empty rooms.
- Check the frame. Mullions and reveals show real depth, not flush glass.
Control the light first, give the glass something to show second, and use selective grading last.
Keep reading.
Try ArchAdemia Tools for yourself
Draw it, model it, render it, publish it. One place, built for architects and small practices. Plans from £29 a month, all in.