How to Write a Design and Access Statement for a House Extension.
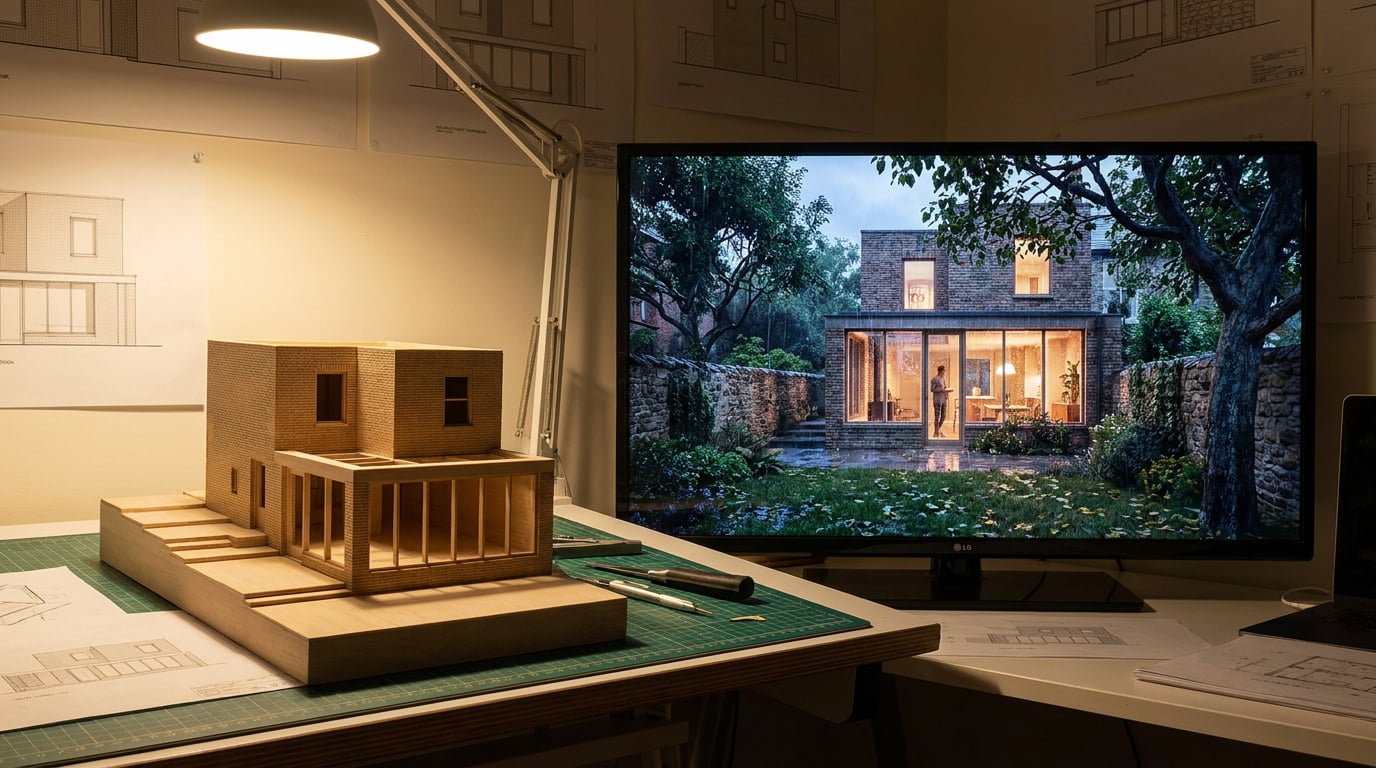
A Design and Access Statement for a house extension should be short, specific and easy for a planning officer to read. Here is the process, step by step.
Check what your application actually needs before you write a word
 Most ordinary householder extensions do not need a Design and Access Statement at all. The requirement bites when the property is listed, when it sits in a conservation area or World Heritage Site, or when the application falls into another statutory category. The national picture is a starting point only. Local authorities publish their own validation checklists, and an application missing a required document is invalid: nothing moves until you supply it.
So the first job is a check, not a draft. Do these three things before opening a document:
Most ordinary householder extensions do not need a Design and Access Statement at all. The requirement bites when the property is listed, when it sits in a conservation area or World Heritage Site, or when the application falls into another statutory category. The national picture is a starting point only. Local authorities publish their own validation checklists, and an application missing a required document is invalid: nothing moves until you supply it.
So the first job is a check, not a draft. Do these three things before opening a document:
- Confirm the application route. Householder application, full planning permission, listed building consent, or something else. The route decides what the council expects with it.
- Read the council's current validation list. Some authorities add locally worded requirements, such as a statement for a house within a conservation area or in the setting of a listed building. Treat that as a local rule to verify, not a national one to assume.
- Look at the property's status. Listed, in a conservation area, under an Article 4 direction. Where works affect a listed building's character, listed building consent may be needed alongside planning permission, and that brings its own statement requirements.
- Site photographs: front, rear, boundaries, the neighbouring windows that face the site.
- Existing plans and elevations.
- Proposed plans, sections and elevations.
- The site location plan.
- Any pre-application advice from the council.
Check the local validation list first. An invalid application stalls until the missing document arrives, and the statement you write for the wrong route is wasted time.
Steps 1 and 2: describe the site and the context, then state the design intent
 ### Step 1: write the site and context section from evidence
Work from your own photographs and a measured survey. Specifics beat adjectives every time. Write "two-storey brick semi with a hipped roof, built in the 1930s, with a 12-metre rear garden facing south-west" rather than "a traditional dwelling in a pleasant setting". Cover:
### Step 1: write the site and context section from evidence
Work from your own photographs and a measured survey. Specifics beat adjectives every time. Write "two-storey brick semi with a hipped roof, built in the 1930s, with a 12-metre rear garden facing south-west" rather than "a traditional dwelling in a pleasant setting". Cover:
- House type and period.
- The plot: width, depth, boundary treatments, levels.
- Orientation, and which neighbouring windows face the site.
- Street character: roof forms, materials, front and rear building lines.
- Conservation area or listed status: name it, and describe how the design responds. For a listed building, the statement must address the building's special architectural or historic interest, the physical features that support its designation, and its setting.
- Article 4 direction: name it and note that the council determines the application.
- Trees and boundaries: note retained trees and root protection as they appear on your drawings.
- Rights of light and overlooking: name the issue, describe what the design does about it, and leave the judgement to the officer. Rights of light are also a separate legal matter from planning, so do not present the statement as settling them.
- Rear single-storey kitchen extension: "The extension replaces a cramped galley kitchen with a single family room opening onto the garden. A flat-roofed volume sits behind the original rear wall and is kept below the first-floor cill line so the existing elevation stays legible."
- Side return infill: "The proposal fills the narrow side passage to widen the rear kitchen, with a glazed roof strip admitting daylight to the new plan depth. The boundary wall height is held at its present line."
- Loft dormer: "A rear dormer provides one bedroom and a shower room within the existing roof volume. It is set back from the eaves and below the ridge so the front roof slope is untouched."
Name the constraint, say what the design does about it, and say who decides. Never write that the scheme complies.
Steps 3 and 4: justify the scale, massing, layout and appearance
 ### Step 3: explain the massing against the house and its neighbours
Describe the extension against the existing building, not in isolation. Cover the footprint, the height, the eaves line, the roof form, and how it steps back or sits subordinate to the original house. Every dimension you quote must come from your drawings, never from memory. A mismatch between the statement and the elevation is the fastest way to lose an officer's confidence.
### Describe the layout in plain language
Explain what moves, what is kept and how the new space connects to the existing plan. Say where daylight comes from: a rooflight, a glazed return, a wide opening to the garden. You are narrating the plan for someone who has not walked the house. Keep it to what the drawings show.
### Step 4: justify the appearance by linking choices to context
Materials, openings and roof finish each need a reason that points back to the site analysis. Brick match or deliberate contrast, window proportions and rhythm, roof finish: state the choice and the observation behind it.
The difference between a vague line and a reasoned one is the whole skill:
### Step 3: explain the massing against the house and its neighbours
Describe the extension against the existing building, not in isolation. Cover the footprint, the height, the eaves line, the roof form, and how it steps back or sits subordinate to the original house. Every dimension you quote must come from your drawings, never from memory. A mismatch between the statement and the elevation is the fastest way to lose an officer's confidence.
### Describe the layout in plain language
Explain what moves, what is kept and how the new space connects to the existing plan. Say where daylight comes from: a rooflight, a glazed return, a wide opening to the garden. You are narrating the plan for someone who has not walked the house. Keep it to what the drawings show.
### Step 4: justify the appearance by linking choices to context
Materials, openings and roof finish each need a reason that points back to the site analysis. Brick match or deliberate contrast, window proportions and rhythm, roof finish: state the choice and the observation behind it.
The difference between a vague line and a reasoned one is the whole skill:
| Vague | Reasoned |
|---|---|
| The extension is sympathetic to the house. | The flat-roofed rear extension sits below the first-floor cill line to keep the original elevation legible. |
| High-quality materials will be used. | A brick in a slightly lighter tone, laid in the same bond, marks the new volume as an addition while echoing the existing rear wall. |
| The windows suit the property. | The new openings repeat the vertical proportion of the original sashes, with the full-width glazing confined to the garden face where it is not seen from the street. |
Every appearance choice should trace back to something you observed on the site. If you cannot point to the observation, cut the sentence.
Steps 5 and 6: cover access, landscaping and neighbour impact honestly
### Step 5: access, landscaping and boundaries National guidance asks you to explain your approach to access and to address any specific access issues. For a householder extension, describe what the proposal physically does:- The approach to the entrance and whether it is step-free where the site allows.
- Door widths and threshold levels on the new work.
- How the existing entrance and circulation are affected.
- "The side wall is blank at first-floor level; there are no openings facing number 14."
- "The extension projects 3 metres from the rear wall, as shown on the proposed ground floor plan, and the eaves height is held at 2.6 metres at the boundary."
A Design and Access Statement explains and justifies. It does not rule on compliance, and the moment it claims to, it becomes the weakest page in your application.
Build the document in Layout and prove your points with drawings and views
Once the content is clear, the production is mostly assembly. In ArchAdemia Tools, Layout (/presentation) has a Design and Access Statement template: a many-page A3 Document with placeholder text and image frames already in place. You replace the placeholders with your own content. Layout is available on every plan, including the Free trial, and manual layout work costs no credits. ### Bring the evidence into the pages Drag in your site photographs and proposed views, set a clean type hierarchy from the type library, and use the layout grid and guides so every page lines up. The grid is a reference overlay only and never prints or appears in an export. A consistent grid is what separates a statement that reads as a considered document from one that reads as pasted screenshots. ### Prepare the supporting views in the right tool Draw and cut the plan, section and elevation in Linea, which exports DXF and a true-scale PDF sheet with a title block. For a verified view of the proposed extension, use Image or Retouch. Retouch carries one-click re-light presets (Golden hour, Dusk, Blue hour, Night, Overcast, Sunny) that regenerate a render at a different time of day, which is useful when you are explaining how daylight reaches the new space. Be clear in the statement about what any visual is: an illustrative view of the proposal, consistent with the submitted drawings, not a substitute for them. ### Use Corb to draft and tighten, then edit every line Inside Layout, you can select a text frame and ask Corb to fill that one in, or ask it to build a first-pass document from a prompt, working page by page from the template on a model you choose. Treat that as a drafting aid. Corb writes copy. It does not check compliance, approve a scheme or tell you the application will succeed. Read every line against your drawings and replace anything that is vague, unmeasured or unsupported. Asking Corb to write or build uses credits; the manual layout work does not. ### Export and check Export a vector multi-page PDF at true sheet size, with optional bleed and crop marks if you are printing. Before uploading to the planning portal, check the statement one last time against the submitted drawings: every dimension, every material, every reference to a plan number. If a client needs to sign off first, you can share a revocable read-only link instead of emailing attachments around. ### The takeaway Confirm what your council actually requires, gather your drawings, then write a short, specific statement that describes what the design does and why, tied to evidence you can point to. Use the familiar headings so an officer finds what they need quickly. Keep every claim to what your drawings show, and leave the planning judgement where it belongs. A few well-evidenced pages will always beat a long statement that promises more than it proves.Keep reading.

Try ArchAdemia Tools for yourself
Draw it, model it, render it, publish it. One place, built for architects and small practices. Plans from £29 a month, all in.