Prompting AI Images That Keep Your Scheme's Proportions Intact.
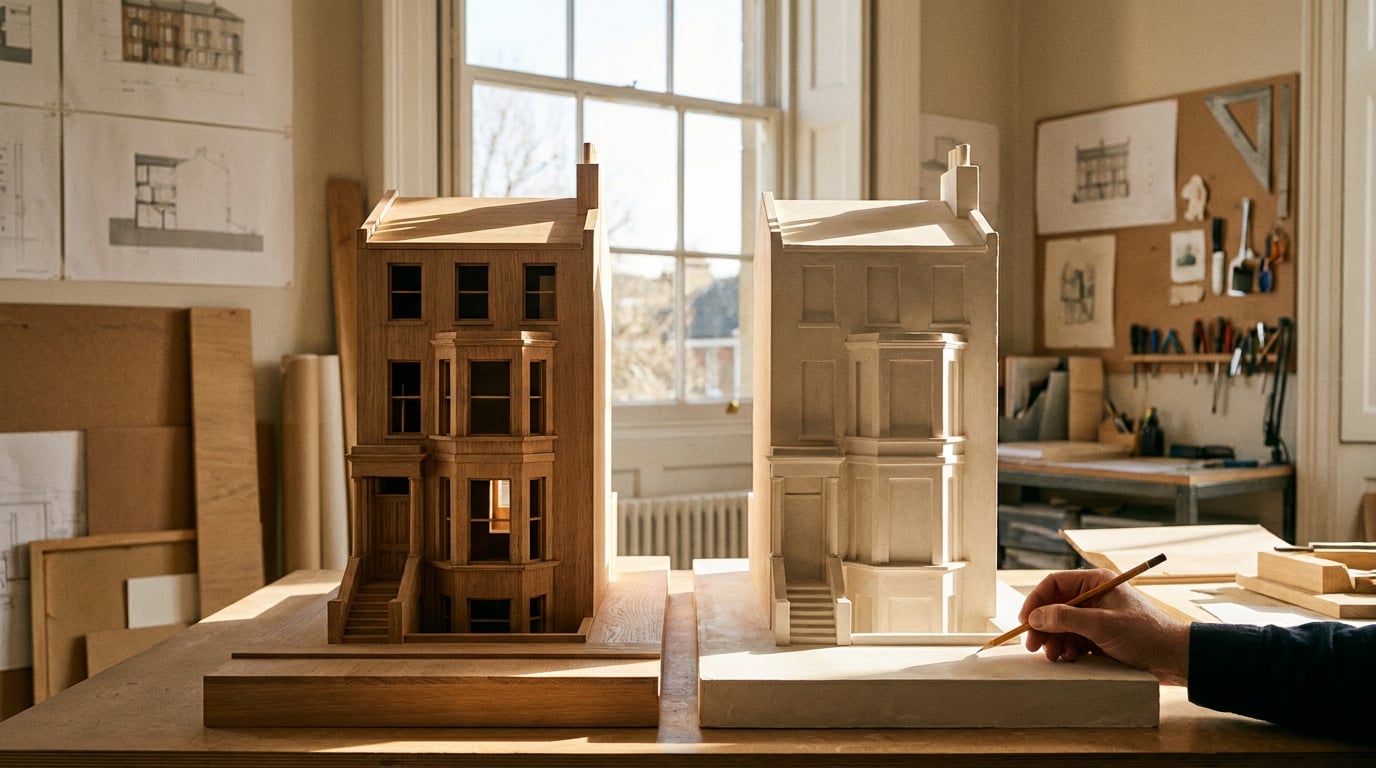
A vague prompt lets the model redesign your building. Here's how to write prompts that render your scheme, not a stylistic guess at one.
Why generic prompts drift away from the drawing
Image models are trained to produce a plausible building, not your building. Feed a diffusion model a thin prompt like "contemporary house, timber cladding, large windows" and it will happily generate something. It will not generate your section drawn at 1:50, because nothing in the prompt told it what that section actually says. The model fills the gaps with whatever reads as statistically "modern" across its training data, and that default is rarely the scheme you spent six weeks resolving.
The failure points are predictable once you know to look for them. Window proportions widen and stretch taller than the elevation shows, because "contemporary" in the training data skews towards big glazing. Cladding swaps to whatever the model associates with "modern facade," which is often curtain wall or smooth render even when your specification says buff brick in a stretcher bond. Sightlines get cropped or ignored entirely: the church spire you've held open on the left third of the view, the river glimpse the whole massing strategy responds to, simply vanishes because nothing in the prompt protected it.
This matters most when the output is heading into a client presentation or a Design and Access Statement, where a reviewer or planning officer will look at the render on one sheet and the elevation on the next. If the two don't agree on window head heights or roof pitch, that's not a stylistic quirk, it's a credibility problem. The fix isn't a better model. Every major image model, from Midjourney to DALL-E 3 to Stable Diffusion-based tools, has the same underlying tendency to complete under-specified prompts with learned stylistic priors rather than CAD-grade fidelity. The fix is a prompt that encodes constraints, not just mood.
A render that contradicts the elevation on the next sheet isn't a small inconsistency, it's the first thing a planning officer will flag.

Anchor the prompt to drawn geometry, not adjectives
Start every prompt with the fixed facts, stated as measurements and ratios rather than adjectives. Storey heights, glazing ratio, roof pitch, material palette: these are not stylistic choices, they're dimensions you've already resolved. "Three storeys, 3.2m floor-to-floor, 40% glazing ratio, 35-degree pitched roof" gives the model something to hold onto. "Striking three-storey contemporary home" gives it nothing, and it will invent the rest.
The same discipline applies to materials. Generic terms get interpreted loosely, because the model has seen a thousand different things called "modern facade" or "wood cladding." Use the actual language from your specification: buff brick stretcher bond, standing seam zinc, oak-framed glazing. These are precise enough that the model has a narrower band of visual references to draw from, which means less room for it to drift towards whatever reads as fashionable this quarter.
Sightlines need the same treatment as materials, described as a compositional instruction rather than left to chance. Don't write "nice view of the church" and hope. Write "view held open to the church spire on the left third of frame, foreground garden wall at knee height, camera at 1.6m eye level." That's a framing instruction a model can action, not a mood you're hoping survives generation.
Keep adjectives for atmosphere only. Light quality, time of day, weather, the softness of an early evening or the flatness of an overcast afternoon: these are legitimate places for descriptive language. They never belong on the building's own geometry. If you want to test this discipline, draft the prompt in Write first, where you can see the whole block laid out before you commit credits to a generation in Image.
A working structure
- Fixed facts first: building type, storey count, floor-to-floor heights, glazing ratio, roof pitch
- Named materials: exact specification language, not generic categories
- Composition: camera height, framing, protected sightlines
- Atmosphere last: light, weather, time of day, mood
Front-load the numbers. Adjectives are for light and weather, never for the building's own proportions.
Use image-to-image workflows to lock the base geometry
Prompting from a blank canvas asks the model to imagine your massing from words alone, which is exactly where drift starts. Feed it a base image instead: a massing model render, a SketchUp export, a line drawing. In Image, an image-to-image workflow constrains the model to the actual form you've drawn, and the prompt's job shifts from "invent a building" to "apply material and light to this building."
This matters most for iterative material studies. If a client sheet needs three options in the same brick, the same brick with a lighter mortar, and a zinc alternative, you want the proportions identical across all three so the comparison is about material, not accidentally about massing that's shifted between generations. Keep the same base image and vary only the material and lighting language in the prompt. Nothing about the window positions, the roofline or the massing should move between the options on that sheet.
For walkthrough views rather than static renders, a different tool solves a different problem. Linea takes a GLB export directly and places the viewer inside the real geometry at eye level, with collision, so there's no prompt drift at all for that use case because there's no generative reinterpretation happening. The client opens a /play link in any browser and walks through the scheme as modelled, not as an image model imagined it. It's not a desktop GPU renderer competing with Lumion or Twinmotion; the point is that nobody has to install anything to experience the space.
Where you want to test a material change on an existing model without regenerating the whole scene from scratch, the retexture tools in 3D let you swap the material read directly. That keeps every dimension fixed while the surface finish changes, which is a cleaner path than hoping a fresh prompt reproduces the same geometry with different cladding.

Matching the tool to the task
| Task | Approach | Why it holds proportions |
|---|---|---|
| Static material study, single view | Image-to-image from a fixed base render | Same base image across all variants, only material/lighting language changes |
| Client walkthrough | GLB export into Linea | Viewer is inside the actual modelled geometry, no generative step at all |
| Swapping a cladding option on an existing model | Retexture in 3D | Only the surface finish changes, dimensions stay fixed |
Keep the base image fixed across a set of material options. If proportions move between the three renders on a client sheet, the comparison stops being about material and starts being about confusion.
Write negative constraints as carefully as positive ones
State plainly what must not change. "Do not alter window head height," "do not add balconies," "do not introduce curved forms." Models respond to explicit exclusions far more reliably than they respond to simple omission. Leaving something out of a prompt doesn't protect it, it just leaves it undefined, and undefined is where drift lives.
There are known tendencies worth correcting for deliberately. Models add greenery, signage and street furniture when a prompt feels underspecified, because those elements appear constantly in the training data attached to building photography. They also tend to add extra storeys or articulation, balconies, overhangs, curves, when adjectives like "premium" or "luxury" appear without hard geometric constraints reining them in. If your scheme is a flat-fronted three-storey terrace and the prompt says "premium contemporary townhouse," don't be surprised if the output grows a bay window nobody drew.
For planning-facing work this is not a cosmetic issue. Negative constraints protect against the render contradicting the submitted elevations, which is a commonly cited reason officers query a scheme, comparing a promotional-looking visualisation against the measured drawings and finding they don't agree. A render that looks more generous than the drawing isn't a bonus, it's a document that undermines the one next to it in the pack.
Before spending credits on a generation, it's worth having a second pair of eyes on the prompt itself. Corb can review a draft prompt inside a project chat and flag where the wording is likely to be read loosely by an image model, catching vague material terms or missing compositional instructions before you commit to a generation that needs redoing.
Omission doesn't protect a detail, it just leaves it undefined. If a proportion matters, state explicitly that it must not change.
Build a repeatable prompt template per project
Draft a standing prompt block once, in Write, that captures the fixed facts of the scheme: dimensions, materials, context, key sightlines. Then paste that block as the constant opening of every image prompt for that job. This is the difference between a prompt you reconstruct from memory each time, with small inconsistencies creeping in, and a prompt you paste and extend.
Store reference images and approved renders together in Boards, so the material and massing language stays consistent across a run of views destined for a Design and Access Statement. When the same brick, the same window proportions and the same roofline need to appear in a ground-floor view, a first-floor view and a street elevation, having the reference material gathered in one place means whoever generates the next view isn't guessing at what "the brick" looked like in the first one.
Version the template as the design develops rather than rewriting it from scratch at each stage. A scheme that moves from concept to planning to construction detail will change its material specification, its glazing ratio, its roof form. If the template is versioned rather than reinvented, proportion and material decisions made in week one don't quietly reappear in a different form by week six, contradicting an earlier render that's already gone out to the client.
Treat the template as part of the project file, not a one-off prompt typed in the moment and forgotten. Handed to whoever produces the next batch of views, whether that's a colleague, a student on placement or a visualiser brought in for a deadline, the template carries the constraints forward so the whole set of images agrees with itself, and with the drawing.

Check the output against the drawing before it goes in the pack
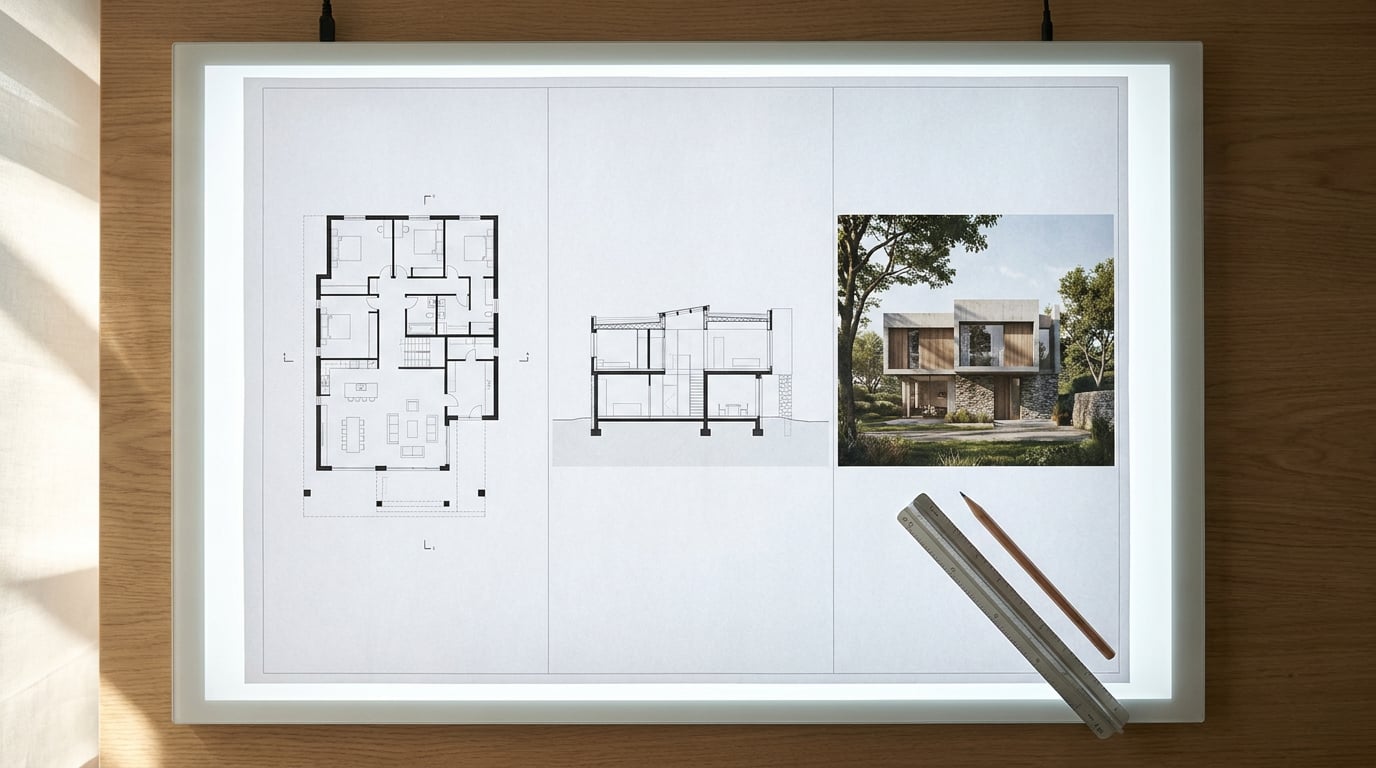
Overlay the render against the elevation or section at the same scale. Misjudged proportions are far easier to spot side by side than they are in isolation, where a render can look convincing purely because it looks like a building, without anyone checking whether it's the right building.
Look specifically at glazing bar spacing, cill and head heights, and the roofline. These are the details a model most often smooths over or exaggerates, because they're small enough to blur past in a quick glance but load-bearing for anyone comparing the visual against the measured drawing. A window that's crept 200mm taller across the generation is easy to miss in the render alone and immediately obvious against the elevation.
If sightlines have drifted, don't reprompt blind and hope the next attempt is different. Adjust the specific compositional instruction that failed, whether that's camera height, framing description or the explicit statement of what should sit in the left third of the frame, and regenerate from the same base image. Rewriting the whole prompt from scratch each time invites a fresh round of drift rather than fixing the one thing that went wrong.
A render that looks better than the drawing is often a warning sign rather than a win. If a planning officer or a client can't reconcile the two documents later, the render hasn't helped the scheme, it's created a discrepancy someone else has to resolve, usually at a worse moment than now.
Check glazing bar spacing, cill heights and roofline first. These are the details a model smooths over quietly, and the details a reviewer checks first.
The takeaway: an AI render is only useful to an architectural project if it agrees with the drawing underneath it. That agreement doesn't happen by accident and it doesn't come from a better model. It comes from prompts that front-load dimensions and named materials, from image-to-image workflows that lock geometry before you touch material and light, from negative constraints that close off the drift a model defaults to, and from a template that carries those decisions consistently across every view in the set. Write the constraints once, check the output against the drawing every time, and the render stops being a separate story from the scheme.
Keep reading.
Try ArchAdemia Tools for yourself
Draw it, model it, render it, publish it. One place, built for architects and small practices. Plans from £29 a month, all in.