From Mood Board to Client Sign-Off: A Residential Fit-Out Workflow.
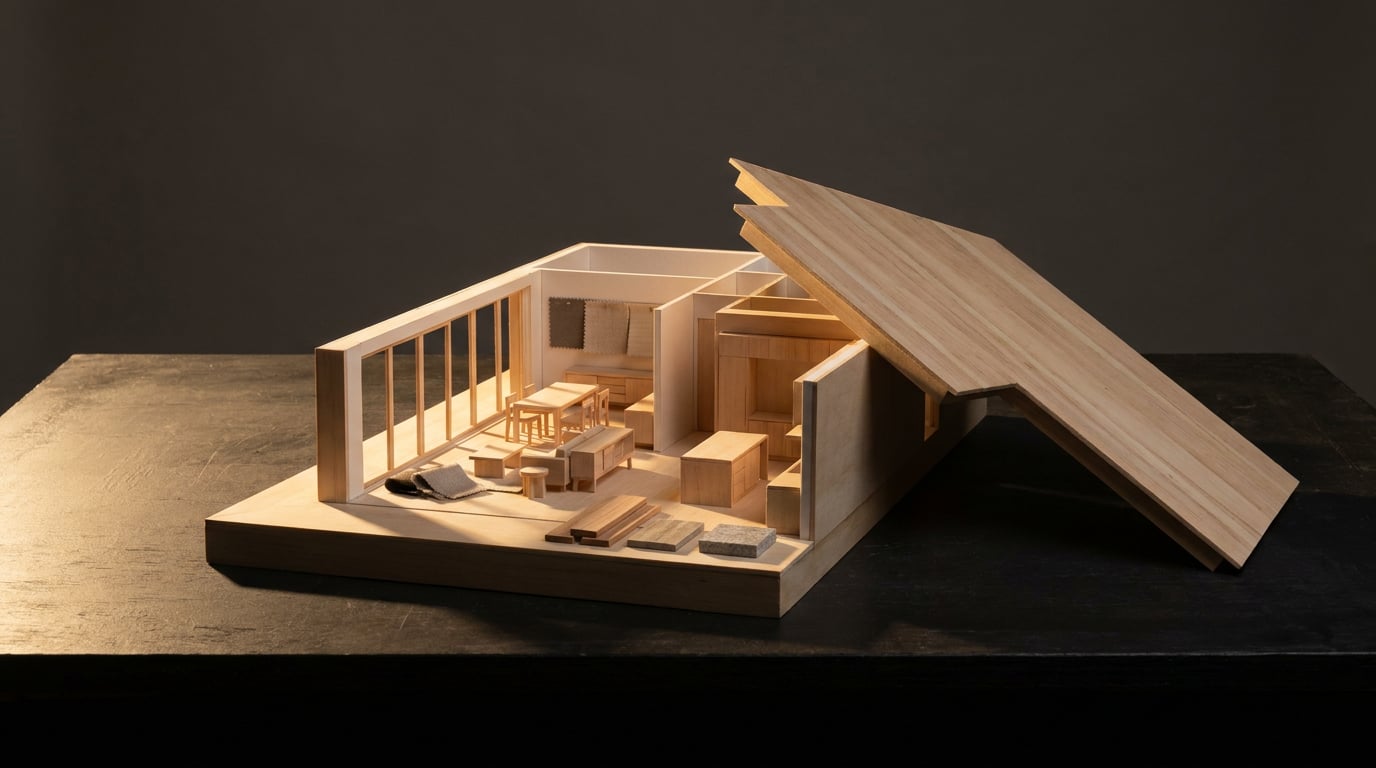
A residential fit-out lives or dies on the hand-offs between stages. Here is how an interior designer moves from first references to a signed-off scheme in one workspace.
A residential fit-out is won or lost long before anyone picks a tile. It is lost when the brief lives in a client's email thread, the references live in a screenshot folder, and the signed-off scheme lives in a PDF nobody can match to the drawings. This workflow runs the job in five moves: brief, grounded references, a tested plan, consistent room views, and a controlled pack the client signs. Each move happens on a named surface in ArchAdemia Tools, so the thread from first meeting to signature stays unbroken.
Start the Project Before the Mood Board

Open a Project first. Put the brief, the room list and the client's constraints into it before a single image is generated. The constraints matter most: the pets, the budget ceiling, the listed-building limits, the fact that the husband works from the kitchen table. A Project is a shared workspace, so every later generation stays tied to those facts rather than drifting into pretty but unbuildable territory.
Compare that with the usual start. A folder called "Ideas", forty screenshots with no provenance, a PDF scope from the first meeting. By week three nobody can find which version of the kitchen layout the client reacted to, and the reference they loved turns out to be a showroom that closed. A Project does not make you a better designer, but it stops the paperwork rotting underneath you.
Ground the mood board with Research
Before any image is made, use Research to check what you are about to promise. Look at precedent for the typology: how comparable Victorian terrace kitchen extensions handle rooflight sizing and rear-elevation glazing. Look at supplier ranges for the finishes you are leaning towards, and read the material specifications, not the marketing copy. Check whether that burnished brass is lacquered or living, whether the large-format porcelain comes in the thickness you need, whether the oak is engineered or solid.
This step is what separates a mood board that is grounded from one that is merely decorative. A decorative board gets applause in the meeting and trouble on site. A grounded one tells the client what is realistic before they fall in love with something that is not.
Research before imagery. Every finish on the mood board should be one you have already confirmed exists, in a range the client's budget can reach.
Draft the questionnaire and scope in Documents
Use Documents for the client questionnaire and the scope summary, and pick the writing model from the picker. Claude Sonnet 5.5 gives a clean first pass for a routine brief: a three-bedroom refurbishment, a kitchen and bathroom replacement. Where the brief is complex, say a whole-house reconfiguration with a loft conversion and a client who contradicts themselves between the first and second meeting, switch to Claude Opus 5.5. The other models in the picker are there if you prefer their drafting voice. All of them are available on every plan.
The output is a draft. You read it, correct it, and own it. The point is to arrive at the first client meeting with sharper questions than "what style do you like?", and with a scope summary the client can correct in writing before design time is spent.
Build a Mood Board That Survives the First Client Meeting

A mood board survives the first meeting when it is built from real references and distilled into a single direction per room. A pin-board of fifty images does the opposite: it records everything the client said yes to, including the contradictions.
On Canvas, open the Find Images drawer and pin references from the web or from free stock search. Each pinned result drops in as a Reference Image node. Pin deliberately: the lime-washed wall the client photographed in a friend's house, the fluted oak joinery from a hotel bar, the tonal green of a utility room you both admired. Web results need a paid plan; stock search is free on every plan.
Distil the references with a Look node
Wire two or more reference images into a Look node. It distils their shared palette and style into one prompt block. That block feeds an Image node's Style port, with one caveat worth knowing: only the Nano Banana models take a Style input. Most image models do not, so choose the model for this step knowingly rather than expecting every model to honour it.
The effect is to turn a scatter of taste into a statement. Five references in different photographic styles become one description of colour temperature, tonal range and material mood that you can reuse across every room, so the kitchen and the hallway read as one house.
Let Corb read the references and write the prompts
Ask Corb on the canvas to read the wired references and write ready-to-use prompts. Corb carries a render-craft library, so what comes back is advice in photographic terms rather than prompt incantations: a camera height of about 1.4m for a domestic interior, one dominant light source from the window rather than five competing ones, entourage at believable scale, depth falling away into soft haze at the far end of a through-room. Corb advises and drafts. Anything it places on the canvas lands idle and costs nothing until you press Run yourself.
Corb will also tell you when a request runs into territory that is not its call. Ask whether a lowered ceiling clears a fire-compartment line and it will name the issue and say who decides it. It will not say the scheme complies. That judgement stays with whoever carries the liability.
Curate to one direction per room
Generate a handful of room-mood images in Image, then cut hard. Keep one direction per room. The client should choose between ideas, not wade through noise: "warm and tonal" against "pale and crisp" for the living room is a decision. Twelve near-identical kitchens is homework.
| Stage | Surface | What comes out |
|---|---|---|
| Precedent and specs | Research | Confirmed finishes and ranges |
| Gathering references | Canvas: Find Images, Reference Image | Sourced, pinned inspiration |
| Distilling taste | Look node into Style port | One palette and style block |
| Room moods | Image | One curated direction per room |
Be honest about what a mood board is
These images show atmosphere and material intent. They are not a specification. Supplier availability, dimensions, performance data, fire ratings, lead times and substitutions still have to be verified against manufacturer or trade sources. Say so to the client at the meeting. A mood board that is presented as a promise creates a very expensive conversation in month three.
A mood board states intent, not specification. Tell the client which one they are looking at before they start choosing.
Get the Plan Right Before You Render Anything

The most common failure in visual-led fit-out work is rendering a room that does not fit the dimensions. The pretty image is built on a plan nobody tested. Fix the plan first.
In Linea, import the surveyor's DXF or DWG, or a native IFC from Revit or ArchiCAD. If the file holds twenty drawings in one model space, which a practice CAD file routinely does, the import dialog draws the file and outlines the separate drawings it finds. Click the one you need and the import crops to that single plan, cut clean at the edge. If detection misses, drag your own box.
Edit plan and model together
Linea edits the 2D plan and the 3D model of the same building together. It does not generate one from the other, so a change in plan is a change in the model. Place furniture from the library and type exact dimensions to test the plan: 6ft and 1200mm both parse, in the drawing's own units. That is how you find out the island leaves 900mm to the run behind it, or that the door to the utility room swings into the dishwasher.
Test circulation the way a client will live it. Can two people pass at the sink? Does the bedroom door clash with the wardrobe? These are five-minute checks in a model and five-week problems on site.
Paint finishes deliberately
New geometry in Linea is born in a flat painted colour: walls white, floors and roofs light grey, metalwork plain metal. A photographic finish appears on a surface only because you painted it there. That is a feature. Material decisions stay yours, not a default that quietly makes the kitchen look finished before you have specified it. Work through the material library surface by surface, and the model will mirror the schedule you intend to issue.
Corb in Linea: free to ask, priced to build
The Corb chip beside the 2D/3D toggle answers questions about the drawing for free. Ask it where the narrowest pinch point is, or what the net floor area of the extension comes to. If you ask it to build or change the model, it proposes the job as a card showing the real credit cost, and nothing is drawn until you confirm. Drawing, modelling, walking the model and exporting remain free on every plan. Only the Corb-built model work and some capture actions draw on credits, and the price is shown first.
Know where Linea stops
Linea is everyday drafting and modelling. It is not BIM, and a fit-out does not need it to be. But say plainly where the hand-off to the contractor begins. Export DXF for the contractor's own CAD or BIM, and issue a PDF at true scale on a chosen paper size with a title block. The contractor's coordinated construction information, the specification, and any statutory drawings are separate documents. An interior model does not replace them.
Drafting and the contractor's coordinated information are different jobs. Know the line, and put it in the hand-off note.
Turn the Model into Room Views a Client Can Read
With the plan tested and the finishes painted, you can make images that mean something. Send a perspective view from Linea straight to the rendering studio, or compose a scene in Composer with posed models and a Worlds environment as the backdrop.
A full set of interior angles with Shoot
Use Shoot to generate a full set of camera angles for a room. Exterior and interior are handled separately, which suits a fit-out: you want the doorway view, the corner view, the view toward the window, and the detail at the joinery. A finished set of stills is a complete deliverable on its own. You do not have to turn them into a film to have done the job.
Variations that stay the same room
Here Corb earns its keep in a particular way. On the canvas it can spawn two to six variations off one image, varied along a single axis: lighting, grade or entourage. The clause that holds the geometry, massing and openings still is written into every prompt in the set by the platform rather than left to chance. The client sees the same kitchen at breakfast and at dusk, with the same island, the same rooflight, the same joinery. Not a different design.
Be precise about what that clause is. It is a preservation instruction to the model, not a geometric lock, so check each result against the plan before it goes into the pack. The variations land idle, and nothing is charged until you run them.
Fix and adjust in Retouch
Retouch is where a good render becomes a presentable one. Three tools matter most for interiors:
- Enhance area re-renders a selected region at higher resolution with no prompt, then composites it back. Use it where a wide view has gone soft or repetitive, such as a tiled splashback or a run of shelving.
- Material swap replaces a selected area's texture to match an attached reference, as a toggleable layer. Swap the oak for walnut, or the matt tile for a gloss, and compare the two with a click.
- Re-light presets: Golden hour, Dusk, Blue hour, Night, Overcast and Sunny regenerate the whole document at a different time of day as a new layer, which is a quick way to show how a north-facing room behaves.
Variations are readings, not proposals
Say it in the meeting. These are different readings of one scheme. If the client wants a different layout, that is a change to the plan in Linea, not a variation. Mixing the two is how a client signs off on an image of something you never agreed to build.
One scheme, many readings. Lighting and grade vary; layout, joinery and openings do not.
Assemble the Client Pack and Get the Signature
The pack is where the project either becomes a decision or becomes another round of "can we just see one more option." Build it in Layout.
For a scheme report, use a Document of A3 pages. For a single presentation board, use a Sheet at A1. Start from the Client Deck or Project Book template and drag your stills in from the gallery. Set type from the type library, or upload your own brand fonts. Use the layout grid and guides so every room page matches: same image size, same caption position, same materials column. The grid is a reference overlay only and never appears in an export.
Let Corb draft, and edit it yourself
Select a text frame and ask Corb to fill it, or have it build the document page by page. It drafts, and you approve. Read every caption against the plan and the schedule before it goes out. Layout work done by hand is free; asking Corb to write or build uses credits.
Export or share
Export a vector PDF at true sheet dimensions, with bleed and crop marks if it is going to print. Or share a read-only webpage link the client can open without a login. The link stays current as you revise, which suits a client who reviews on their phone between meetings. It can be revoked or re-issued, and a small footer appears on free-plan links.
Close the loop in Documents
The signature is only worth something if the paperwork matches the scheme. In Documents, keep a change log that records every revision after presentation: the client moved the hob, the rooflight grew by 200mm, the bathroom basin changed. Then draft a sign-off summary that the client countersigns, referring to the issued pack by revision. The approved scheme and the paperwork now describe the same thing.
The Workflow in One Line
Brief in a Project, references checked in Research, a mood direction distilled on Canvas, a plan tested in Linea, room views from Shoot and Retouch, and a pack built in Layout with the signature recorded in Documents. Each step feeds the next, and each hand-off is a file you can find.
Treat images as intent and the plan as the contract. Keep the change log current, and the client signs what you actually drew.
A free 7-day trial gives you 30 credits a day with no card, enough to run a single room end to end and see whether the sequence suits how you work. Paid plans start at £29 a month.
Keep reading.
Try ArchAdemia Tools for yourself
Draw it, model it, render it, publish it. One place, built for architects and small practices. Plans from £29 a month, all in.