One Scheme, Three Jobs: Pitch, Planning Visuals and Website.
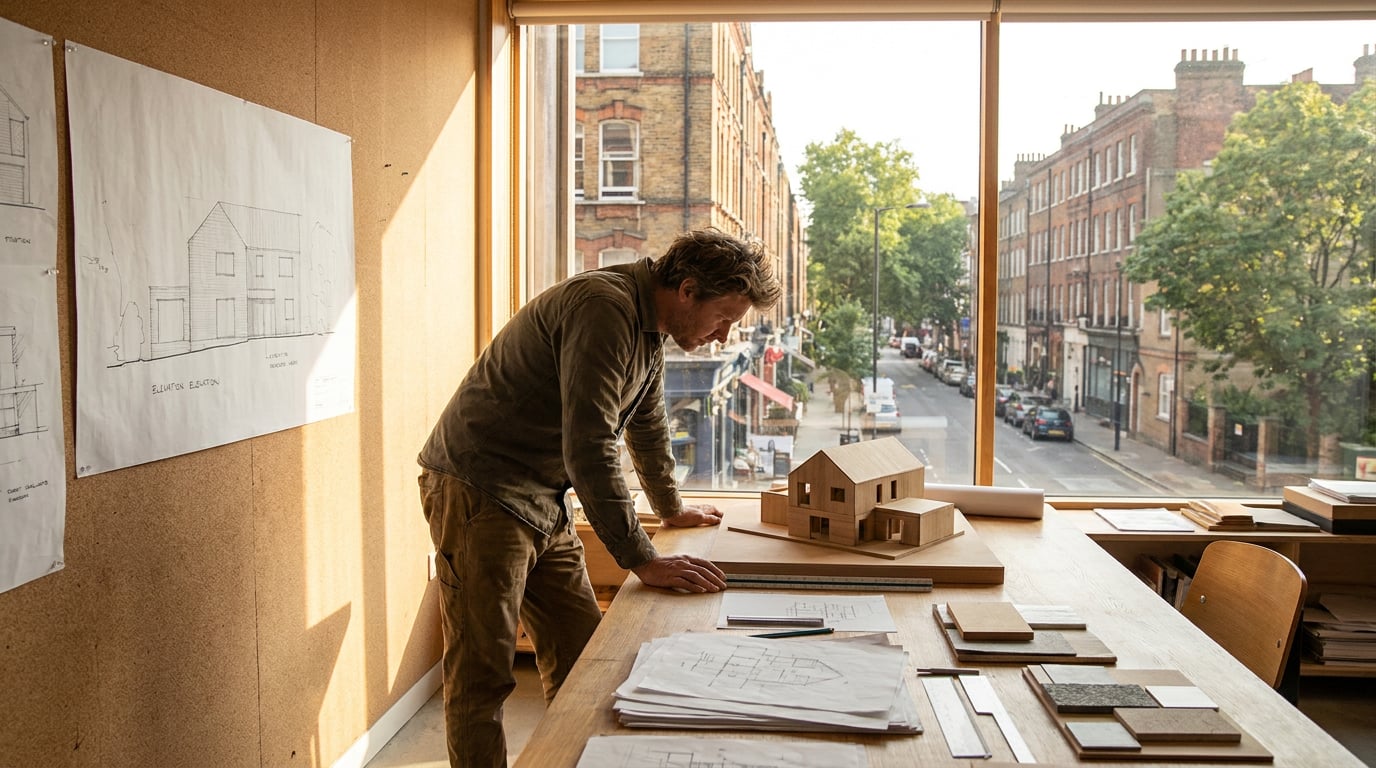
A small practice draws a scheme once and needs it three times over: a client pitch, planning visuals and website content. Here is the working route through the suite.
Draw It Once: Build the Scheme as a Single Source

A three-person practice winning one small commission needs three different outputs from it: a pitch the client can say yes to, a set of views the planning officer can read, and a case study page that wins the next job. The usual route is three separate efforts, each starting from a different copy of the scheme. The cheaper route is to draw it once and let every deliverable pull from that one source.
Start in Linea. If the practice already has a DXF, DWG or IFC file, import it. A practice CAD file often holds twenty-odd drawings in one model space on the same layers, so the import dialog draws the file before it lands and outlines each separate drawing it finds. Click the one you want, or drag a box by hand, and the import is cropped to that single plan, cut clean at the edge. If there is no file yet, block the scheme out in Massing: place footprints, push them into solids, drag an edge up to pitch a roof, set out windows with a rectangle on a face. Then switch to Build for the detailed walls, doors and windows.
One plan, one model, no second copy
Linea holds a 2D plan and a 3D model of the same building, edited together. They are not two files you reconcile. Move a wall on the plan and the 3D model has already moved; every view you cut from it afterwards inherits the change. That matters more than it sounds. The pitch, the planning set and the website all draw on this one model, so there is no moment where the client has seen a version the planning drawings no longer match.
Be honest about what Linea is
Linea is everyday practice drafting and modelling in the browser. It is a credible alternative to the quick SketchUp session or the AutoCAD afternoon. It is not a BIM tool. Coordinated, data-rich models, consultant federation and construction-stage documentation stay in Revit or ArchiCAD. For a pitch, a householder or small-commercial planning application and a case study, the lighter tool is the faster one, and nothing here asks it to be more.
Save the cameras before you move on
Save named views at every point you will need again: the street approach, the rear elevation, the key interior. Include an eye-height view captured mid-walk, because that is the view clients and planners actually recognise. Saved views reissue after the model moves, so when the roof pitch changes on Thursday, the pitch image, the planning view and the website hero all regenerate from the same camera positions rather than being re-framed by eye.
Name your cameras before you render anything. Every later deliverable is only as consistent as the views it was cut from.
One note on what you are looking at. New geometry in Linea is born in flat painted colour, never in a texture: a new wall is white, floors and roofs light grey. This stage settles massing, openings and rhythm. Materials arrive later, at render, so do not judge the brick or the cladding here. Judge the proportions.
The Client Pitch: From Massing to a Board and a Walkthrough
The pitch needs three things: a first image that makes the scheme feel real, a set of views that shows it from the angles the client cares about, and a document they can open without installing anything.
First image, then the same view at different hours
Send a perspective view from Linea straight into the rendering studio. That is your first pitch image, rendered from a camera you have already saved. Open it in Retouch and use the re-light presets (Golden hour, Dusk, Overcast, plus Blue hour, Night and Sunny) to regenerate the whole document at a different time of day or weather. Each lands as a new layer, so the practice keeps the original and can show a client the same elevation at four in the afternoon and at dusk. For a residential client deciding whether a kitchen extension will feel warm in winter, that comparison does more persuading than any paragraph of design rationale.
Shoot a full set of angles
Shoot generates a full set of camera angles for the scheme, with exterior and interior handled separately. A finished set of stills is a complete deliverable on its own. Animating the kept stills into a short film is optional, and for most small-practice pitches it is a nice-to-have, not the goal. For context, the video models in circulation vary widely: one recent comparison puts indicative list pricing anywhere from roughly $0.05 to $0.80 per second, with clips typically between 3 and 30 seconds, and those are secondary-source figures that move often. A strong set of stills costs the practice far less than that and is rarely the weak point of a pitch.

Lay it out, then share it live
Build the pitch in Layout. Start from the Client Deck or Image-led Board template, set the type in your own brand fonts (upload TTF, OTF, WOFF or WOFF2 files and they are shared with Retouch), and drag imagery in from the gallery. Export a vector PDF at true sheet dimensions for the printed copy. For the client, share the document as a read-only public webpage. It stays current as you edit, so the client opens the same link and always sees the latest version instead of a stale attachment from three emails ago. The link is revocable and re-issuable, and a small footer appears on free-plan links and is removed on paid plans.
A sounding board before the meeting
On the canvas, wire the massing image into Corb and ask how the footprint, the height against the neighbours and the entrance read. Corb gives design advice on the scheme: it can say the entrance is hard to find from the street, or that the ridge looks heavy beside the eaves next door. It reads the untextured massing as massing, so it will say nothing about material or finish, which a flat-colour model cannot show. It will not invent a dimension it has not been given; it names the number it would need and asks for it.
Corb is a second pair of eyes before the meeting, not a verdict. He advises on how the scheme reads; he never rules on whether it complies.
Planning Visuals: Contextual Views and a Statement That Reads
Planning submissions reward restraint. A planning officer wants the proposal placed accurately in its context, drawings at a stated scale, and a statement that explains the decisions without overclaiming. The aim here is a set of visuals that look credible because they are built from the same geometry as the drawings.
Place it, cut it, issue it
In Linea, place the scheme on a real location with the ground and the surrounding buildings. Cut sections and elevations from the model as real linework and issue them on a sheet at a true plotted scale with a title block. Export the sheet as a PDF on your chosen paper size, and as a DXF where a consultant needs the linework. Where the drawings need line-weight and annotation work, take the DXF into Vector: it lands as editable linework at true 1:1 real-world scale, and you can set the drawing's scale, measure against it, and regenerate a true scale bar rather than drawing one that merely looks right.
Render from the same cameras
Produce the contextual and proposed views by rendering from the same saved cameras as the pitch. That is the practical payoff of saving them early: the application view and the pitch view are the same view, so nothing contradicts anything. Where a wide render has gone soft across the street frontage, use Enhance area in Retouch. It re-renders a selected region at higher resolution with no prompt and composites it back through the selection, which is exactly the repair a distant terrace needs before it goes into the application.
A word of caution that applies to every generative render, from any vendor. Industry reporting suggests AI use is now widespread in small studios, though the figures are survey claims rather than audited statistics: one report puts adoption at 75 to 85 percent among studios of one to ten people, another at 48 percent for smaller studios against more than 80 percent in large UK practices. The same sources describe concept exploration and client imagery as the dominant uses, and say nothing reliable about verifying planning compliance, daylight, accessibility or material performance. Generative rendering can quietly alter openings, structure, planting or neighbouring context. The defence is the workflow above: render around a known model from fixed cameras, then check the output against the drawings before it leaves the building.

Build the Design and Access Statement in Layout
Layout has a Design and Access Statement template, a many-page document at A3 set out on a layout grid. The grid is a reference overlay only and never appears in an export. Drop in the contextual views, the plan and the section, and set the type. For the text, select a frame and ask Corb to fill it from your notes, or ask it to build the document page by page from a template, on the writing model you pick (Sonnet, Opus or Fable). You keep control of every claim: Corb drafts from what you give it, you read every sentence, and the statement that goes in is the one you would sign.
The limits are the point
Corb can name a planning, daylight, accessibility or regulation issue, explain why it matters and say who decides it. It does not say a scheme complies or does not. That judgement belongs to the architect and the planning consultant, who carry the professional liability. Treat any AI-assisted statement the way you would treat a junior's first draft: useful for speed, never a substitute for the person whose name is on the submission.
The tools can speed up the drawing and the drafting. The planning judgement, and every claim in the statement, stays with the practice.
Website Content: Case Study Pages Built From the Same Renders
By this point the practice already owns every asset a case study needs: pitch stills, a plan, a section, a contextual view. The website job is assembly, not production.
Generate, then publish
Use Web to generate a multi-page microsite or a single project case study, then publish to an archademia.app subdomain or a custom domain. Building is free on any plan; publishing is the Pro and Max step. Fill the pages with the stills you already have, the plan and the section. Layout's social templates give you per-platform sizes for the same scheme, so a LinkedIn post and an Instagram carousel come from the same images without rebuilding anything.
Make it findable
In the SEO panel, set a per-page title, description and social image. A case study titled for the project type and location ("Rear extension, Victorian terrace, Leeds") is findable by exactly the clients who search that way. Add a favicon at the same time.
Let enquiries land somewhere
The contact form works with zero setup: it is spam-protected, submissions land in the owner's inbox, and they also collect in a Forms inbox in the studio. An enquiry from the case study reaches the practice directly, with no form plug-in to configure.
Keep Projects as the container
Put the whole job in a Project. The brand identity, the shared workspace and the project knowledge shelf mean the website, the pitch and the statement all draw on the same brief. When the client changes the brief, it changes in one place.
| Deliverable | Surface | What it reuses |
|---|---|---|
| Client pitch | Layout, with Retouch and Shoot stills | Saved Linea cameras |
| Planning set and statement | Linea sheets, Vector, Layout | Same model, same cameras, same stills |
| Website case study | Web, Layout social templates | Pitch stills, plan, section |
What One Scheme Costs a Small Practice: Credits and Plan Fit
The honest way to budget this is to separate what is free from what spends credits.
What costs nothing
Drawing and modelling in Linea, walking the model, exporting, and asking Corb a question in Linea chat are all free on every plan. Manual work in Layout costs no credits either. The same goes for Vector's drawing, import and export tools, and for building a site in Web. You can draft the entire scheme, set up every saved view and lay out the board without spending a credit.
What spends credits
Credits go on generation: renders, Shoot stills, Retouch re-light and Enhance passes, and any time you ask Corb to build or write. The real price is shown on the card before anything runs, so nothing surprises you.
Try it before committing
The Free plan is a 7-day trial: 30 credits a day, refreshed daily, no card required. Unused daily credits do not roll over. Output carries a small ArchAdemia Tools watermark, so it suits testing the route rather than sending to a client. Run one real view through the whole chain and see whether the workflow fits before paying anything.
Matching the plan to the practice
| Plan | Price | Credits | Concurrent generations | Notable |
|---|---|---|---|---|
| Starter | £29 a month | 3000 | 2 | 100 chat messages a day |
| Pro | £49 a month | 7000 | 3 | Unlimited Corb chat, web publishing |
| Max | £79 a month | 13000 | 4 | Highest credit allowance |
Pro is where unlimited chat and web publishing arrive, which is the point for this article: the third deliverable, the live case study, needs publishing.
A realistic month for a three-person practice
Picture one live pitch, one planning submission and one site update in the same month. Drawing the scheme, cutting sections, setting the grid and writing the layout cost nothing. The credits go on a first render per saved camera, a handful of Retouch re-lights for the pitch, a Shoot set of exterior and interior stills, one or two Enhance passes on wide contextual views, and a few Corb-written statement frames. The planning set then reuses cameras and stills the pitch already paid for, and the website reuses the same stills again. The first deliverable carries nearly all the generation cost. The second and third mostly assemble what exists.
Model and video pricing in the wider market is volatile. Secondary-source listings put image generation at anything from a few cents to roughly a quarter of a dollar per image depending on model and resolution, and those figures change often and should be checked against each provider before you rely on them. Inside ArchAdemia Tools the number that matters is the one on the card before you run.
Draw the scheme once, save the cameras, keep it in one project, and the pitch, the planning visuals and the website stop being three jobs. The third costs a fraction of the first.
Start with one scheme you already have. Import its plan, crop it to the drawing you need, save four cameras, and push the first view through to a render. By the end of the afternoon you will know whether the rest of the chain earns its place in your practice.
Keep reading.
Try ArchAdemia Tools for yourself
Draw it, model it, render it, publish it. One place, built for architects and small practices. Plans from £29 a month, all in.