Presenting Design Options in a Crit Without Losing the Room.
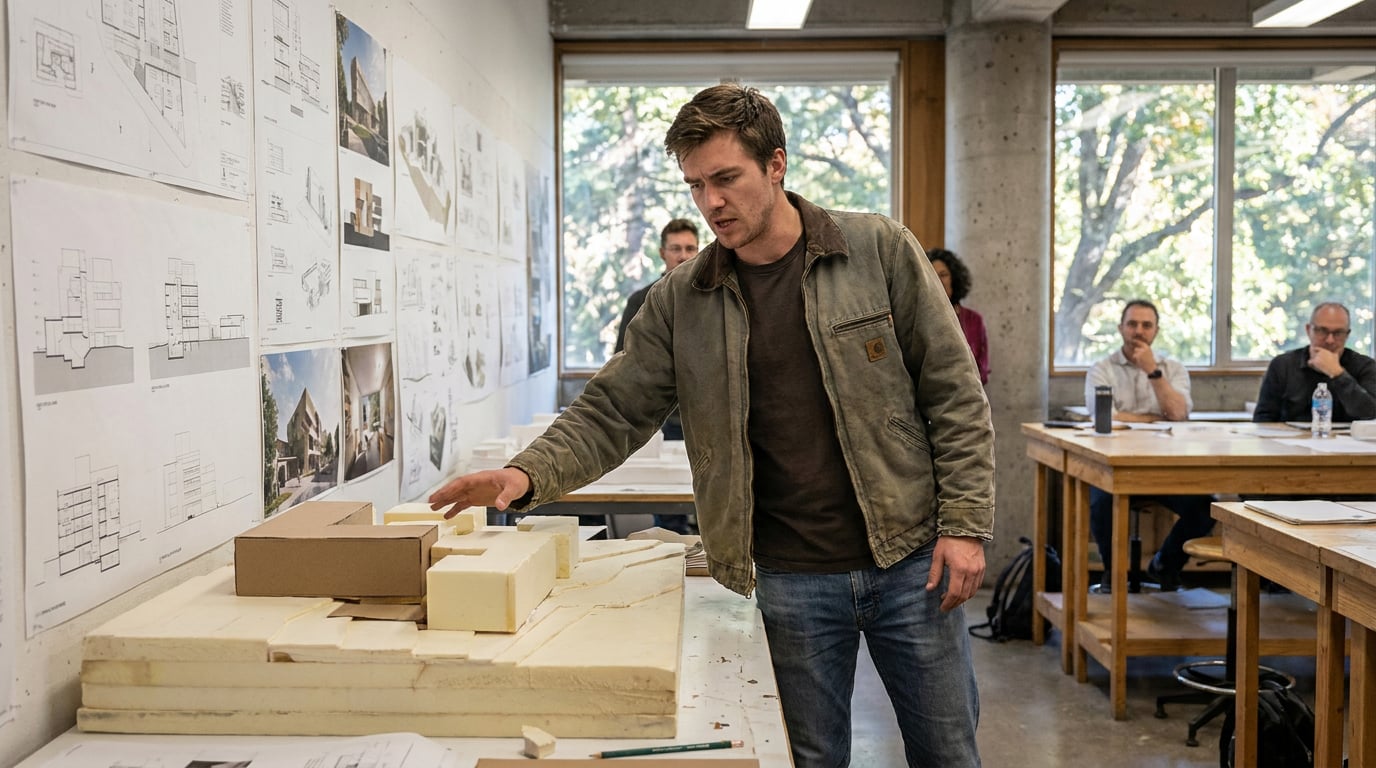
Switching between model, render and drawing mid-crit kills momentum if you're hunting through folders. Here's how to keep every option one click away.
Why the fumble happens: too many files, one crit
The design is rarely the problem in a live crit. The problem is the twenty seconds of dead air while you tab through desktop icons, hunt for the right export, or scroll a phone camera roll looking for that one render you know you saved somewhere. Tutors and clients read hesitation as a proxy for the work itself, even when the work is sound.
Students and small practices are especially exposed to this. The massing model lives in one application. The render sits in a folder, maybe named correctly, maybe not. The plan is a printed sheet, or a separate PDF nobody has opened since it was exported last week. Each format lives in its own silo, and a crit forces you to move between all three in real time, in front of an audience that is watching how you move as much as what you show.
A twenty-second silence while you find a file does not read as thoroughness. It reads as unpreparedness, whatever the quality of the drawing underneath. The fix is not more content. It is consolidation: one surface you control, rather than one file per format.
The room judges confidence and content together. A gap between formats reads as a gap in the design, even when it isn't one.

Build the crit set in Linea first: model and drawing, same file
Linea keeps a 2D plan and a 3D model of the same building edited together, so switching from plan to massing view is a toggle, not a file swap. There is no export-import cycle between drawing and model because they were never separate documents in the first place.
For early-stage work, use Massing mode to block out the scheme fast: place footprints, push them into solids, drag a roof edge to pitch it, set out openings on a face. When the crit calls for more resolution, switch to Build mode for real walls, doors and windows. You are not opening a different tool. You are moving to a different level of detail inside the same file.
Saved views matter more than they sound like they should. Capture an eye-height view from mid-walk through the model before the crit starts, and you can jump straight to "here's the entrance sequence" without re-navigating live. Re-navigating a 3D model in front of a room, hunting for the angle you meant to show, is its own kind of dead air.
And if a tutor asks the question you didn't prepare for, "what happens here, at this corner", you can cut a section or elevation on the spot. Linea generates real linework from the model, not a static image, so the section you cut live is an accurate drawing, not an improvised sketch standing in for one.
The strongest answer to an unplanned question in a crit is not a verbal explanation. It's a drawing you can generate in front of the room, because the model behind it was never a separate file.
Send the view straight to render without leaving the story
A perspective view in Linea sends directly into the rendering studio, so the move from wireframe massing to a finished render is a workflow step, not a hunt through exports. You are not saving a screenshot, opening a separate render tool, importing geometry and re-setting a camera. You pick the view you already have and continue.
This matters most when the crit veers off-script, which it usually does. In Shoot, generate a full set of camera angles for the scheme rather than relying on a single hero render. One beautiful entrance perspective can't answer a question about the north elevation, or what the approach looks like from the car park, or how the massing reads from the neighbouring garden. A set of stills covering the angles you expect to be asked about means you have an answer ready rather than a promise to follow up.
The atmosphere question is the one that catches people out most often: "what would this feel like at dusk instead of full daylight?" Answering that live, rather than saying "I'll render that and send it over", changes how the room reads your grip on the design. A re-light preset in Retouch (Golden hour, Dusk, Blue hour, Night, Overcast, Sunny) regenerates the whole image at a different time of day or weather as a new layer, in the room, while the question is still live.
This is worth naming plainly because video generation pricing shows why "just render one more pass live" is not always free to improvise. Recent comparisons put Veo 3.1 at around $0.40 per second for standard resolution and $0.60 per second for 4K, with Kling running a subscription model from roughly $10 a month upward for its paid tiers. Those numbers move fast and should be checked against current vendor pricing before you rely on them, but the pattern is consistent: spontaneous video generation during a live session has a real cost attached, whereas a rendered still you've already generated does not. The practical lesson for a crit is the same one that applies to any format: prepare the assets you expect to need, and treat true improvisation as the exception, not the plan.
A hero render answers one question. A staged set of angles, plus a live re-light option, answers the three or four questions a crit actually asks.
Stage the options on one Layout board, not four windows

Build the crit sheet in Layout using the Presentation Board or Image-led Board template, with your model view, render and plan placed as separate frames on the same sheet. The point is not variety for its own sake. It's that the room's eye stays on one surface while you point between frames, rather than the room's eye following you between browser tabs.
Switching applications mid-crit breaks attention even when the content on the other side is good. A tutor's focus resets every time the screen changes context: a new loading spinner, a different interface chrome, a different aspect ratio. A single sheet with everything already placed removes that reset entirely.
For a longer review, one where you're walking through several design stages or several options rather than a single scheme, use a Document in Layout at A3 pages. Model, render and plan sit in sequence, and you flip pages rather than hunting through folders. This is the same logic as the Design and Access Statement template scaled down to presentation pace: page one sets context, page two shows massing, page three shows the render, page four shows the plan, and the sequence itself does some of the explaining for you.
Export a PDF at true sheet dimensions before you walk into the room. If the crit space has no reliable screen-share, or the projector drops the connection halfway through, you still have a working presentation. This is not a hedge against a rare failure. It's standard practice for any review that depends on a live connection.
| Format | Where it lives | Best use in a crit |
|---|---|---|
| Massing / plan view | Linea, Massing or Build mode | Answering "what happens here" live, cutting sections on demand |
| Render set | Shoot, staged camera angles | Covering entrance, elevation and context questions without one hero shot |
| Presentation sheet | Layout, single Sheet or Document | Holding everything on one surface so the room never loses focus |
Rehearse the switch, not just the content
Decide in advance which three or four views answer the questions you actually expect: massing, a key section, the hero render, a site plan. Most crits ask a version of the same handful of questions, and preparing the answer set is more valuable than preparing more content overall.
Then practise the clicks themselves. Plan view to 3D view to render to sheet. Your hands should know the sequence before the room is watching, the same way an actor blocks movement before a performance rather than discovering it live. This sounds like a small thing. It is the difference between a presenter who looks like they're navigating their own work and one who looks like they're navigating an unfamiliar interface under pressure.
Keep a fallback. If Wi-Fi fails, or a surface is slow to load on the day, flattened PNGs exported from Retouch or a PDF exported from Layout give you a static safety net that needs nothing but a working screen. This is not pessimism. It's the same instinct that makes a practice keep a printed set of drawings on hand for a planning meeting, even when everything else has gone digital.
Rehearsing content is standard advice. Rehearsing the transitions between formats is what actually prevents the fumble.
The transition itself is part of the pin-up. A confident switch between drawing and render, executed without a pause, says as much about your process and your control of the scheme as either image does on its own. A tutor watching you move cleanly from plan to section to render is watching evidence that you understand how these things relate to each other, which is a large part of what a crit is actually assessing.

None of this depends on exotic tools. It depends on keeping the model, the drawing and the render close enough to each other that moving between them is a click rather than a search. Linea holds the plan and the model together. A view sent to Shoot returns a staged set of angles rather than a single lucky render. Layout holds the lot on one sheet or one document, exportable as a true-scale PDF the moment the room's Wi-Fi decides not to cooperate.
The takeaway is simple: a crit is won or lost in the gaps between formats as much as in the formats themselves. Reduce the gaps, rehearse the sequence, and the room stays with you from plan to render and back again.
Keep reading.
Try ArchAdemia Tools for yourself
Draw it, model it, render it, publish it. One place, built for architects and small practices. Plans from £29 a month, all in.