Before and After on the Kitchen Table: How an Extension Specialist Sells at Meeting One.
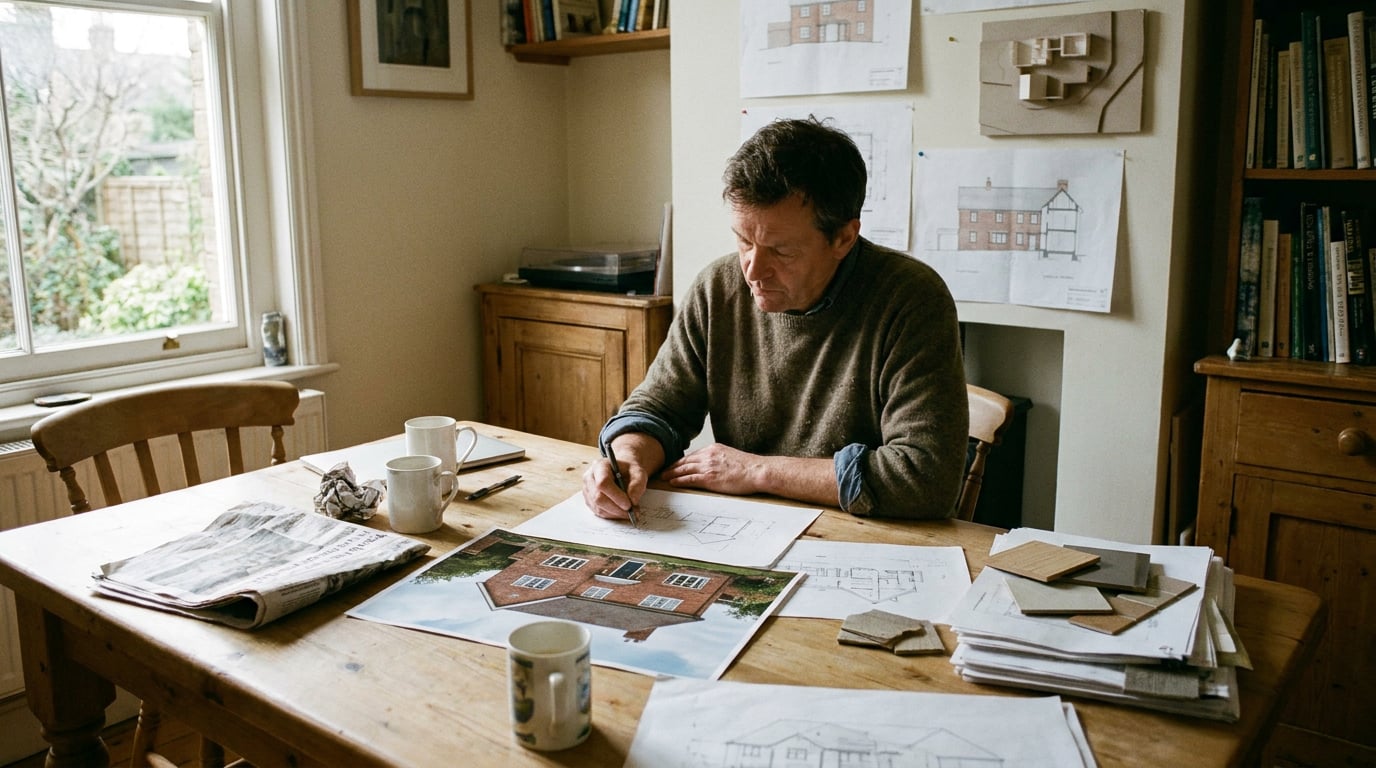
A residential extension specialist walks into the first meeting with the house already redrawn. Here is the workflow, from site photo to rendered options.
Why the First Meeting Is Won Before You Arrive
 A homeowner cannot read a marked-up plan. They can read a photograph of their own house with something new attached to it. That is the whole logic of this workflow: the visual has to be of their kitchen wall, their garden and their neighbour's fence, not a stock extension from a portfolio of someone else's clients.
At meeting one, the residential extension specialist is rarely competing against doing nothing. The competition is the other two practices on the shortlist, who will arrive with a sketch pad, a mood board and a good manner. Sketching live at the table is a real skill, and it still leaves the homeowner imagining the result. The practice that arrives with the house already redrawn, in three readings, changes what the hour is for.
Frame the job narrowly. Take a typical rear and side-return extension on a terrace or semi. Three options, one hour, no commitment to a full survey yet. The aim is a conversation about preferences and budget, not a finished design, so the visuals can be loose, but they must be believable.
The pre-meeting pack needs only three things:
- The existing house as photographed, so camera height, sky, neighbouring context and existing brickwork stay visible.
- A rough footprint, good enough to size volumes against the garden.
- Two or three genuinely distinct ideas, nothing more.
The first-meeting visual answers one question: what would this do to my house and garden? Anything beyond that is spectacle.
Building the Starting Point from What the Homeowner Sends
 Ask for a handful of phone photos and a rough plan before the meeting. Keep the request specific so the homeowner can do it in ten minutes:
- The rear elevation, taken from the far end of the garden, as square-on as they can manage.
- The garden itself, looking back towards the house and along each boundary.
- The side passage, if there is one.
- The room the extension will open into, from the doorway.
- Place a footprint, which lands flat as an unextruded face, and push it up into a solid.
- Pitch a roof by dragging an edge upward.
- Draw a Rectangle on an existing face to set out a window, then Extrude to punch it through.
- Group blocks to hide scaffolding without deleting it.
Flat colour on the massing is a feature. It tells the homeowner this is a volume to discuss, not a facade to approve.
Three Options, One Axis at a Time
 Resist the urge to show ten schemes. Three clear options give the homeowner something to compare without drowning in choice. For a typical terrace or semi, the usual candidates are:
| Option | What it is | What the homeowner is reacting to |
|---|---|---|
| Flat-roofed rear box | Single-storey volume across the back, rooflights, minimal eaves | Contemporary look, ceiling height, lower build complexity |
| Pitched side-return infill | Fills the narrow side passage, pitched glazed roof | Light into a dark kitchen, keeping the garden length |
| Wrap-around | Rear and side combined into one L-shaped volume | Maximum floor area, bigger budget, bigger garden loss |
- Design options are your three massing schemes in Linea. They are different buildings.
- Readings of one option are the same extension at golden hour versus overcast. Same building, different light.
Three schemes is a comparison. Ten is a menu. Keep the set small enough that the homeowner can hold all of it in their head.
Making the After Look Like It Belongs Next to the Before
A render floating beside a phone photo looks like two unrelated pictures. The fix is to build the after inside the before. Open the homeowner's own rear-garden photograph in Retouch and match everything to it, so both images share the same sky, camera height and light. Retouch's mask-plus-prompt generative fill lands on a real new layer, which means you can mask the area where the extension sits, describe the volume, and keep the original photograph untouched underneath. Use your Linea perspective as the guide for proportions, and check the result against it. From there, a few moves do most of the work:- Material swap replaces a selected area's texture to match an attached reference, and it arrives as a toggleable layer. Brick against timber cladding becomes a click rather than a redo, which is exactly the live comparison a homeowner wants to see.
- Re-light presets regenerate the whole document at a different time of day or weather as a new layer. There are six: Golden hour, Dusk, Blue hour, Night, Overcast and Sunny. Dusk is the one to reach for. It shows the kitchen glowing against a darkening garden, which is what homeowners actually imagine when they picture the room.
- Enhance area re-renders a selected region at higher resolution with no prompt, then composites it back through the selection. Run it on a soft patch of brickwork or glazing so the image survives being held up on a laptop at arm's length.
Build the after inside the before. Same sky, same camera height, same fence. The homeowner should be able to point at the new kitchen and still recognise their own washing line.
Running the Meeting and Leaving With a Brief
Open with the before photograph, nothing else. Then reveal the options one at a time on a laptop or tablet, and let the homeowner say what they react to before you explain anything. People will tell you things when they are looking at their own house that they would never put in a written brief: that the side passage is where the bins live, that they hate how the kitchen currently turns its back on the garden, that a neighbour's extension casts a shadow they care about. Use Corb in the project for the questions you cannot answer on the spot. It reads the project you have set up, so its advice is scoped to the stage the work is at. When a homeowner asks about permitted development, a party wall or building regulations, Corb can flag that those issues are in play and who decides them. What it will not do is tell you the scheme complies, and it will not invent a dimension or an area the project notes do not give it. It names the number it would need and asks for it. That fence is deliberate. The verdict stays with you, because you carry the liability, and a homeowner who hears "that needs checking against the boundary and the neighbour's side, and I will confirm it at survey" trusts the practice more, not less. Capture reactions straight into the project as the conversation happens, so the next stage starts from what the homeowner actually said rather than from your memory of it three days later. Then follow up the same day. Build a short document in Layout: a client deck or a one-page board carrying the three options, the before photograph and your proposed next steps. A Sheet at A1 works for a printed pin-up, but for a homeowner a short Document is usually the right shape. Export it as a vector PDF, or share it as a read-only link that stays current if you revise the document afterwards. If you want help with the wording, Corb can fill a text frame or build a first draft from a template, on a model you choose, and you edit from there. Manual layout work costs no credits; asking Corb to write or build does. The next-steps panel is where you turn interest into a brief: a measured survey, confirmation of constraints, a fee proposal for the next stage. State plainly that the images are illustrative options and not a developed proposal. That one sentence protects you and sets the right expectation. ArchAdemia Tools suits this workflow because the whole chain lives in one place: the plan and massing in Linea, the variations on Canvas, the photograph work in Retouch, the follow-up in Layout. The plan is £19 a month billed yearly, or £29 monthly, with 1,500 credits, and the drawing, modelling and exporting are free on every plan; credits go on the generation steps. There is also a seven-day free trial with 30 credits a day if you want to run one real lead through it before committing. The practice that arrives with the house already redrawn is the one the homeowner remembers when it comes time to choose. Everything else in the pitch can be as good as the other two practices. The picture of their own kitchen, with a new room attached to it, is the thing that stays on the table after you leave.Show up with their house already redrawn, label every image as an option rather than a promise, and keep the compliance verdict firmly with you.
Keep reading.
Try ArchAdemia Tools for yourself
Draw it, model it, render it, publish it. One place, built for architects and small practices. Plans from £19 a month billed yearly (£228 a year), all in.