From Sketch to Section: A Workflow for Early Concept Drawings.
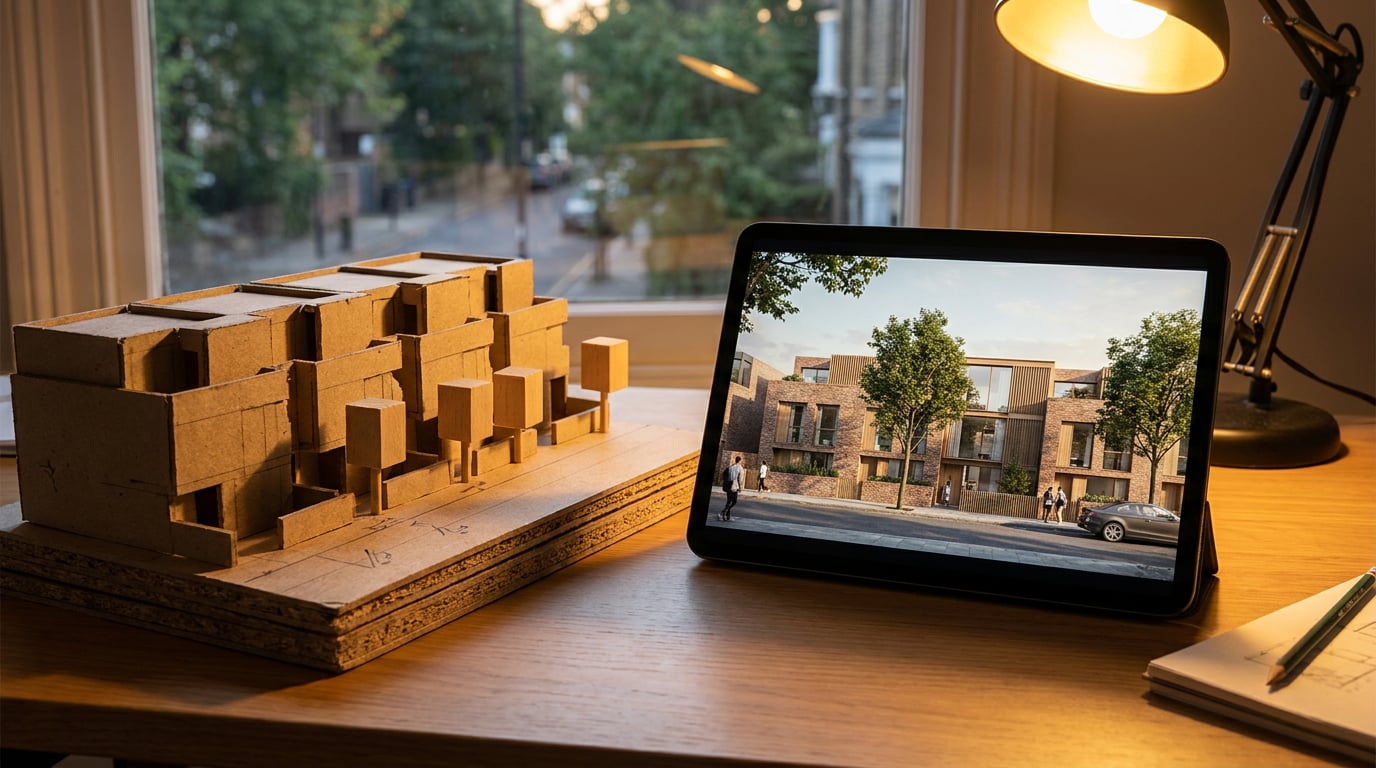
A concept sketch means nothing until it becomes a plan and section that hold up. Here's the workflow that gets you there without redrawing everything twice.
Why the gap between sketch and section kills momentum
Most students and small practices lose the energy of a first sketch the moment they open CAD. The napkin plan feels alive; the redrawn version in a drafting programme feels like a chore. That drop-off isn't a discipline failure, it's a tooling failure. Sketch tools don't hold real geometry, so nothing you draw by hand can be measured, sectioned or built on. CAD tools hold geometry but don't sketch, so the first hour is spent fighting snap settings and layer standards instead of testing an idea.
The fix isn't a better sketching app or a faster CAD template. It's working in one tool that carries a 2D plan and a 3D model of the same building together, so nothing gets translated between two disconnected files. That's the logic behind Linea's Massing to Build to Sections to Presentation to Export flow: one parametric model, multiple derived views, no redrawing at any stage.
By the end of this workflow you have a coordinated plan, section and massing model, ready to put in front of a crit panel or a client, with clear export paths back into conventional CAD and visualisation pipelines if the project needs to move there next.
The real productivity gain isn't speed at any single step. It's never having to reconcile a plan and a section that quietly drifted apart because they came from different files.
Step 1: Get the idea down without committing to dimensions

Linea's Massing workspace exists for exactly this moment: before you've picked a wall type, before you've decided on a material, before you know the floor-to-floor height. You place a footprint as an unextruded face, fast, the same way you'd rough out a shape on paper. No commitment, no precision required.
Push that footprint into a real solid and you're modelling volume, not lines. Split a face, drag an edge up, and you've pitched a roof in the time it would take to redraw the elevation by hand. This mirrors how architecture and urban design studios have always worked at concept stage: fast volumetric studies before anyone commits to a wall build-up, the same instinct landscape architects apply when blocking out terrain and mass before touching planting or hardscape, and the same logic behind block models in product design before detailed parametric features get added.
Group blocks to hide scaffolding you're not using right now, rather than deleting it. Comparing three roof options or two footprint variants stays possible because none of them ever left the model.
Resist the dimension too early
Typed-value entry is there in Linea: start typing during a gesture, hit Enter to apply, Tab to move between values a gesture takes more than one of. It's precise and it's fast. But at Massing stage, the temptation to type "6000" the moment you draw a wall is worth resisting. Dimensions lock a decision before you've tested whether the idea holds up as a volume. Get the massing right first. Type the numbers once the form has earned them.
A block model that's wrong in five minutes costs you nothing. A dimensioned wall that's wrong costs you the redraw.
Step 2: Move from massing to a real plan
Once the volume feels right, switch from Massing into Build and start laying real parametric walls, doors and windows over the blocked-out form. This is the point where the sketch stops being a gesture and starts being a building.
Levels stacking into storeys establish floor-to-floor heights early, which means you're reading the section implicitly before you've drawn a single line-section. This is standard practice in BIM authoring across architecture and structural engineering: plans, sections and elevations aren't separate drawings, they're derived views of one model. Setting your levels correctly at this stage is doing section work without knowing it.
If the idea started on paper, bring the hand sketch in as a trace guide. Import the scan or the printed plan, set a real-world length to calibrate it, then draw parametric geometry directly over it. The sketch isn't discarded, it's absorbed into the model as a reference layer.
Model lines versus detail lines
Linea distinguishes between two kinds of 2D drafting on the plan, and knowing which to use matters:
- Model lines sit at the level's elevation and are real in 3D too. A closed one can become a mass, which is useful when you want a quick shape to read in section without building it as a full parametric wall.
- Detail lines are plan-only. Use them for annotation, hatching notes, dimension strings, anything that shouldn't clutter the 3D view or show up unexpectedly in a section cut.
Getting this distinction right early avoids a familiar mess: a plan full of stray geometry that the section then has to filter out by hand.
An implicit section, built from level heights before you've drawn a single section line, catches storey-height problems that a hand sketch never surfaces.
Step 3: Cut the section directly from the model

Cutting sections and elevations directly from the model, rather than redrawing them by hand, is now expected practice across architecture, interiors, structural and MEP work. A "live" section stays in sync with the model. When the design moves, the section moves with it.
In Linea, sections and elevations are cut as real linework straight from the model and issued on a sheet the same way you'd issue a plan. There's no separate section file to fall out of step. Save views so they can be reissued later once the model changes again, including a saved eye-height interior walkthrough view. That single saved view is worth using every time: it's a fast sanity check on scale, proportion and daylight that a plan alone can't give you.
This is the stage to test proportion and daylight logic before locking anything down. A section drawn from a real model catches storey-height and headroom problems that a sketch section, drawn from memory and instinct, tends to miss. That's a practice-based observation rather than a measured statistic, but it holds up across enough studios and crits to be worth building into the workflow deliberately, not treating as an afterthought.
When the section is cut from the same model as the plan, they cannot disagree. That single guarantee removes an entire category of coordination error before it happens.
Step 4: Bring in furniture, materials and context for a working presentation
With plan and section coordinated, it's time to dress the model enough to read as a place, without treating any of it as a final finishes decision. Linea's furniture library and material library let you populate rooms and paint surfaces quickly. Remember that new geometry in Linea is born in a flat, unpainted colour: a wall is white, a roof is light grey, metalwork is plain metal, until you choose to paint a finish onto it. Nothing arrives pre-textured. That's a deliberate discipline: you decide when a surface becomes a real material, rather than inheriting a default that quietly becomes the answer.
Place the scheme on a real location, with the ground and surrounding buildings, so the massing reads against context rather than floating in isolation. A block that looks confident on a white background can look entirely wrong once it sits next to its actual neighbours, and this is the stage to find that out.
For the one-off piece the furniture library doesn't carry, generate a single 3D model from a description or a photograph and place it directly in the drawing. This is useful for the specific chair, light fitting or sculptural object that anchors a scheme but isn't in any standard library. It's a flat 55 credits for a quick shape or 180 for cleaner geometry and real textures, quoted before it runs, so there's no surprise mid-workflow.
Once the scene reads well, send a perspective view straight into rendering to get an early atmospheric image for a crit, without leaving the modelling environment.
Where atmospheric video tools fit
Some studios go a step further and want a short animated clip rather than a still, particularly for competition entries or client pitches where a walk-through or a daylight test lands better in motion. Third-party AI video tools like Seedance and Kling are increasingly used this way, and it's worth knowing roughly what they cost before reaching for them.
Seedance's current lineup runs from Seedance 2.0 (up to 15 seconds, native audio, and the only Seedance tier selling 1080p) down through Seedance 2.0 Fast and 2.0 Mini as cheaper options, with Seedance 2.5 sitting apart as the length option: up to 30 seconds in one continuous take, native audio, but capped at 720p and priced higher per second precisely because it trades resolution for duration. Turning a single saved perspective view of a Linea model into a short mood clip, a few seconds of camera drift with people or weather added, is a realistic use case, but treat vendor per-second and subscription figures as exactly that: vendor pricing, worth checking against the current rate card before committing a project budget to it.
Kling is the more cinematic option, with native 4K output and multi-shot storyboarding. For architectural use, the relevant application is a quick 4K camera pass over an exported massing model to test proportion in motion, or a short animated clip of daylight and movement for a pitch. Again, treat published subscription tiers as vendor figures that shift over time, and confirm current pricing before scoping a fee against it.
Neither tool replaces the section or the plan. They sit downstream, adding atmosphere to a model that's already coordinated, not substituting for coordination.
Step 5: Package plan, section and model for the crit or client meeting

Everything up to this point has lived inside one model. Getting it in front of a tutor or client means exporting it in the right formats for how they'll actually review it.
| Export | Use case |
|---|---|
| PDF (plotted scale, title block) | Print or upload for a crit review or planning submission |
| GLB / OBJ / STL | Physical model, 3D print, or walkthrough file for a client meeting |
| No-login /play link | Let a reviewer walk the model themselves before the meeting, no software needed |
| DXF | Hand off into a wider CAD workflow if the scheme moves into detailed design |
Export the drawing sheet as a PDF at a true plotted scale, with a title block, ready to print or upload exactly as a reviewer expects to see it. Export the massing or the detailed model as GLB, OBJ or STL if the conversation calls for a physical model or a file someone can open elsewhere.
Publish a no-login /play link so a tutor, client or reviewer can walk through the model themselves ahead of the meeting, with nothing to install on their end. It's a small thing that changes the tone of a crit: the reviewer arrives having already understood the spatial sequence, rather than meeting it cold on a screen.
Keep the DXF export path open too. Nothing in this workflow locks a scheme out of a conventional practice pipeline. If the project needs to move into a wider CAD environment for construction detail, the geometry travels with it.
The takeaway
The workflow that holds up under deadline pressure isn't the one with the most tools, it's the one where plan, section and model never have the chance to disagree. Massing gets the idea down without premature precision. Build turns it into a real, leveled structure. Sections cut straight from that structure, not redrawn beside it. Furniture, context and atmosphere dress the scene without pretending to finalise it. Export packages the whole thing for whoever needs to see it next, in whatever format they need it in.
None of that requires five separate applications and a translation step between each one. It requires one model, built in the right order, and the discipline to let dimensions come after the idea rather than before it.
Keep reading.
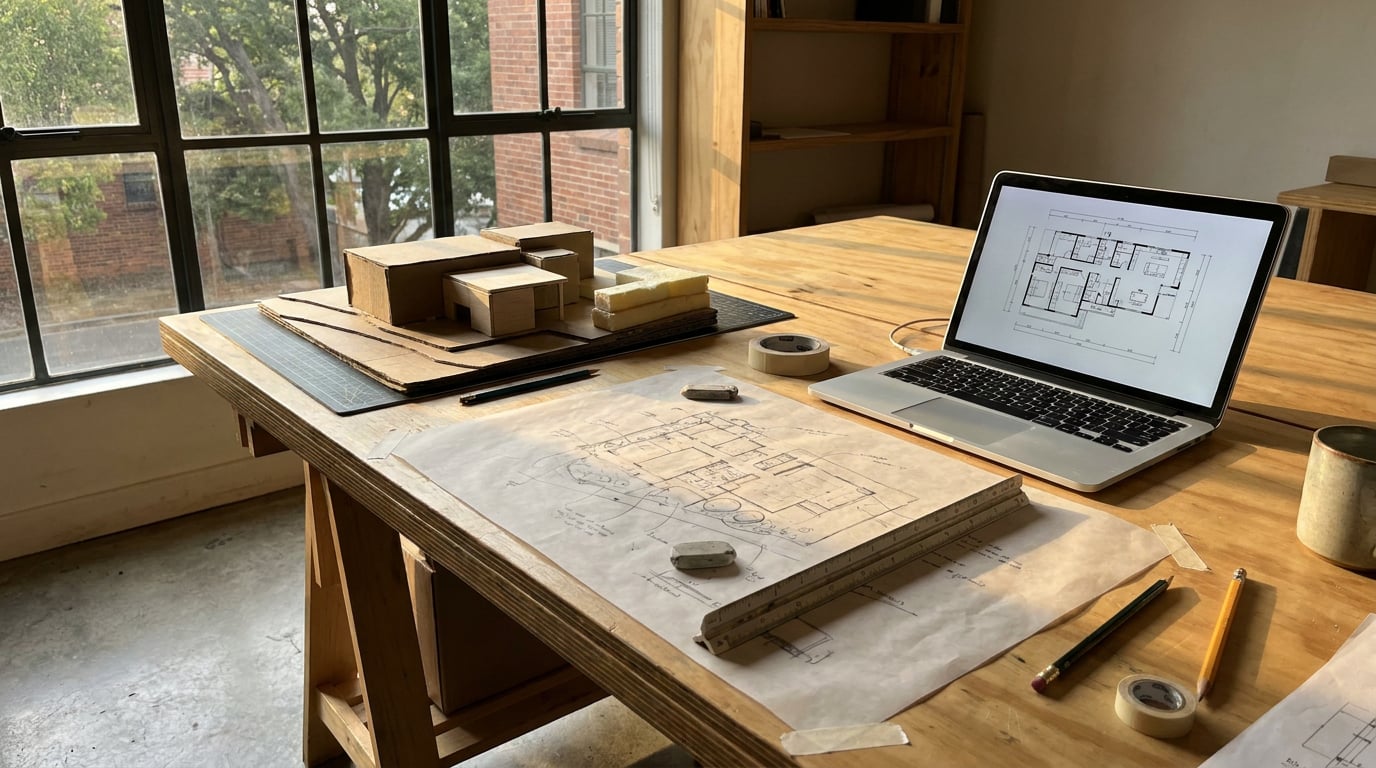
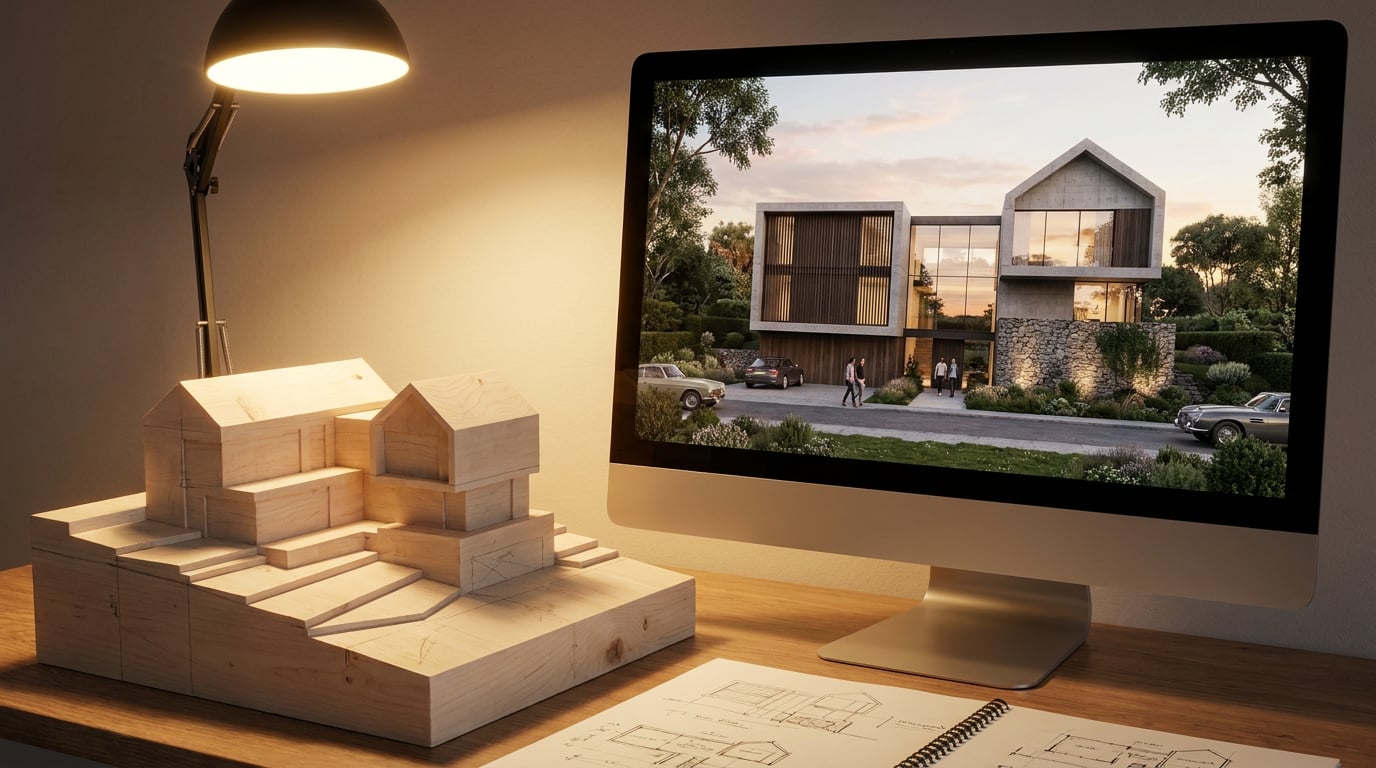
Try ArchAdemia Tools for yourself
Draw it, model it, render it, publish it. One place, built for architects and small practices. Plans from £29 a month, all in.