Placing balconies
A balcony hangs off a wall as a deck with guarding, and is drawn in plan and in 3D.
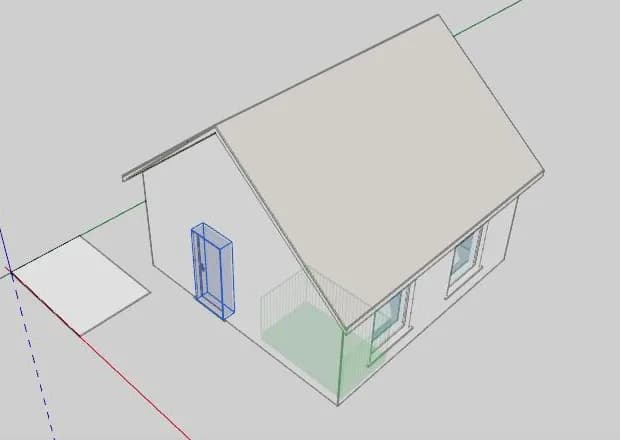
To place one
- Click Balcony on the Build toolbar.
- Move along the wall you want it on. A preview of the deck follows the pointer along that wall.
- Click to place it. The balcony is selected, ready for its Parameters.
The deck is centred where you click, and Linea holds it clear of the wall's ends. It hangs off the wall's outer face, so its depth is measured out from there. The next balcony you place starts with the numbers of the last one.
Where a balcony can go
A balcony hangs off a straight wall on the level you are working on, long enough for its width, with that stretch of the face free. If a spot won't take one, a message says why: the wall has no length yet, it is curved, it belongs to another level, it is too short for the width, or another balcony already occupies that stretch. Two balconies on opposite faces of the same wall sit together happily.
To change it
Select the balcony and open the Parameters row. Balcony holds Side (Front or Back, which face it projects from), Width, Depth, Deck thickness, Top offset (the deck's top measured from the wall's base; negative sits below it) and Thermal break (how far the deck's inner edge stands clear of the wall). Guarding has a switch and, when on, Guarding height. Guarding is on by default.
A balcony follows its wall: move or delete the wall and the balcony goes with it. In plan, the deck on the level below shows dashed.